Thanksgiving Toilet Paper Tube Friends

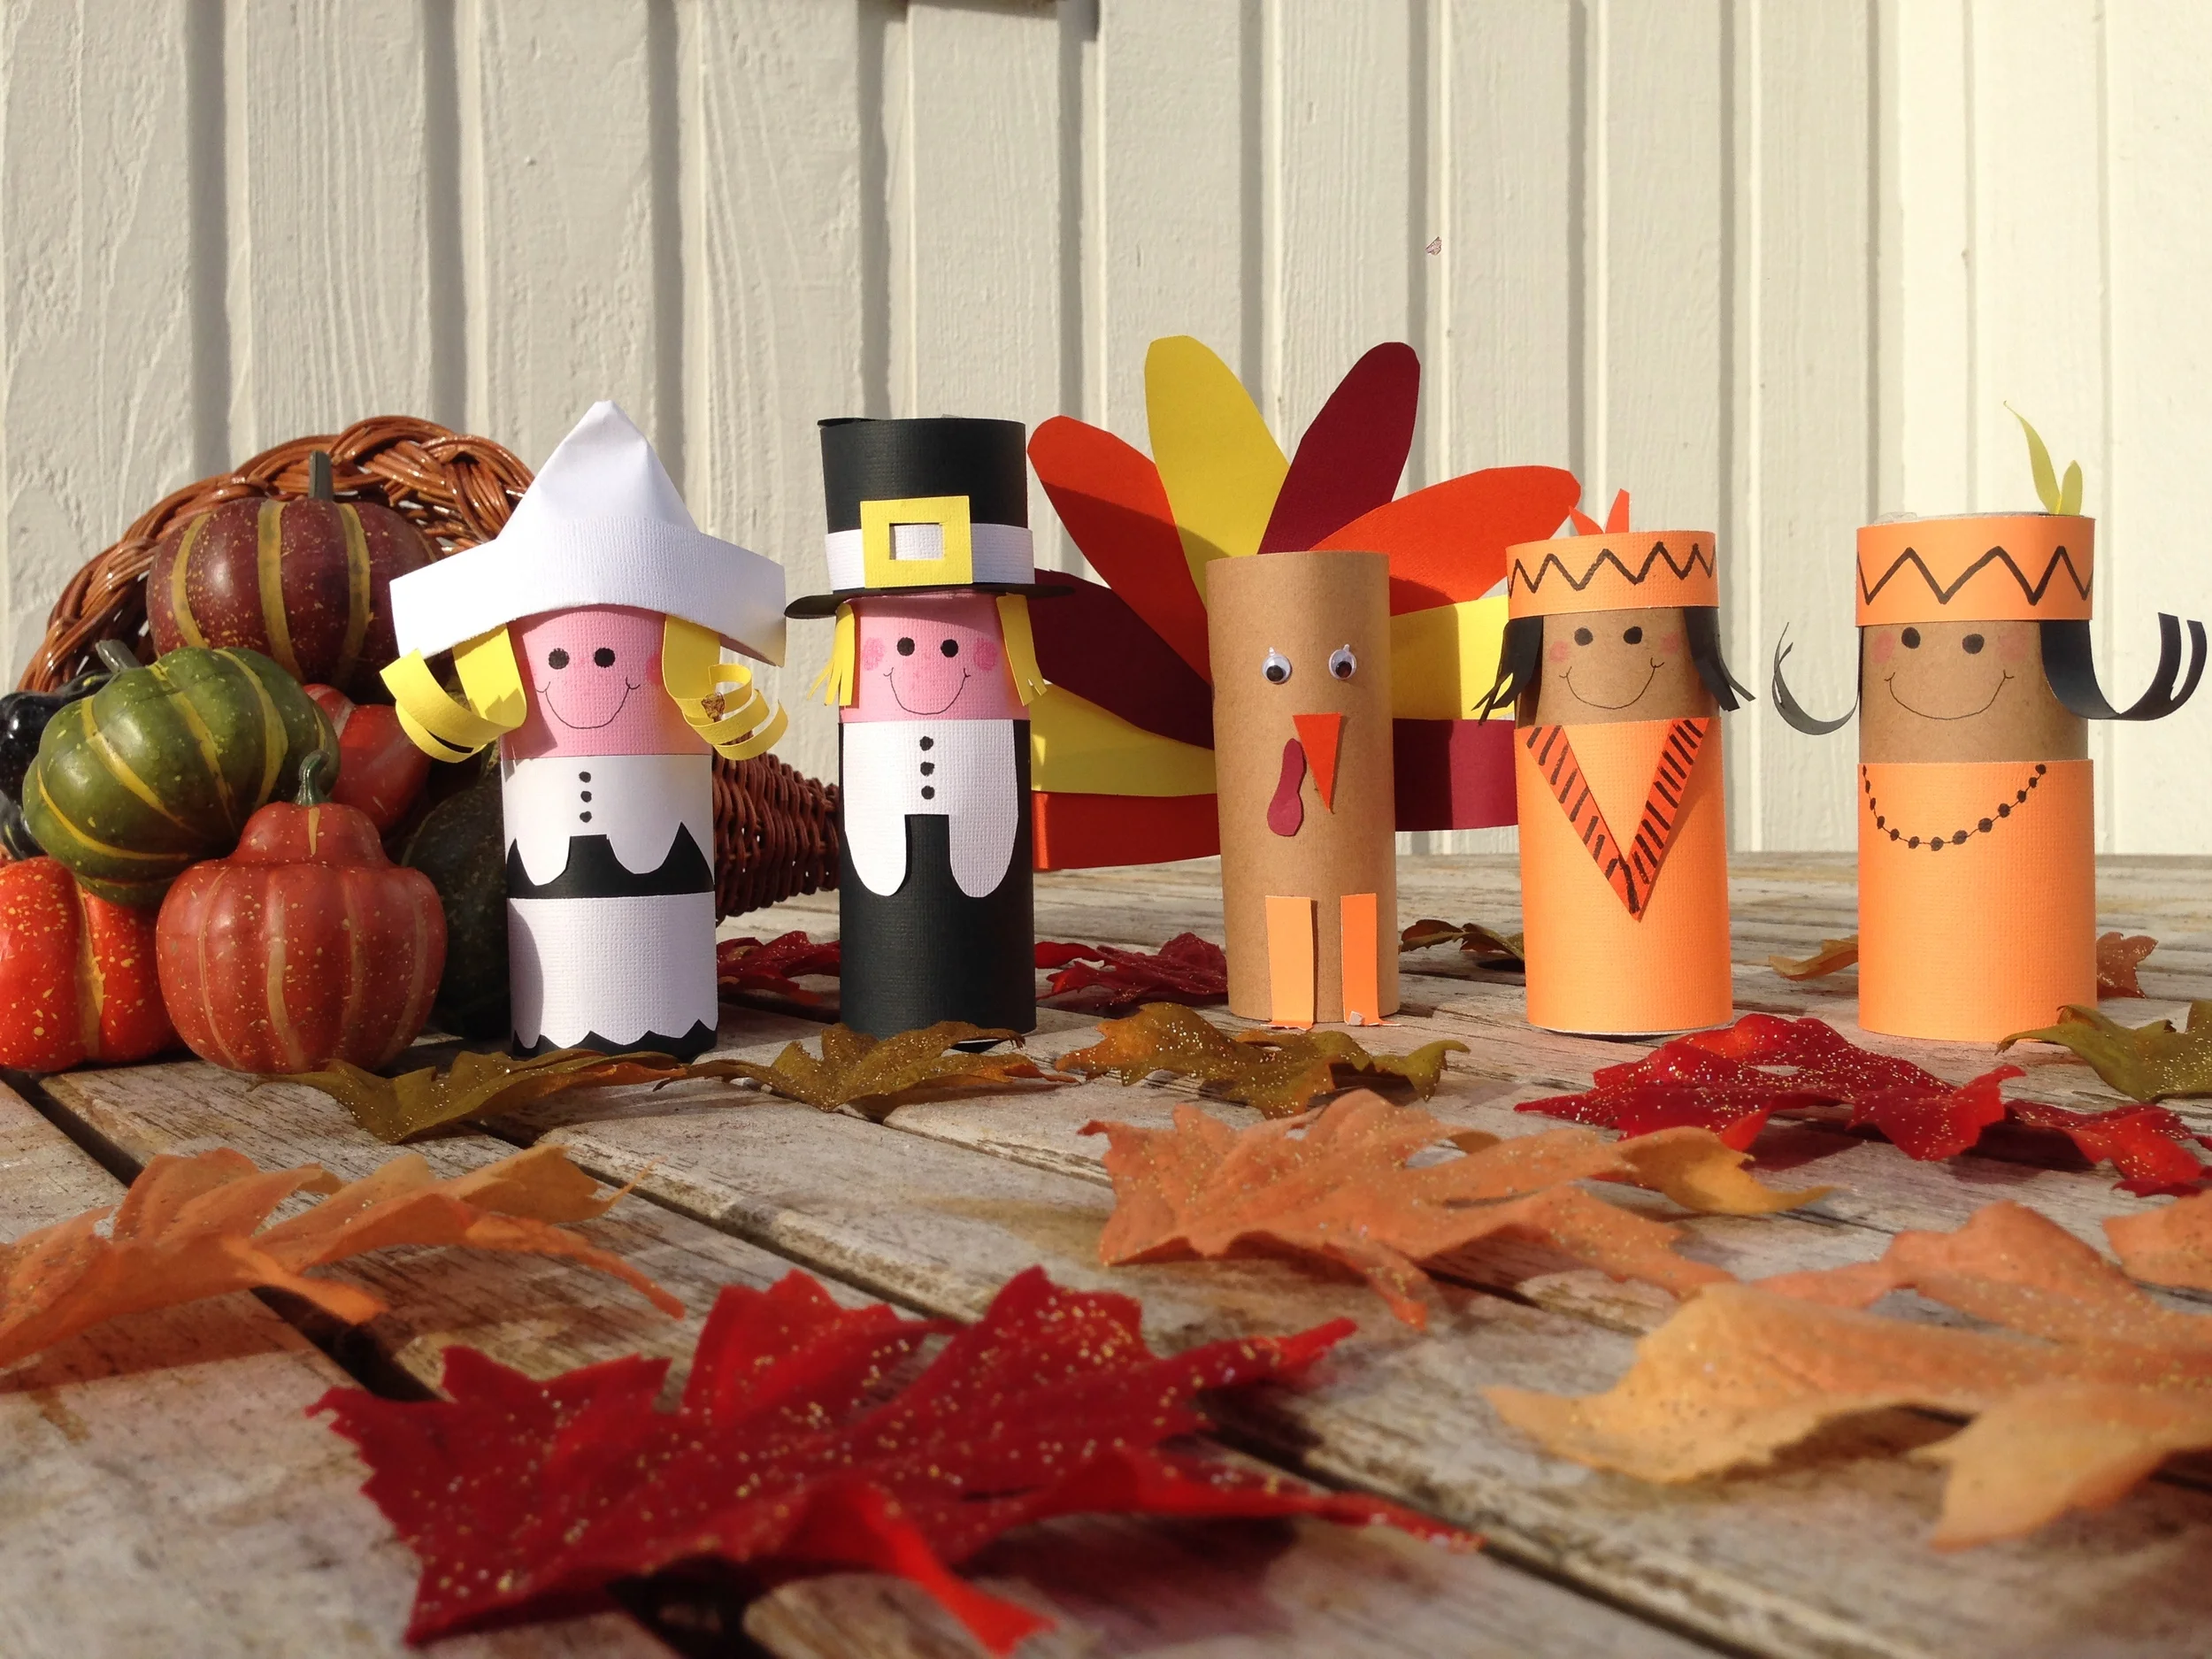
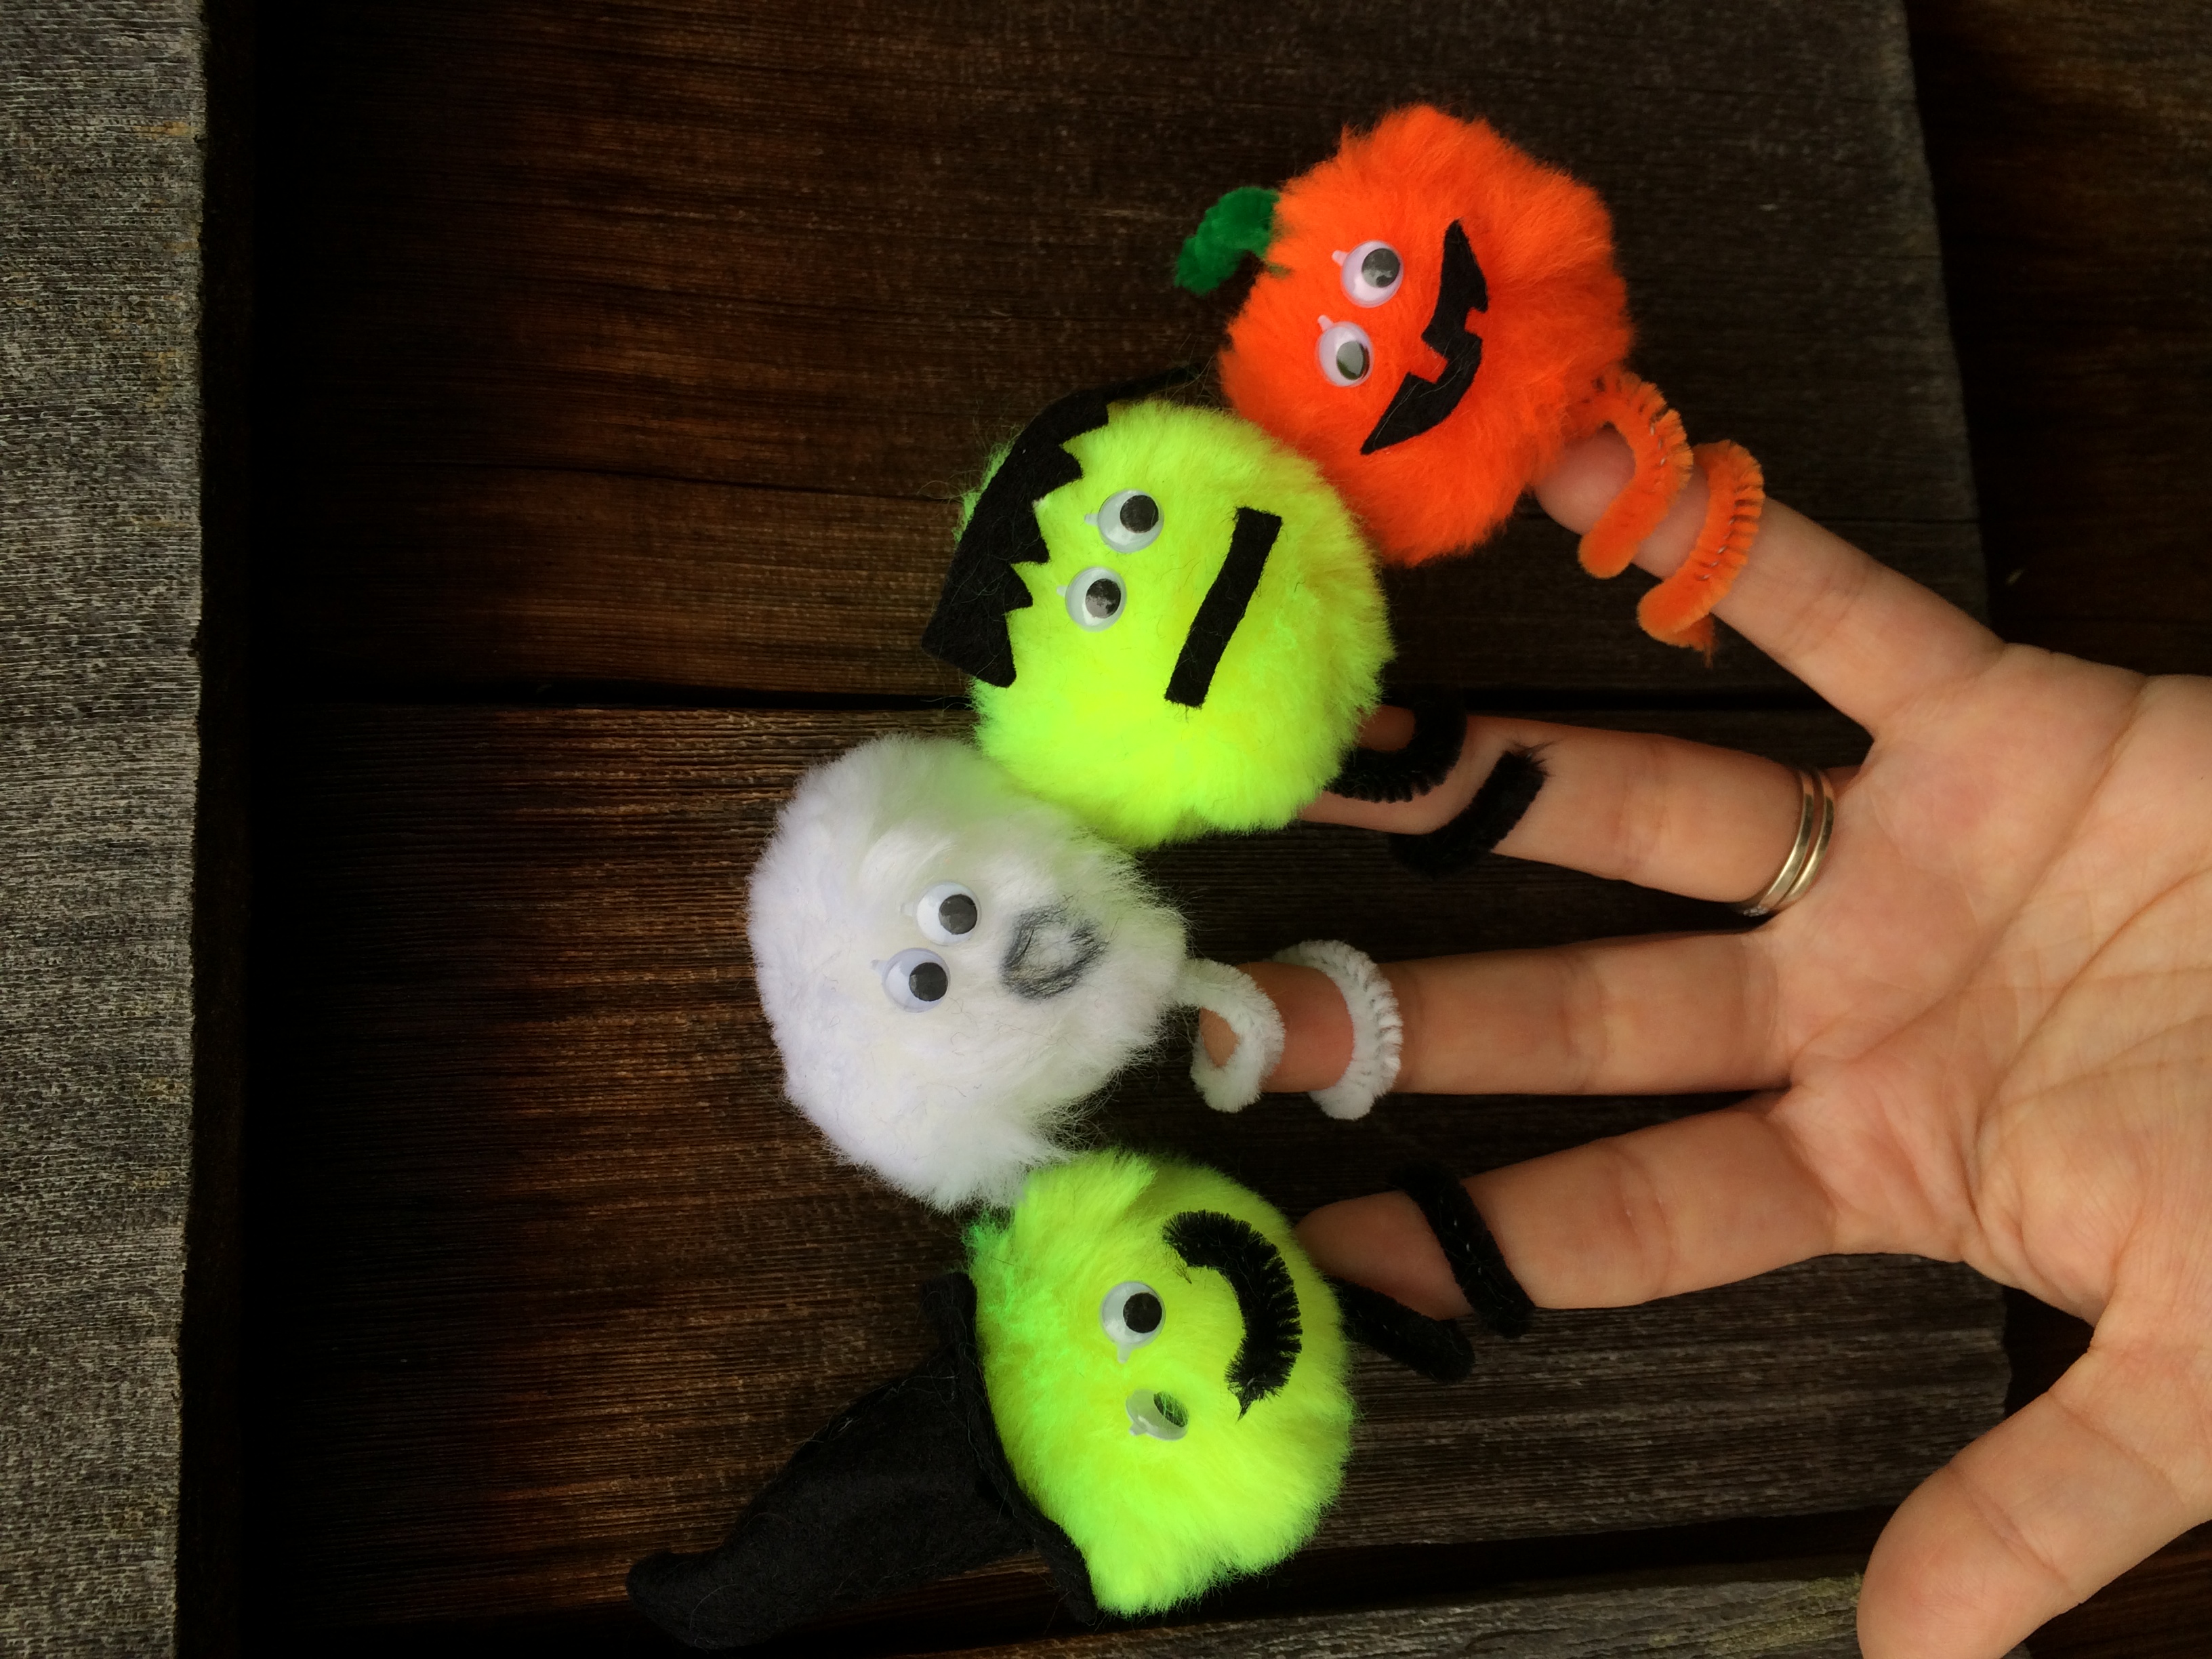
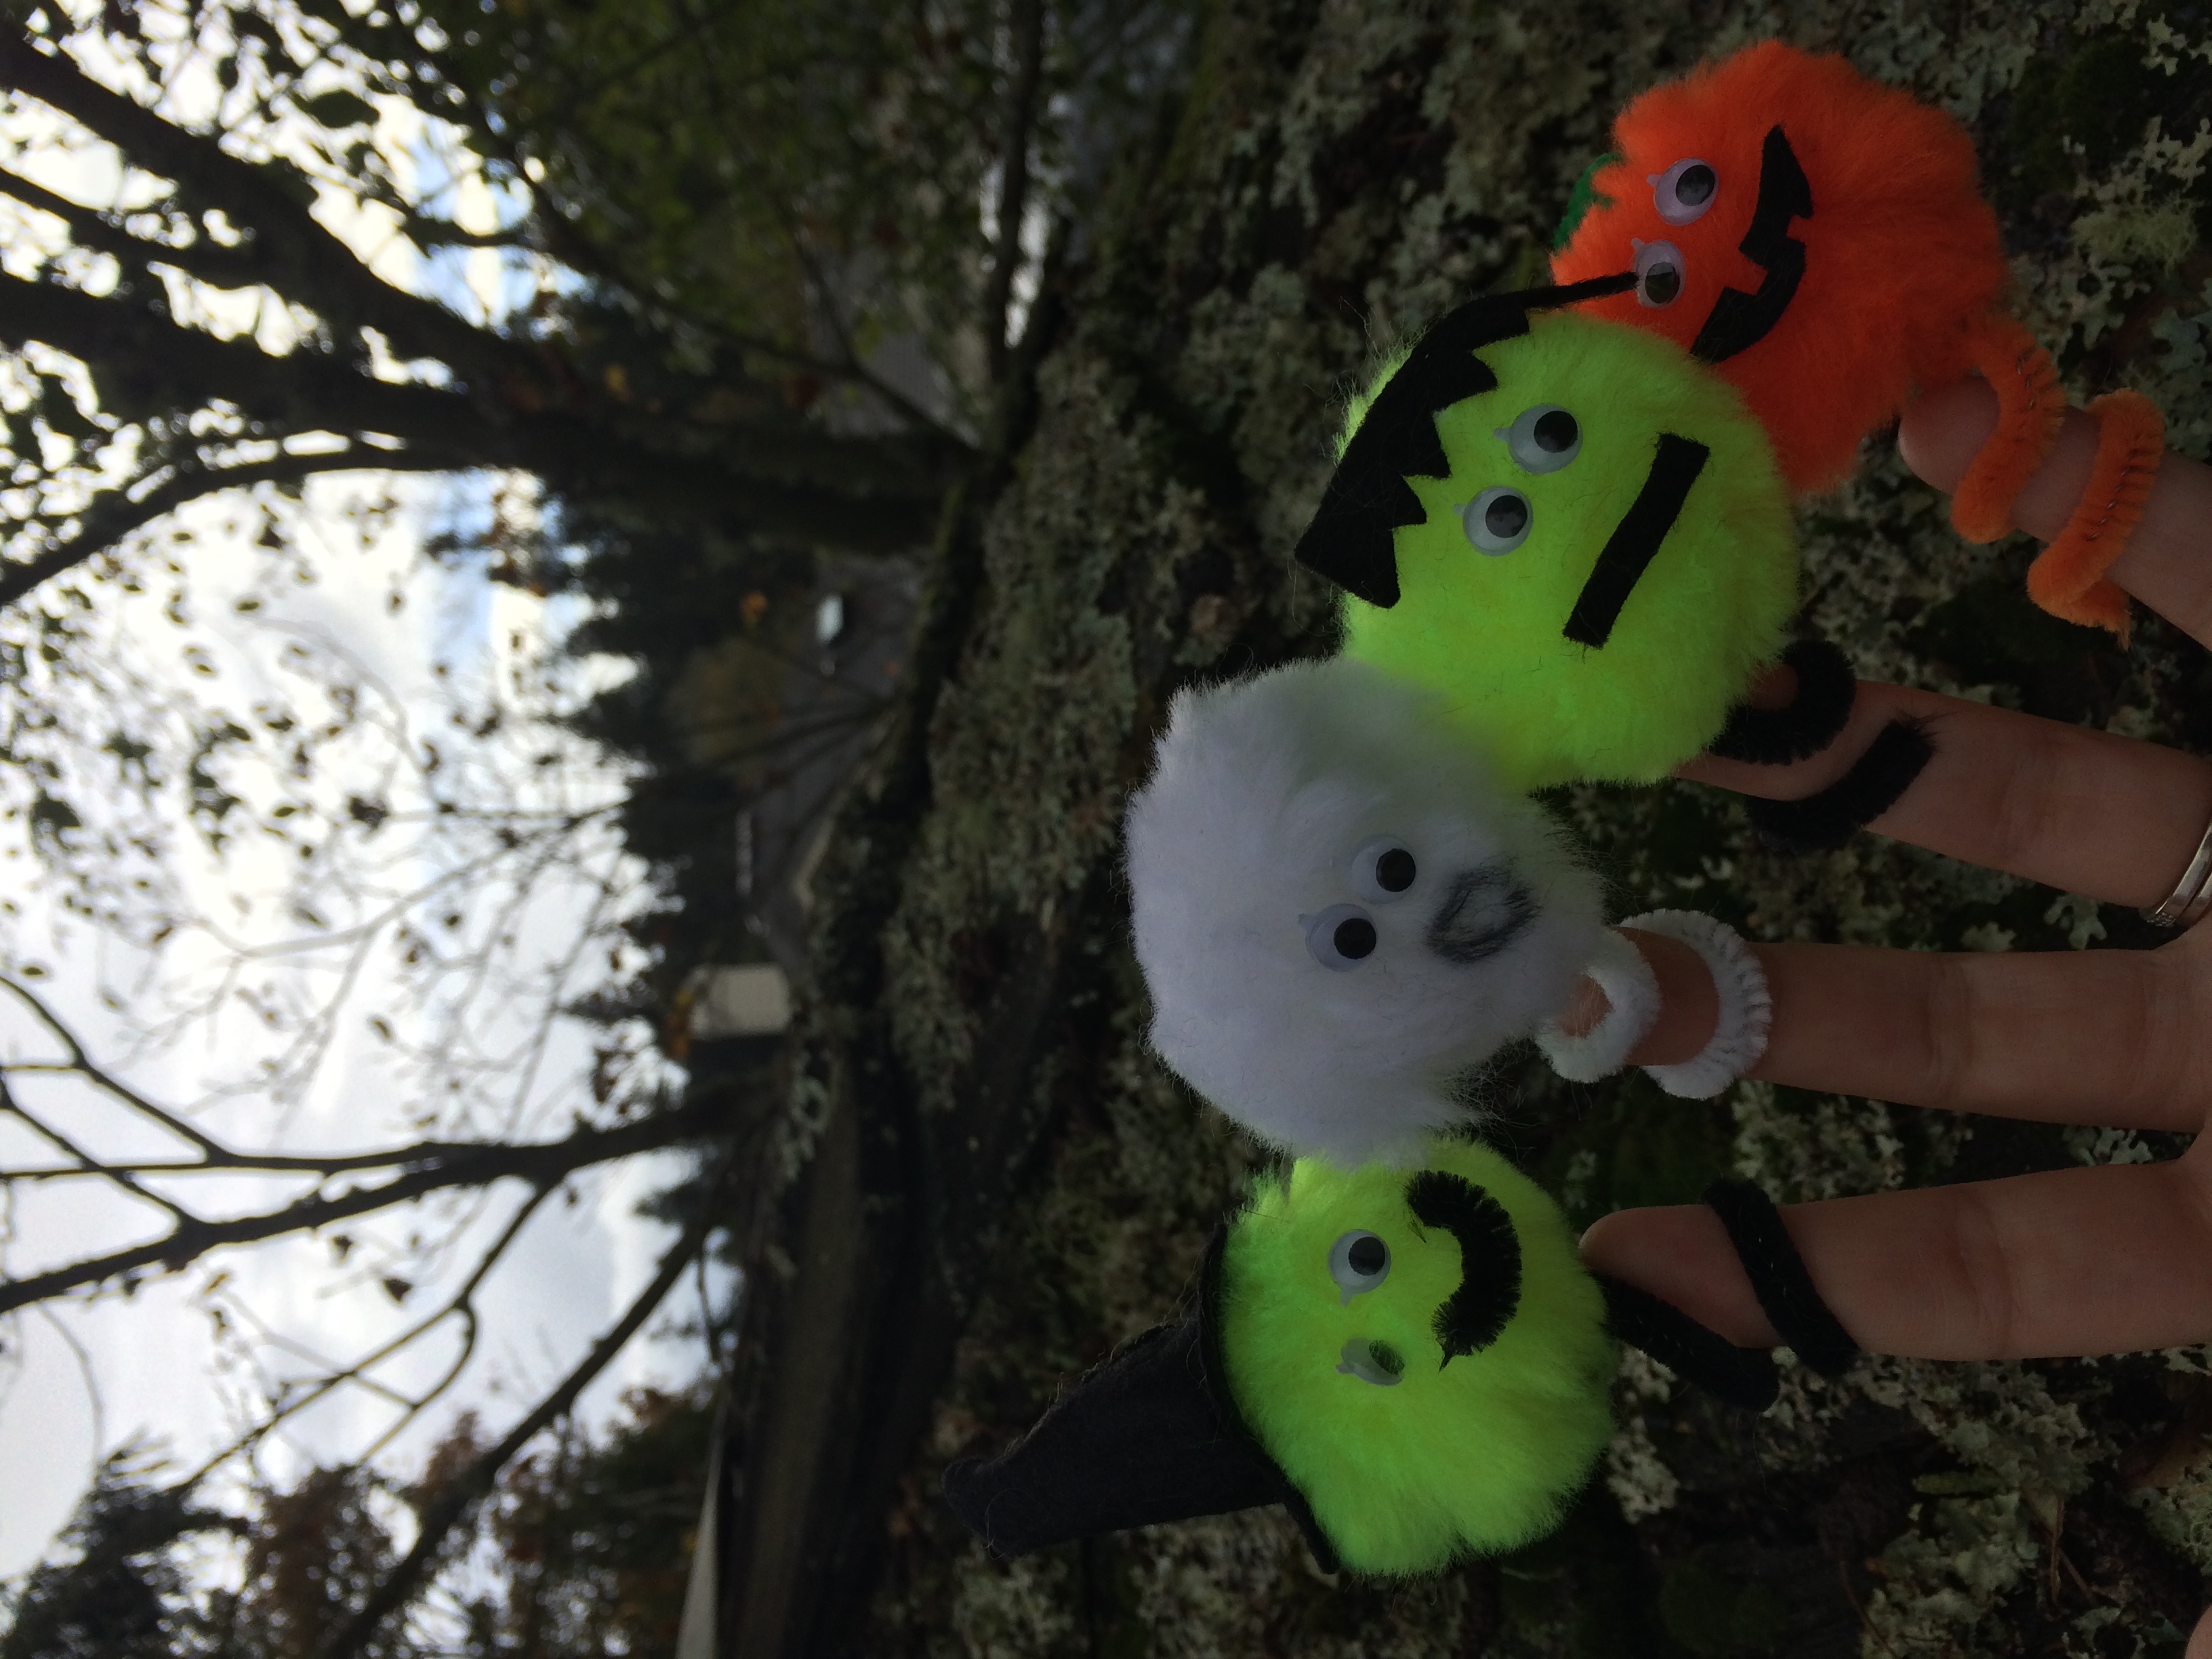
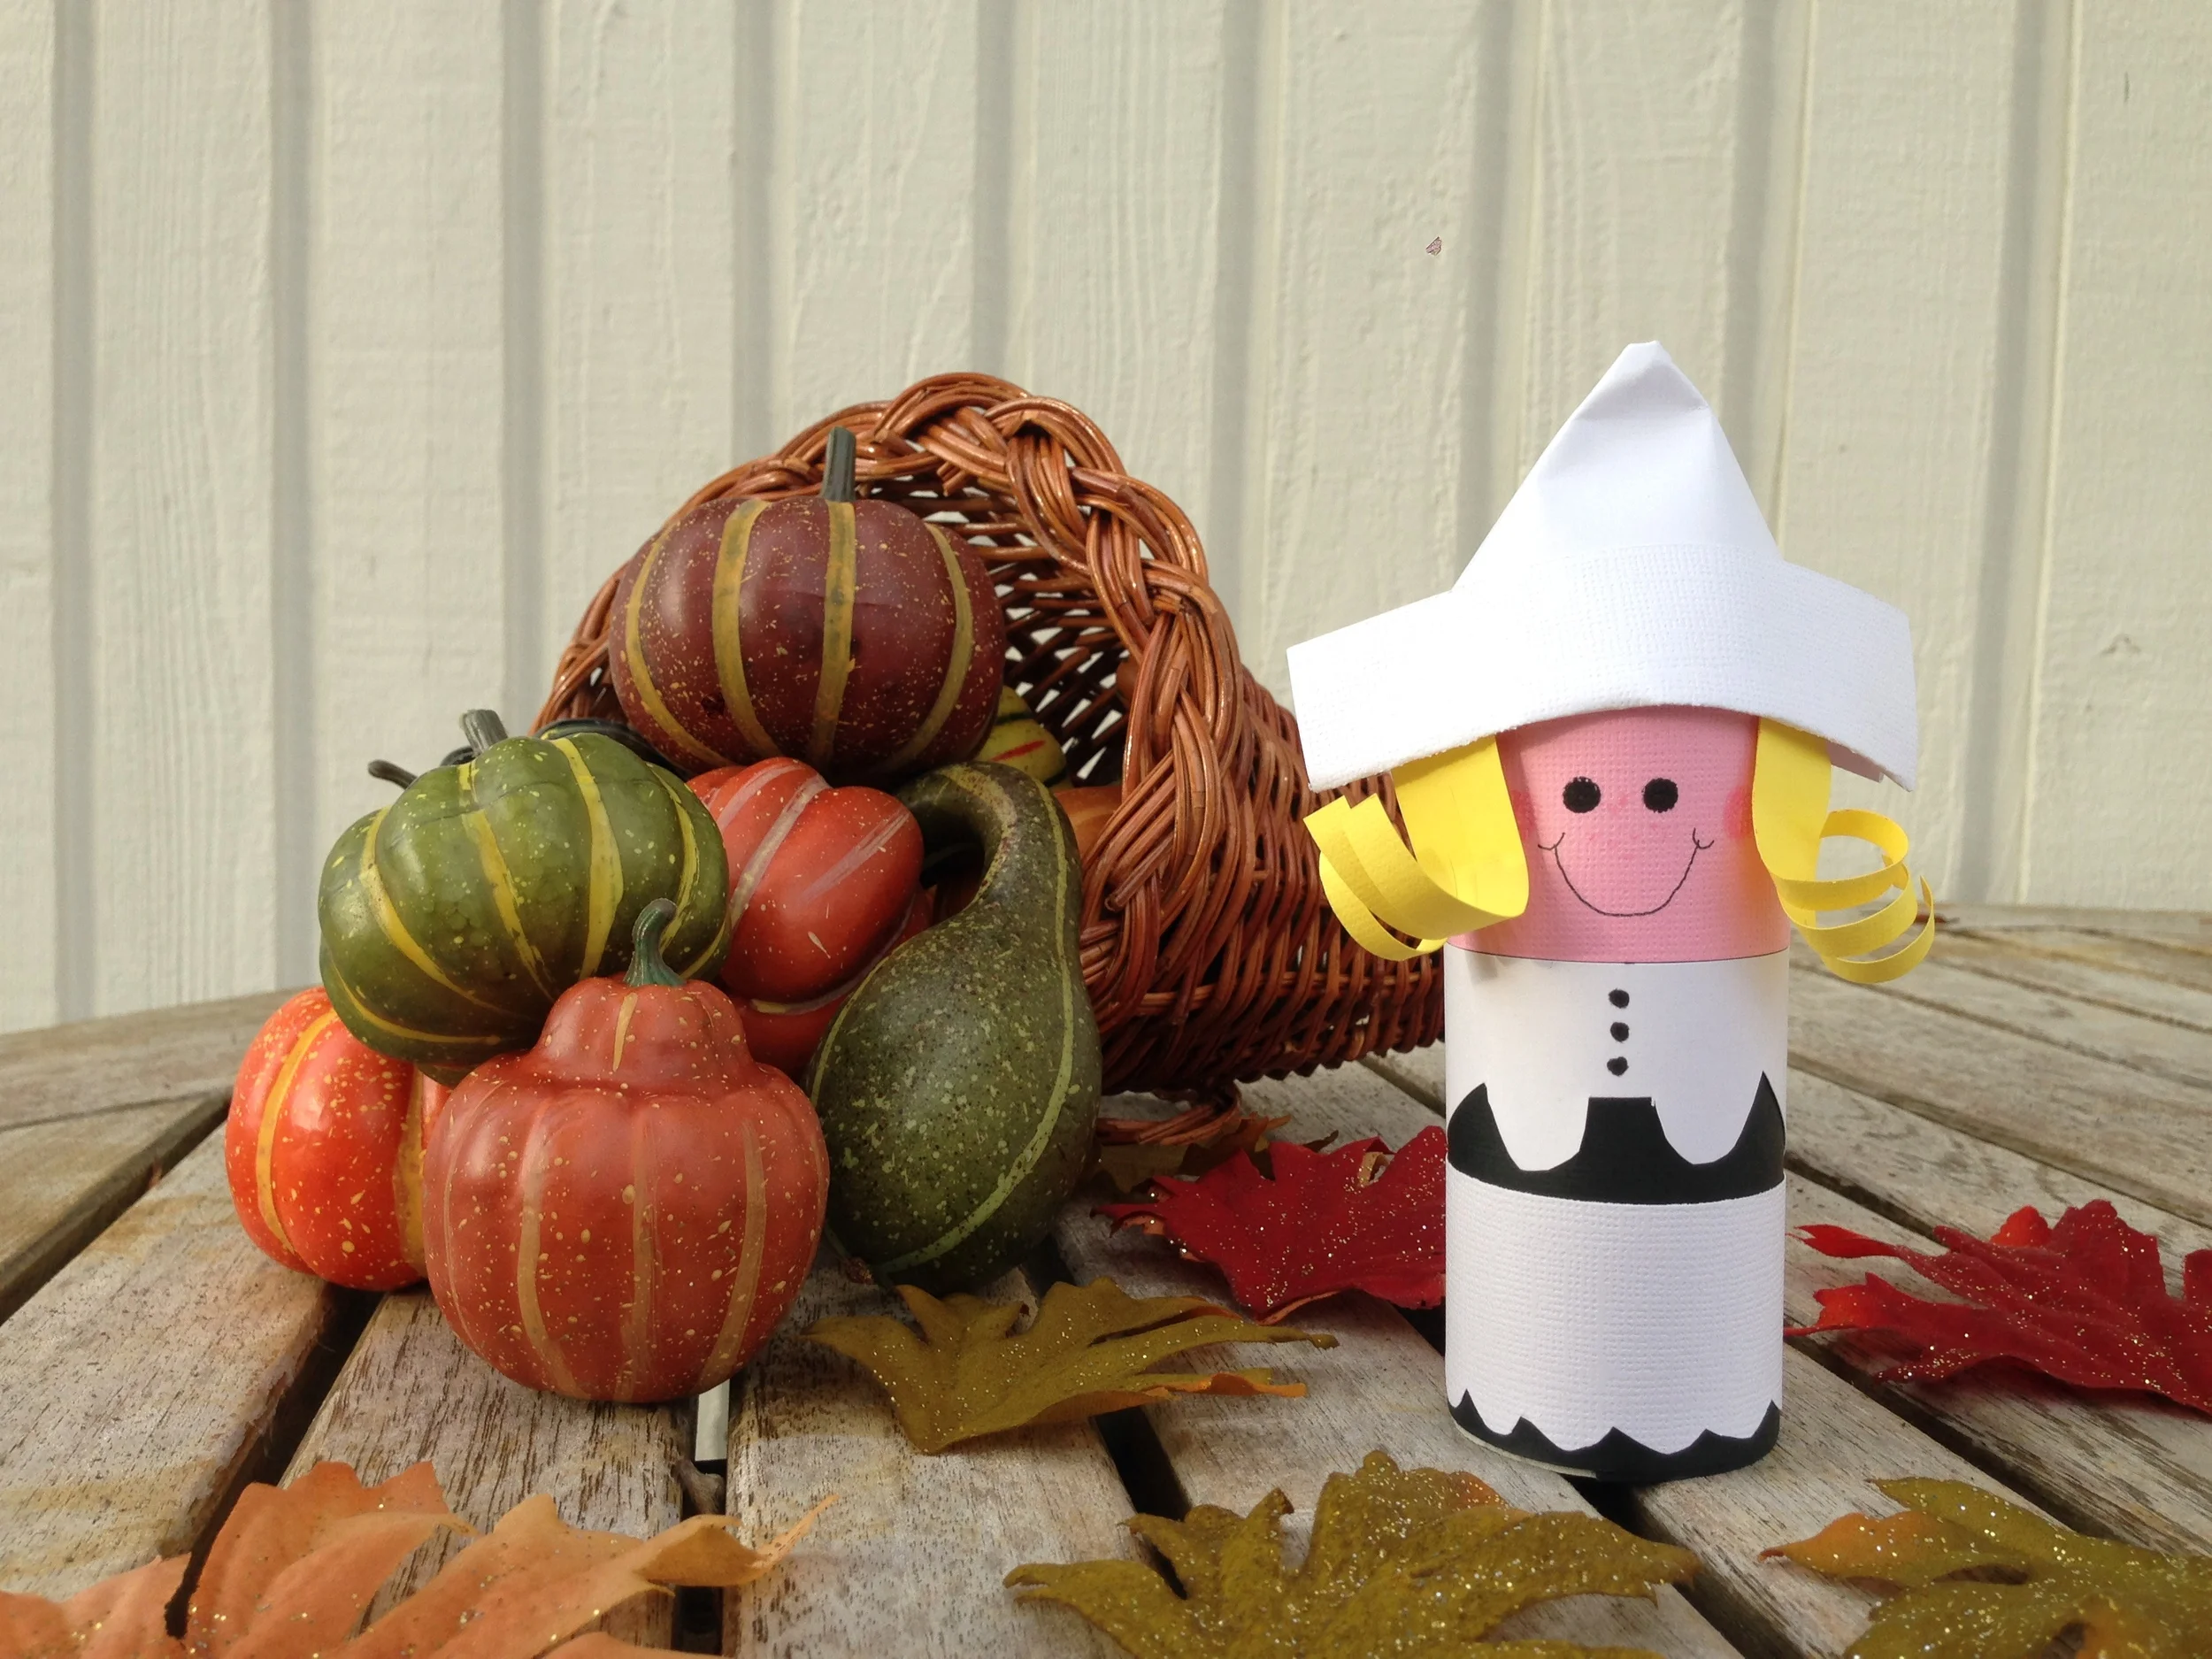
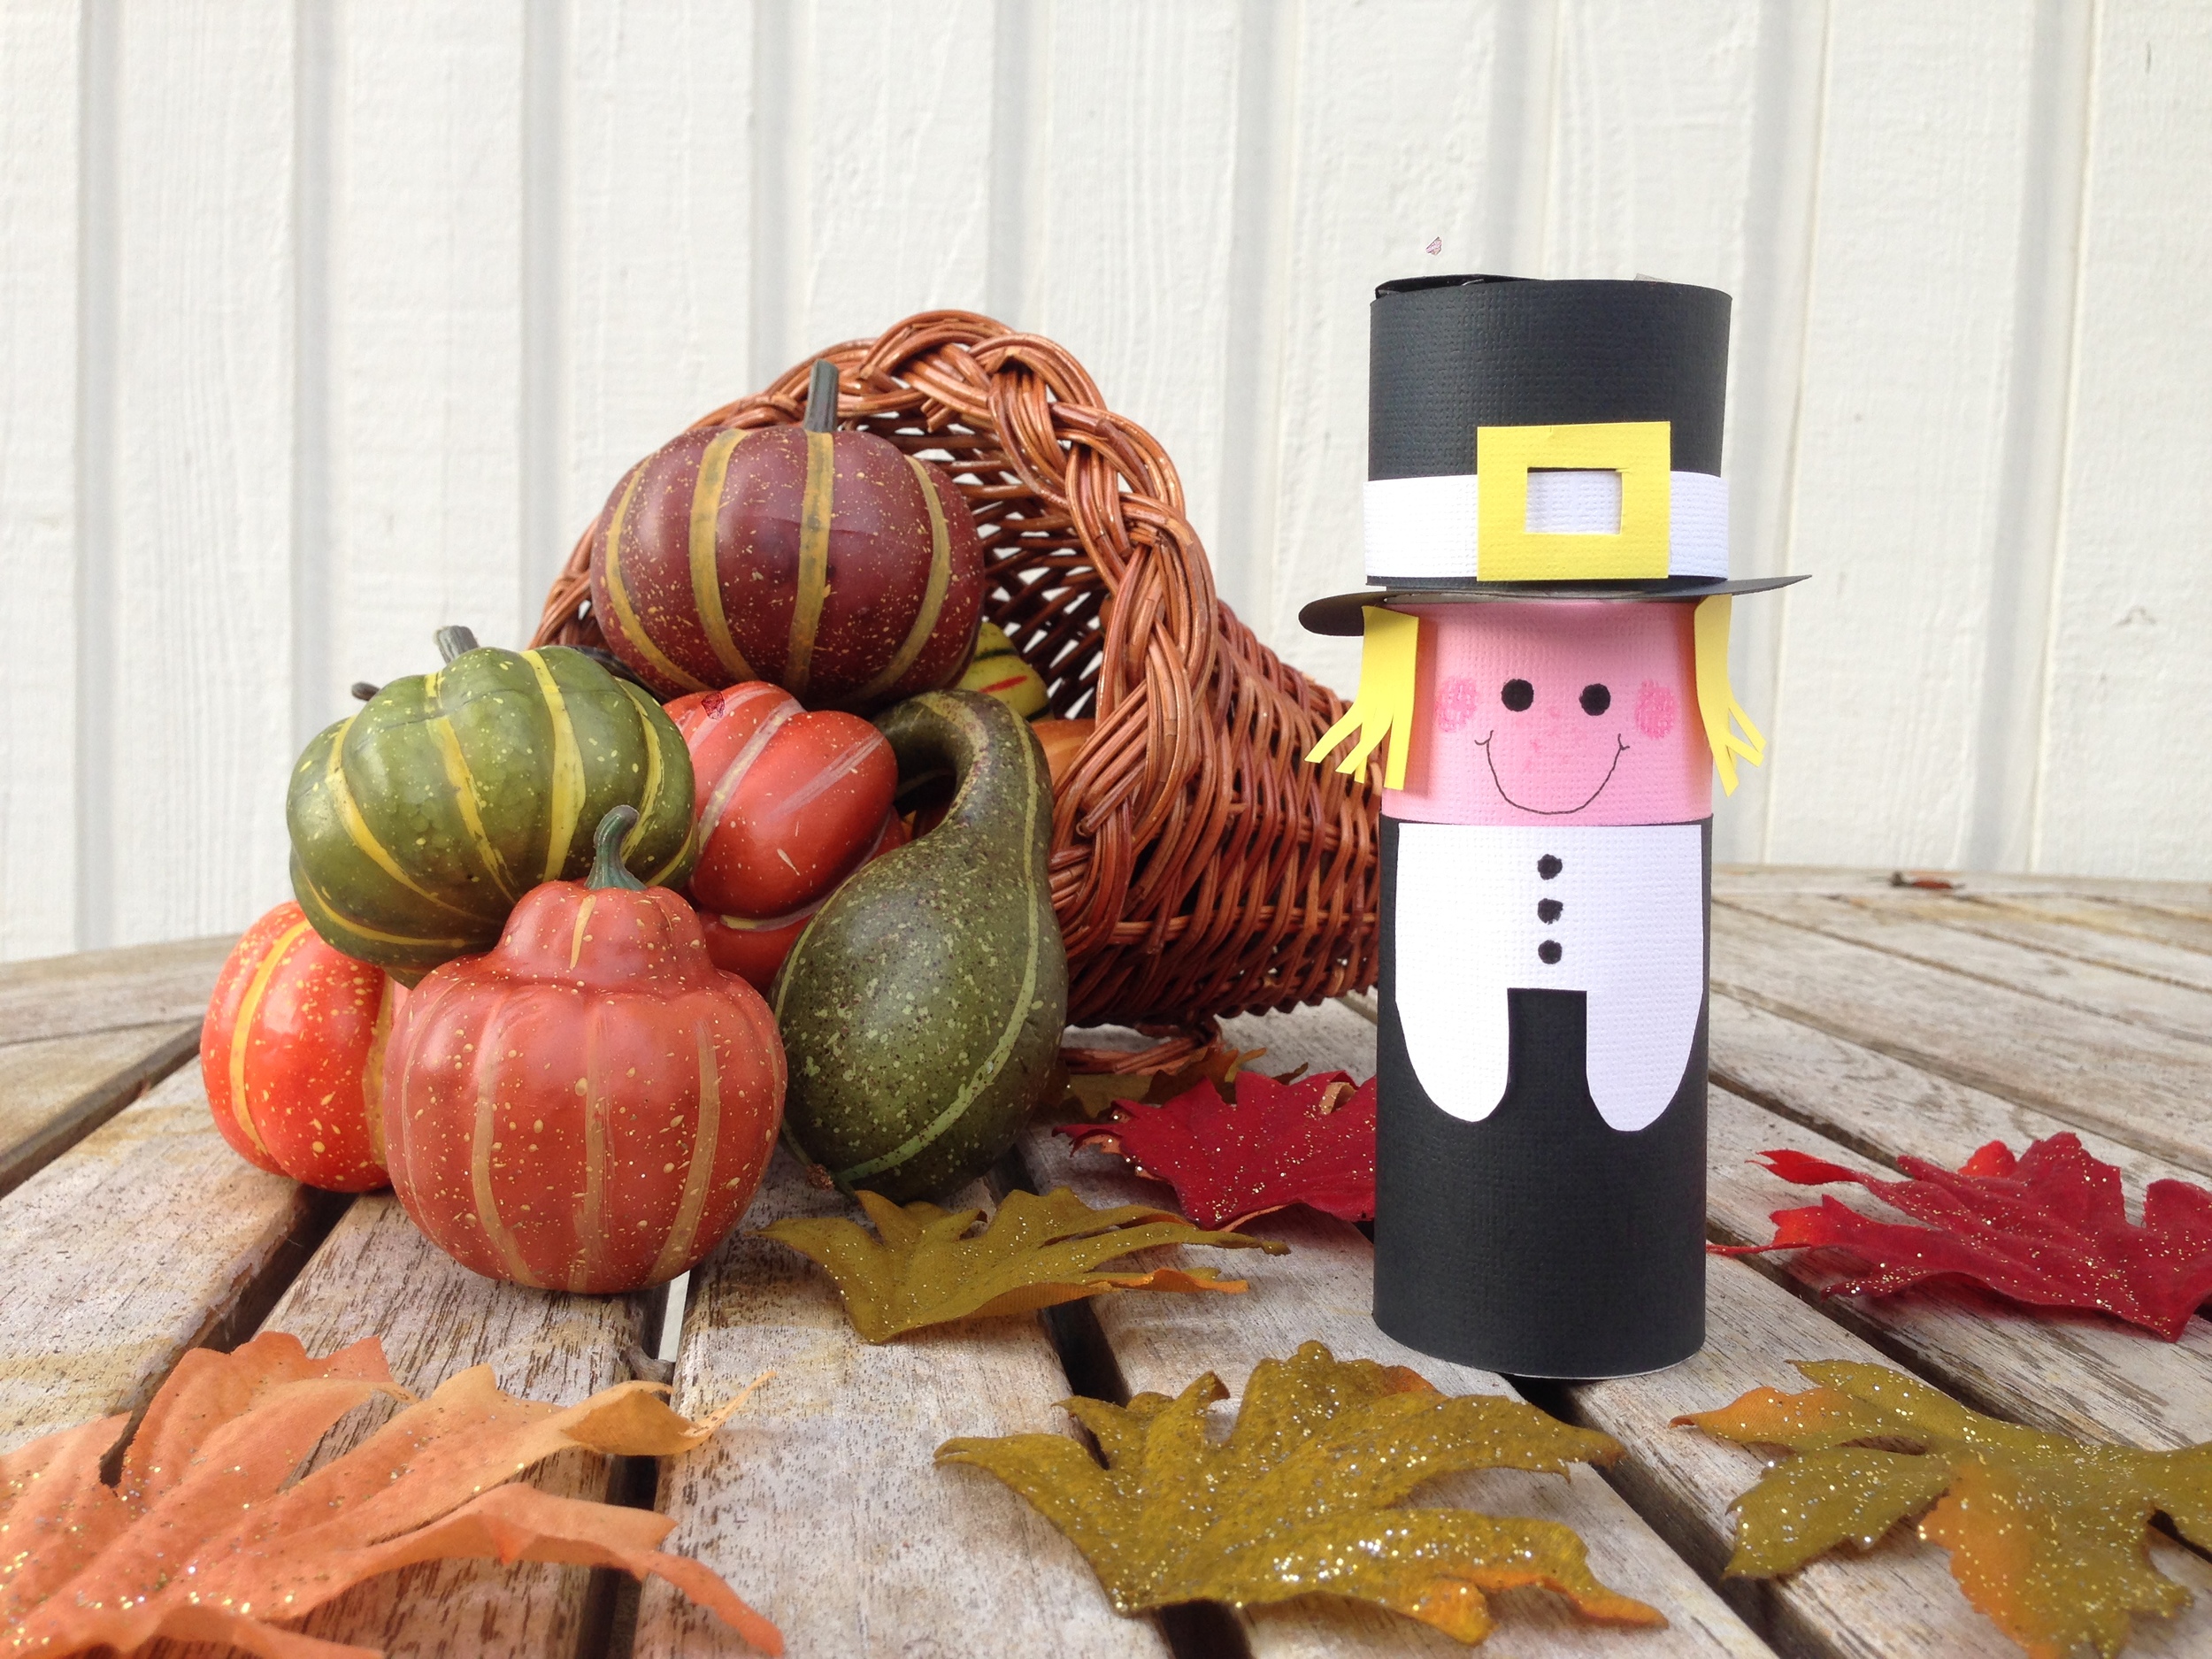
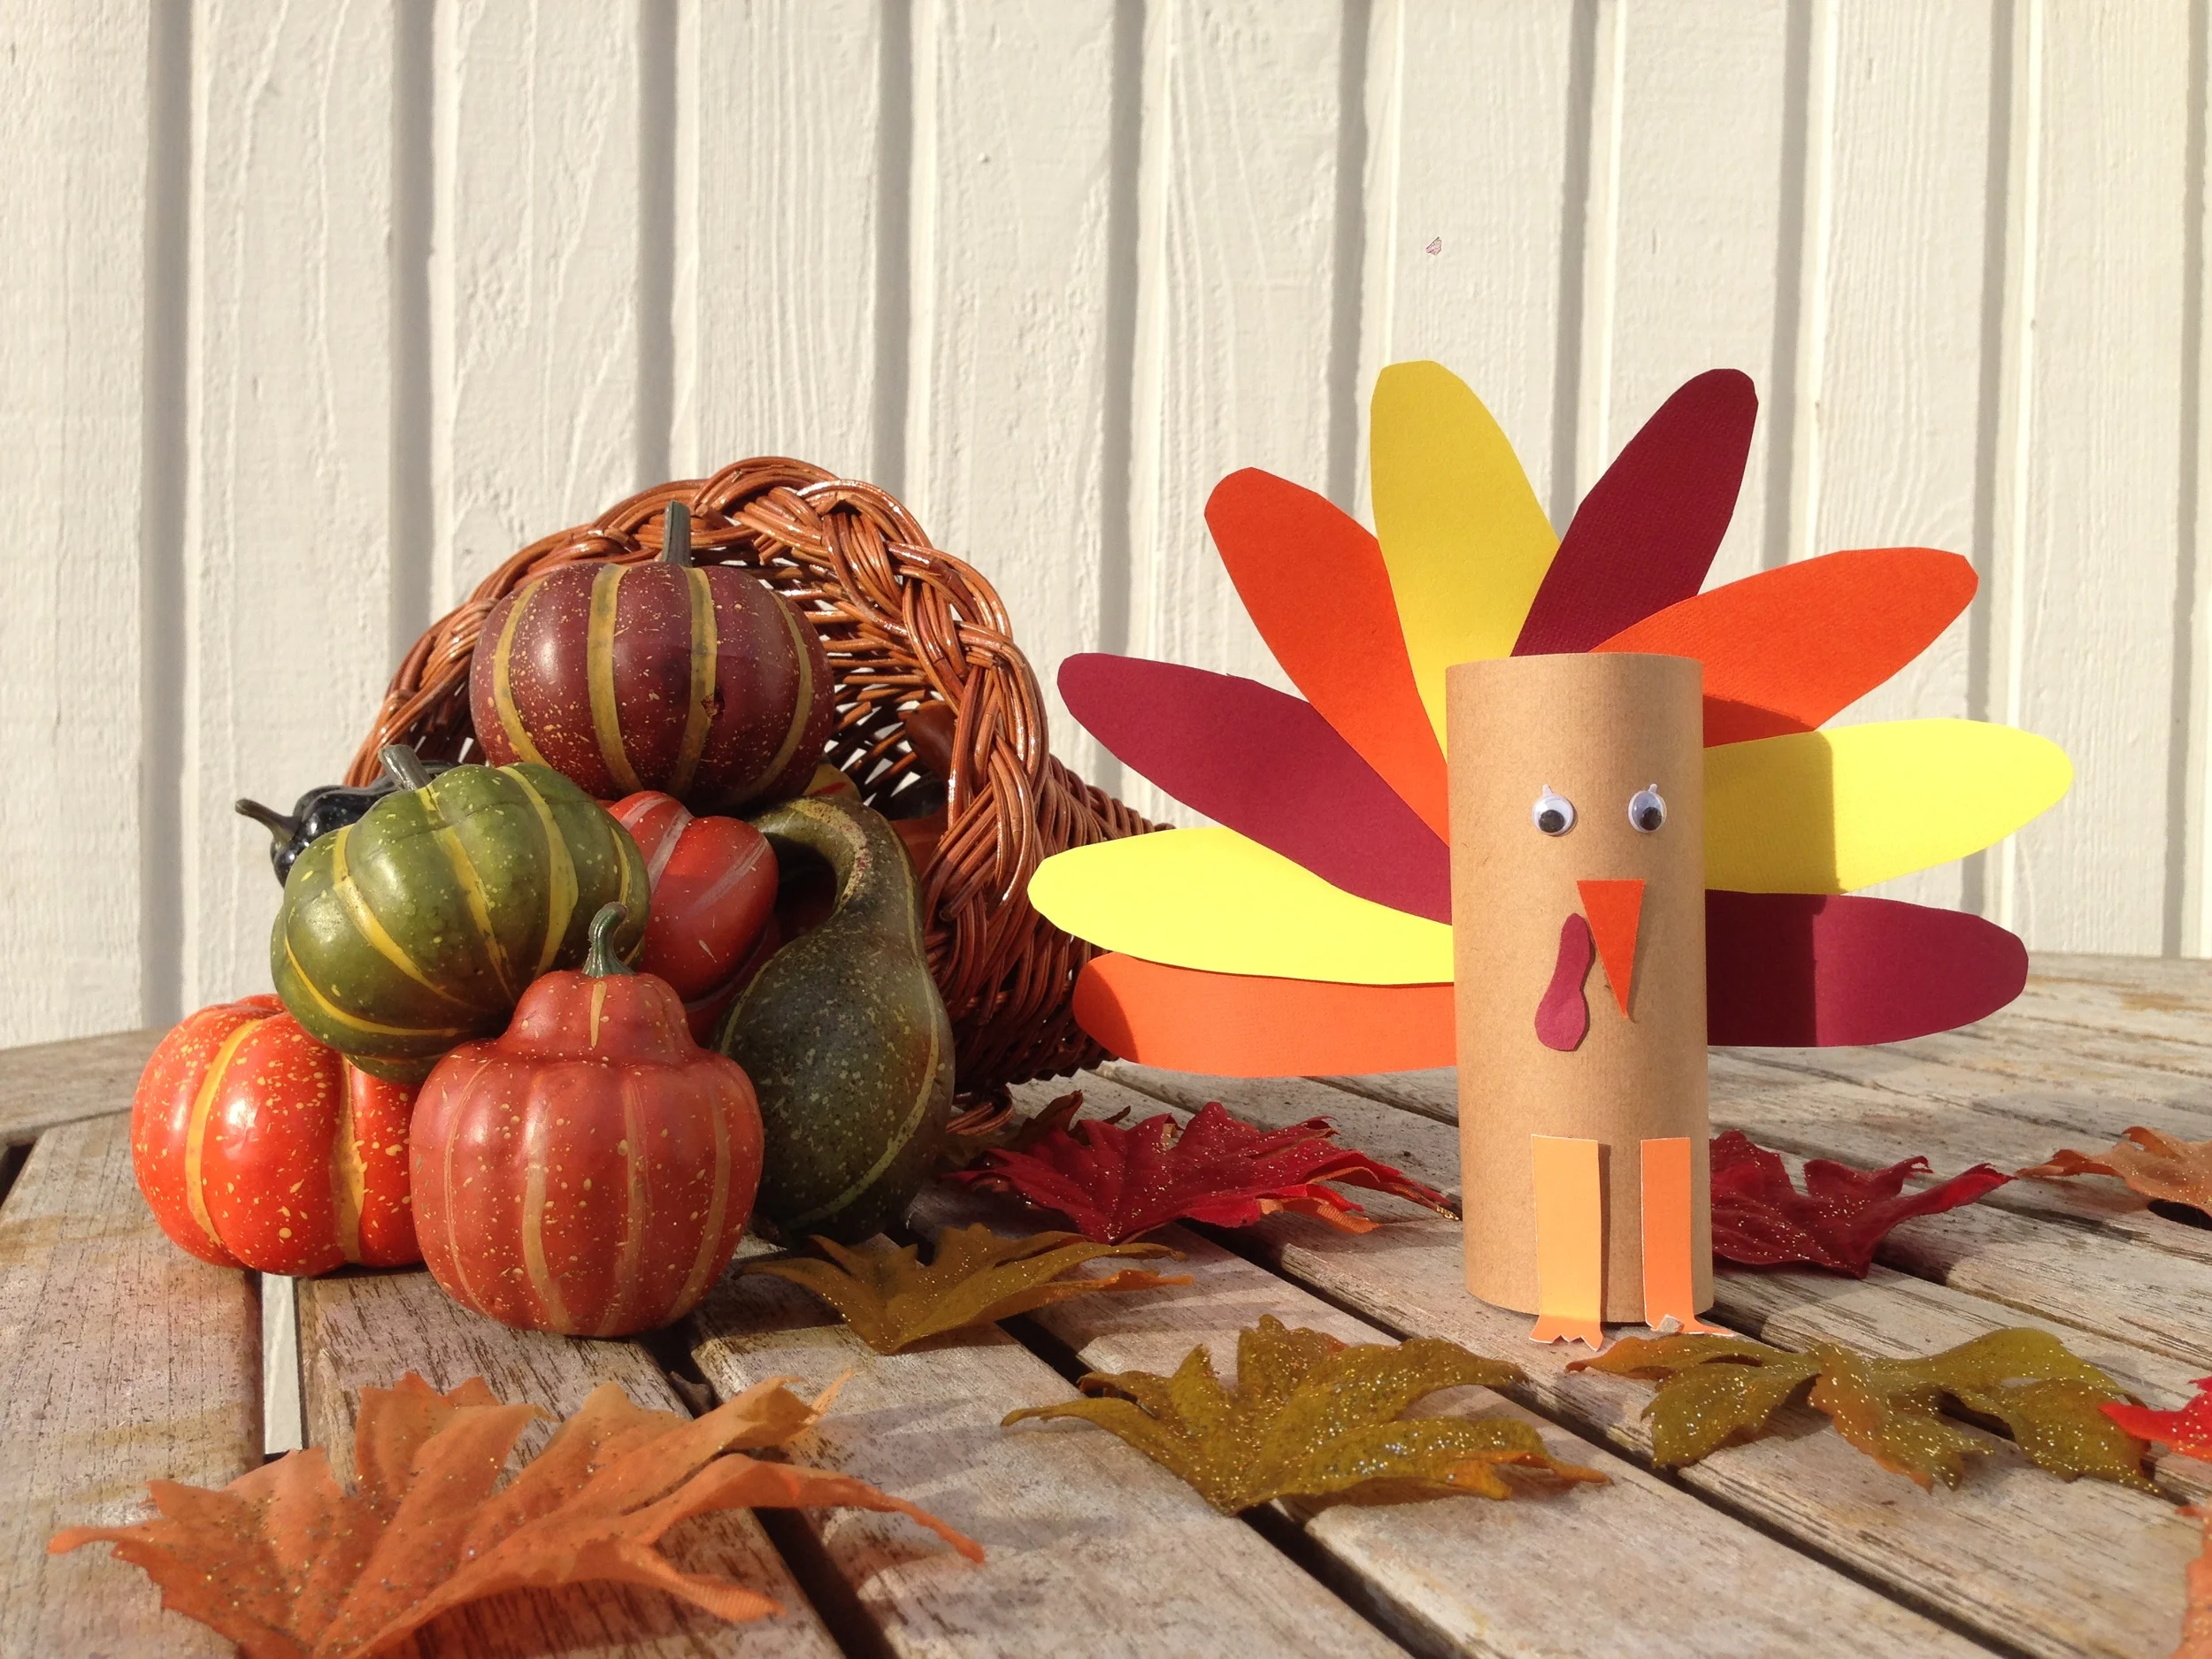
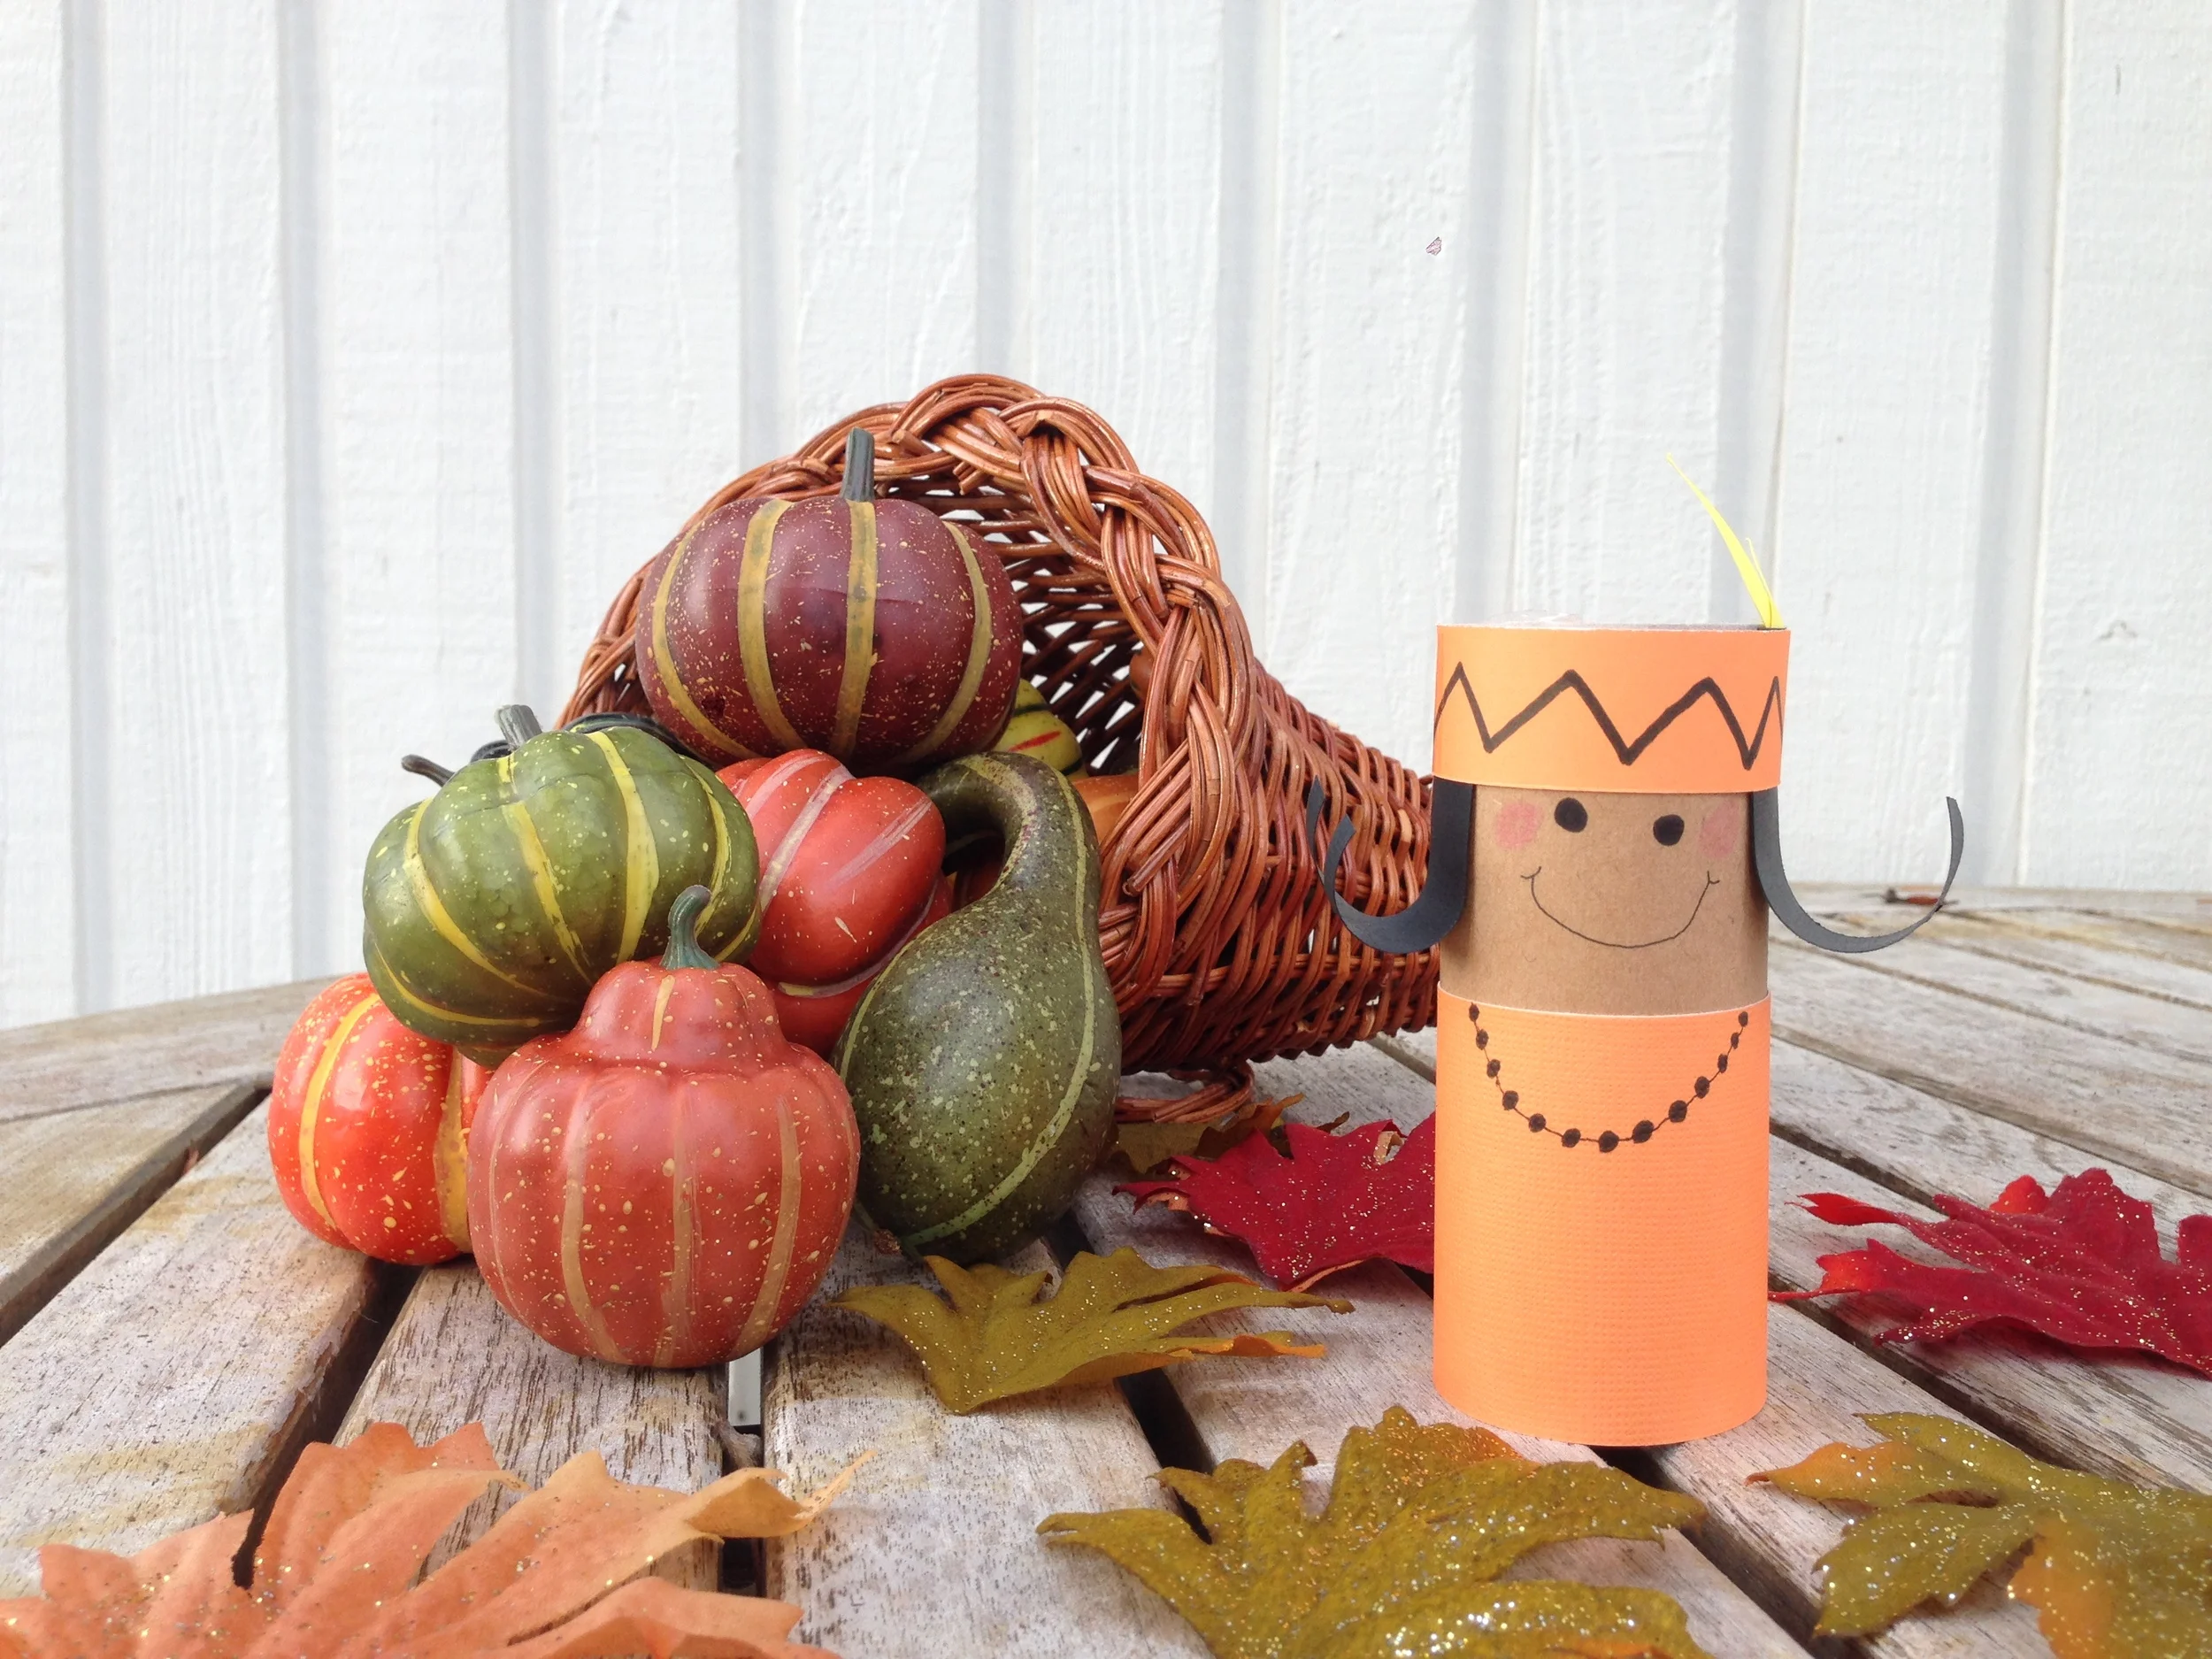
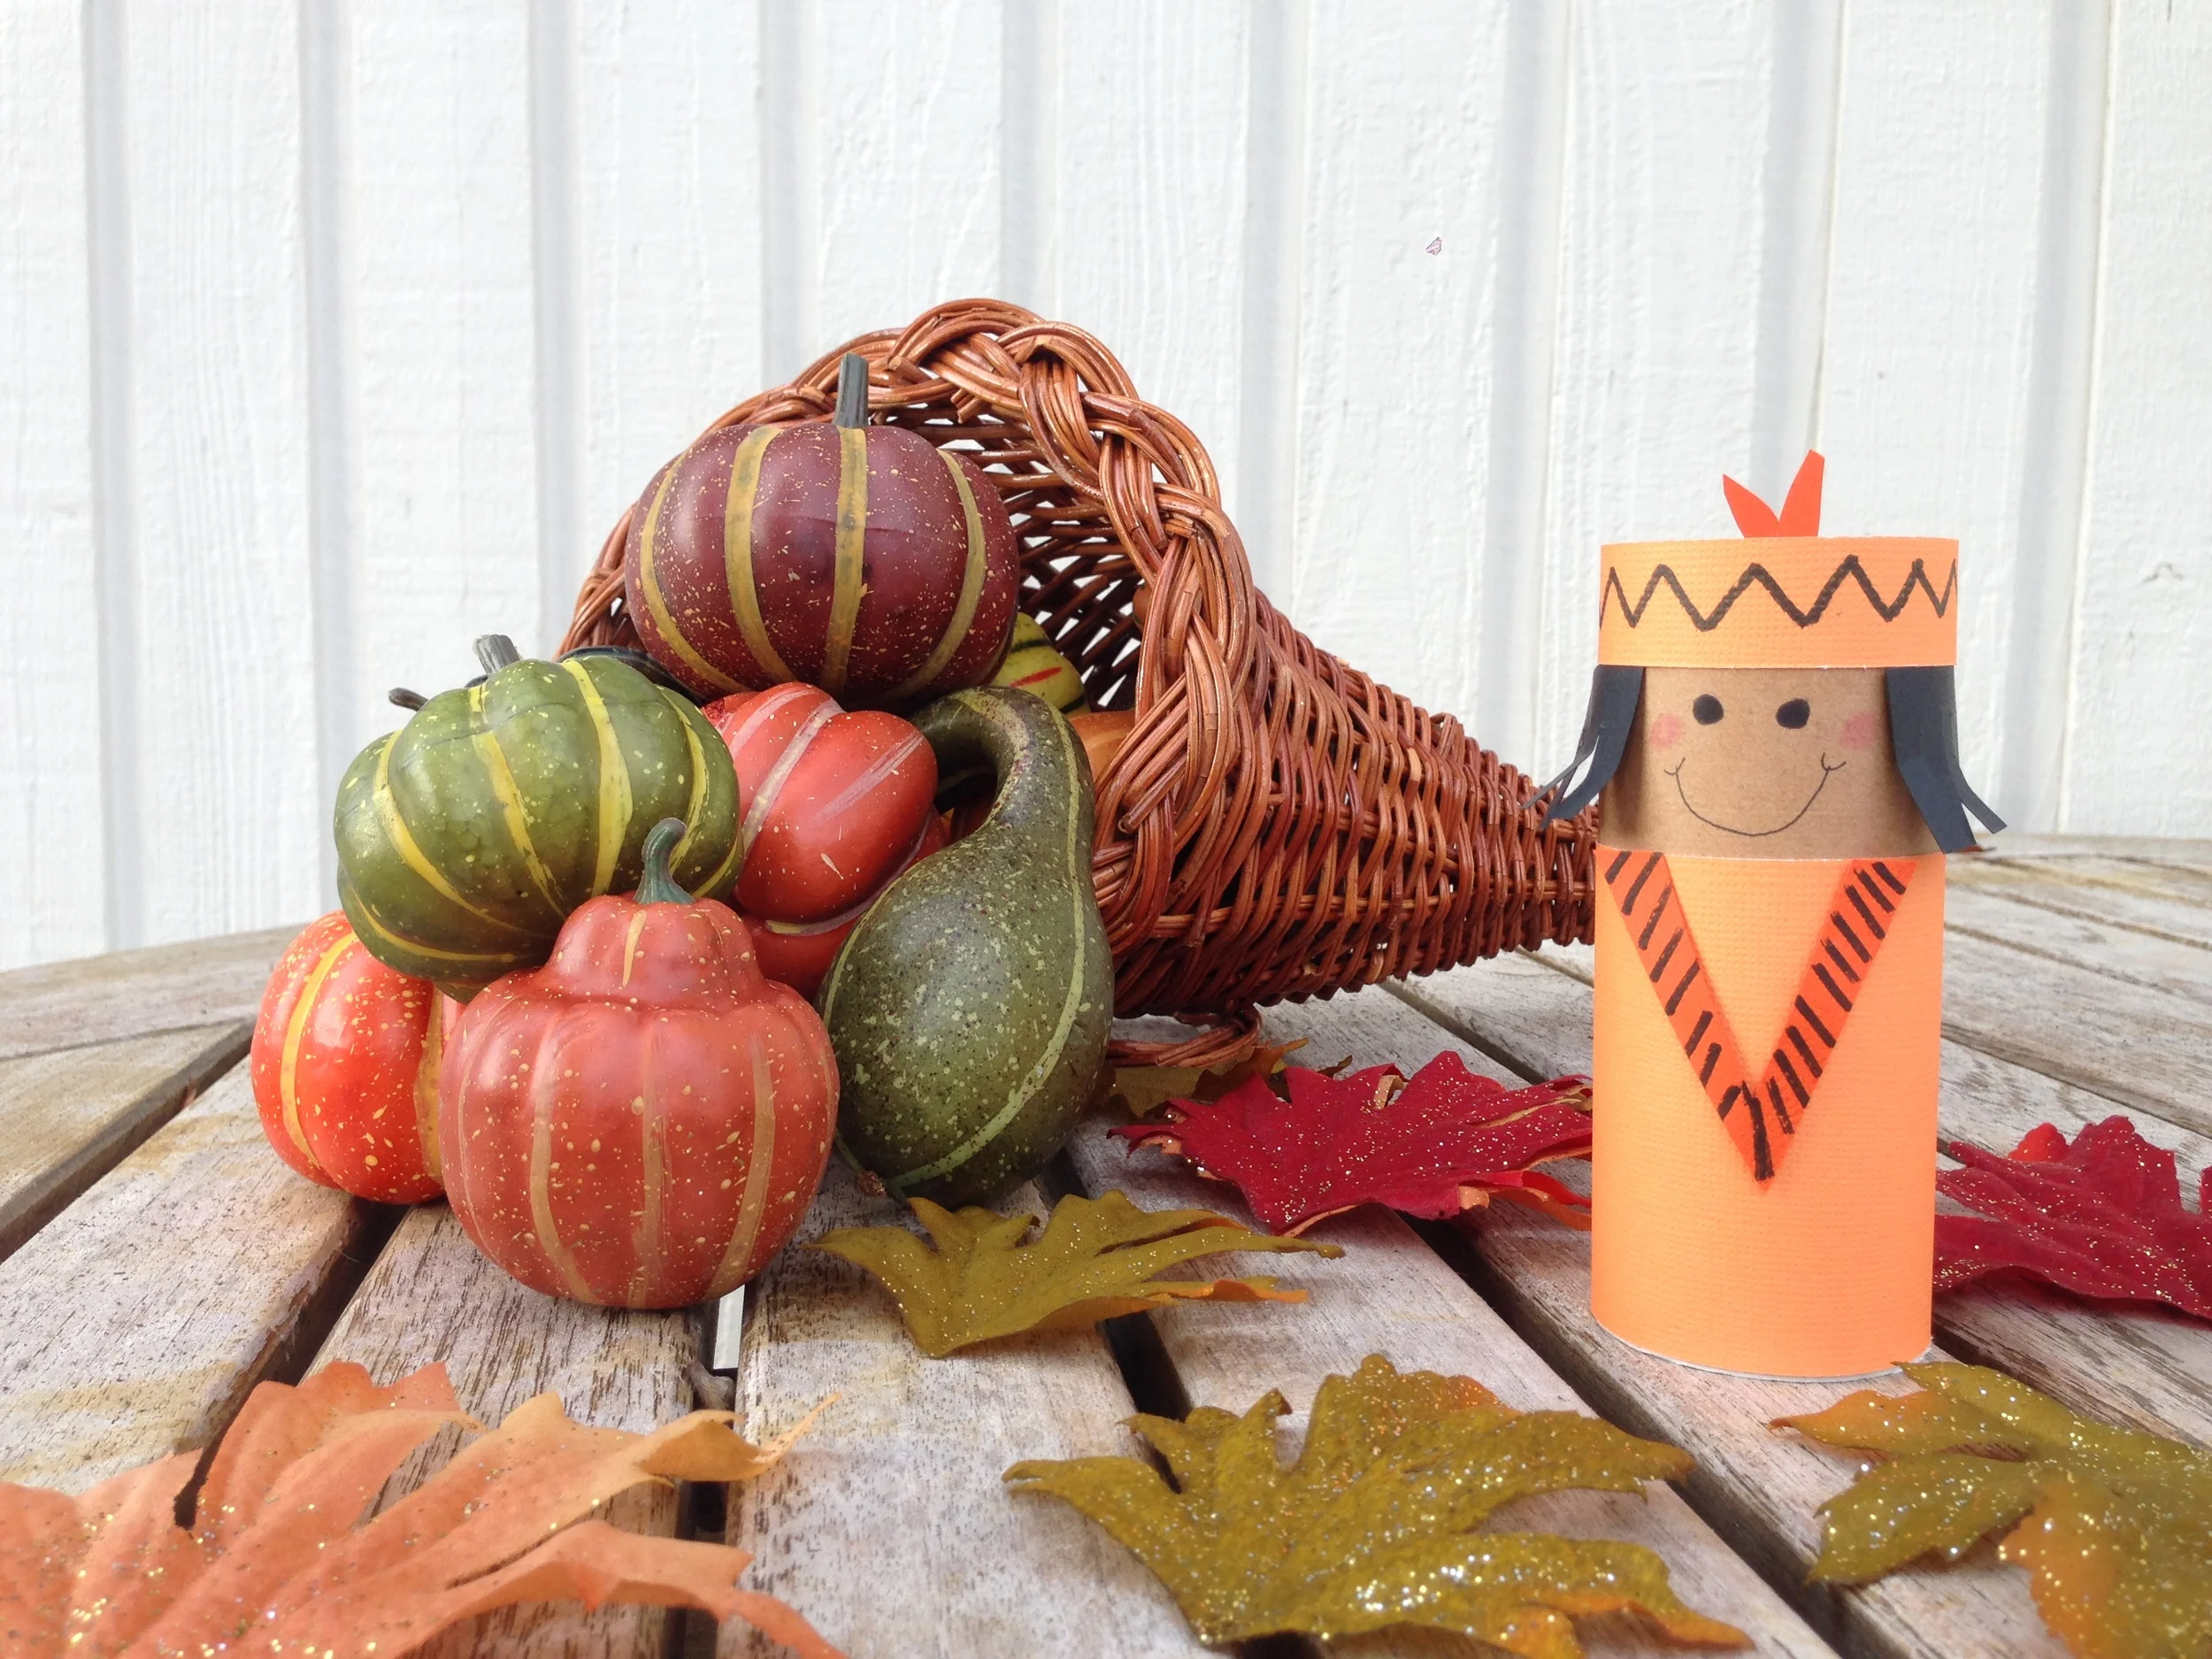
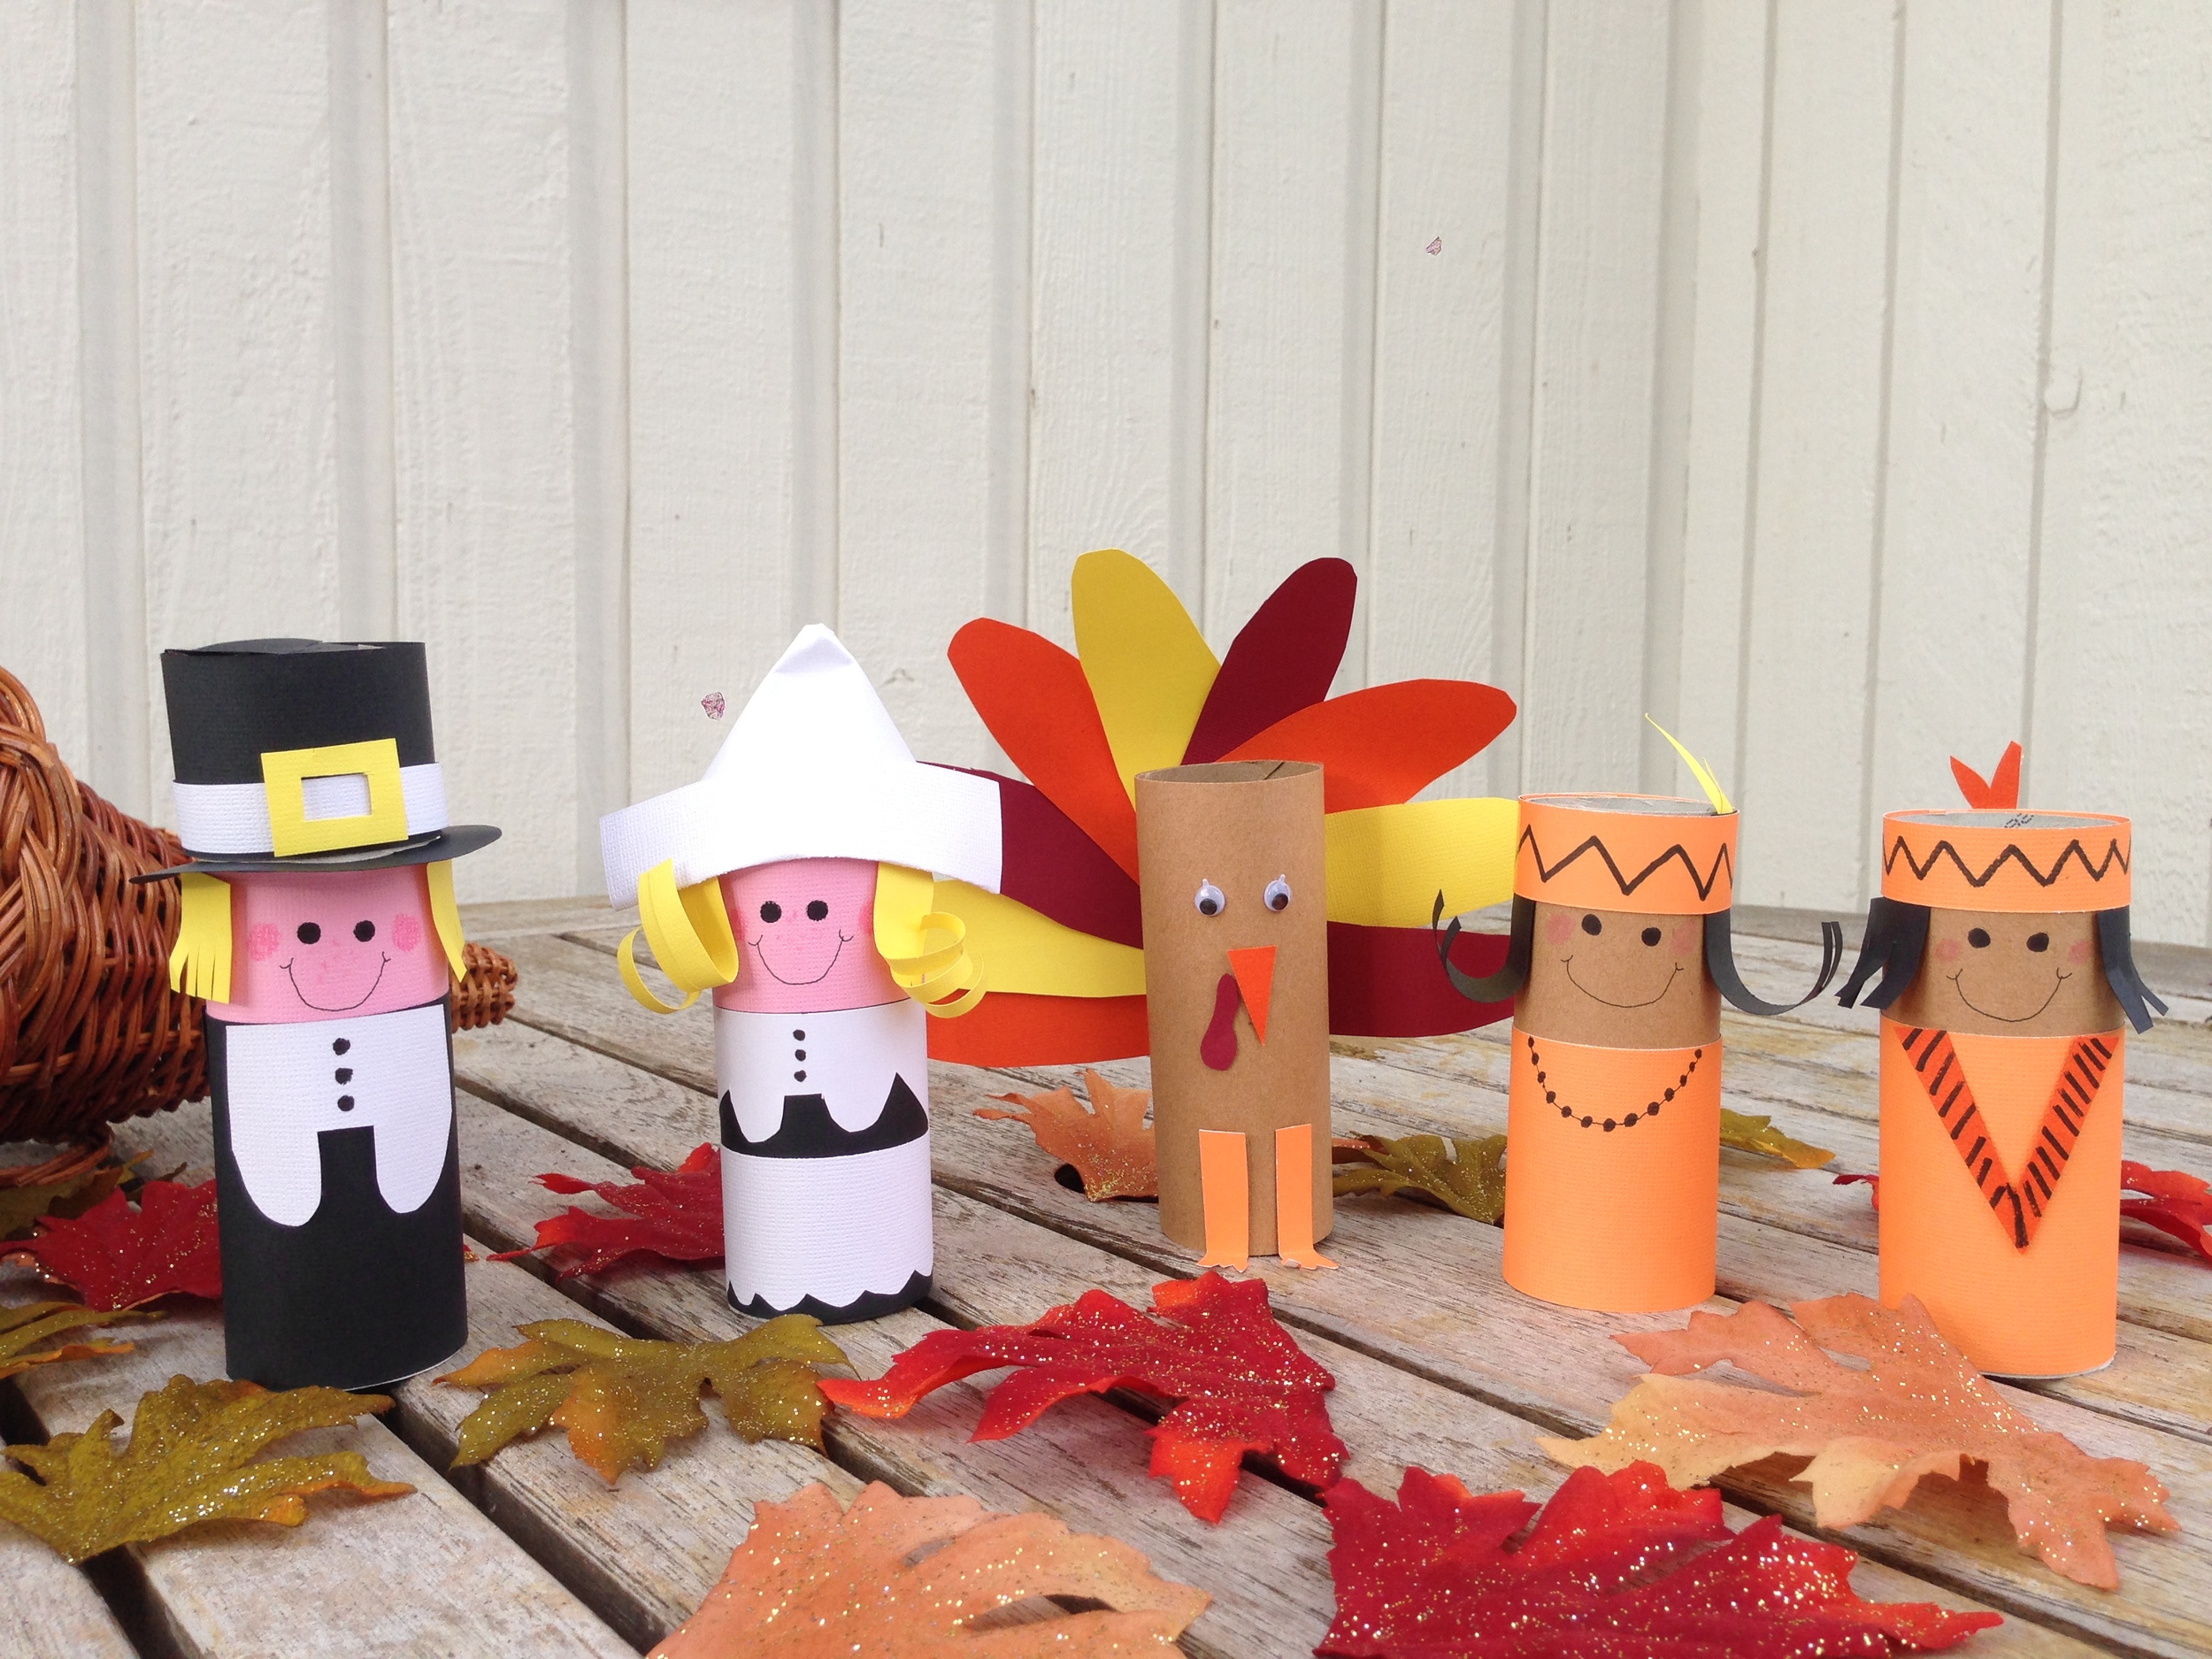
Thanksgiving is one of my favorite holidays, and I was excited to spend part of this past weekend going through some of my decorations, and trying to decide what to put up to make these dreary, November days more festive. Last year, I found adorable toilet paper tube Thanksgiving friends and this colorful toilet paper tube turkey while perusing Pinterest, and couldn't resist making them to entertain the kids in our waiting room at work. They got so many laughs and smiles that I can't wait to put them out again this year.

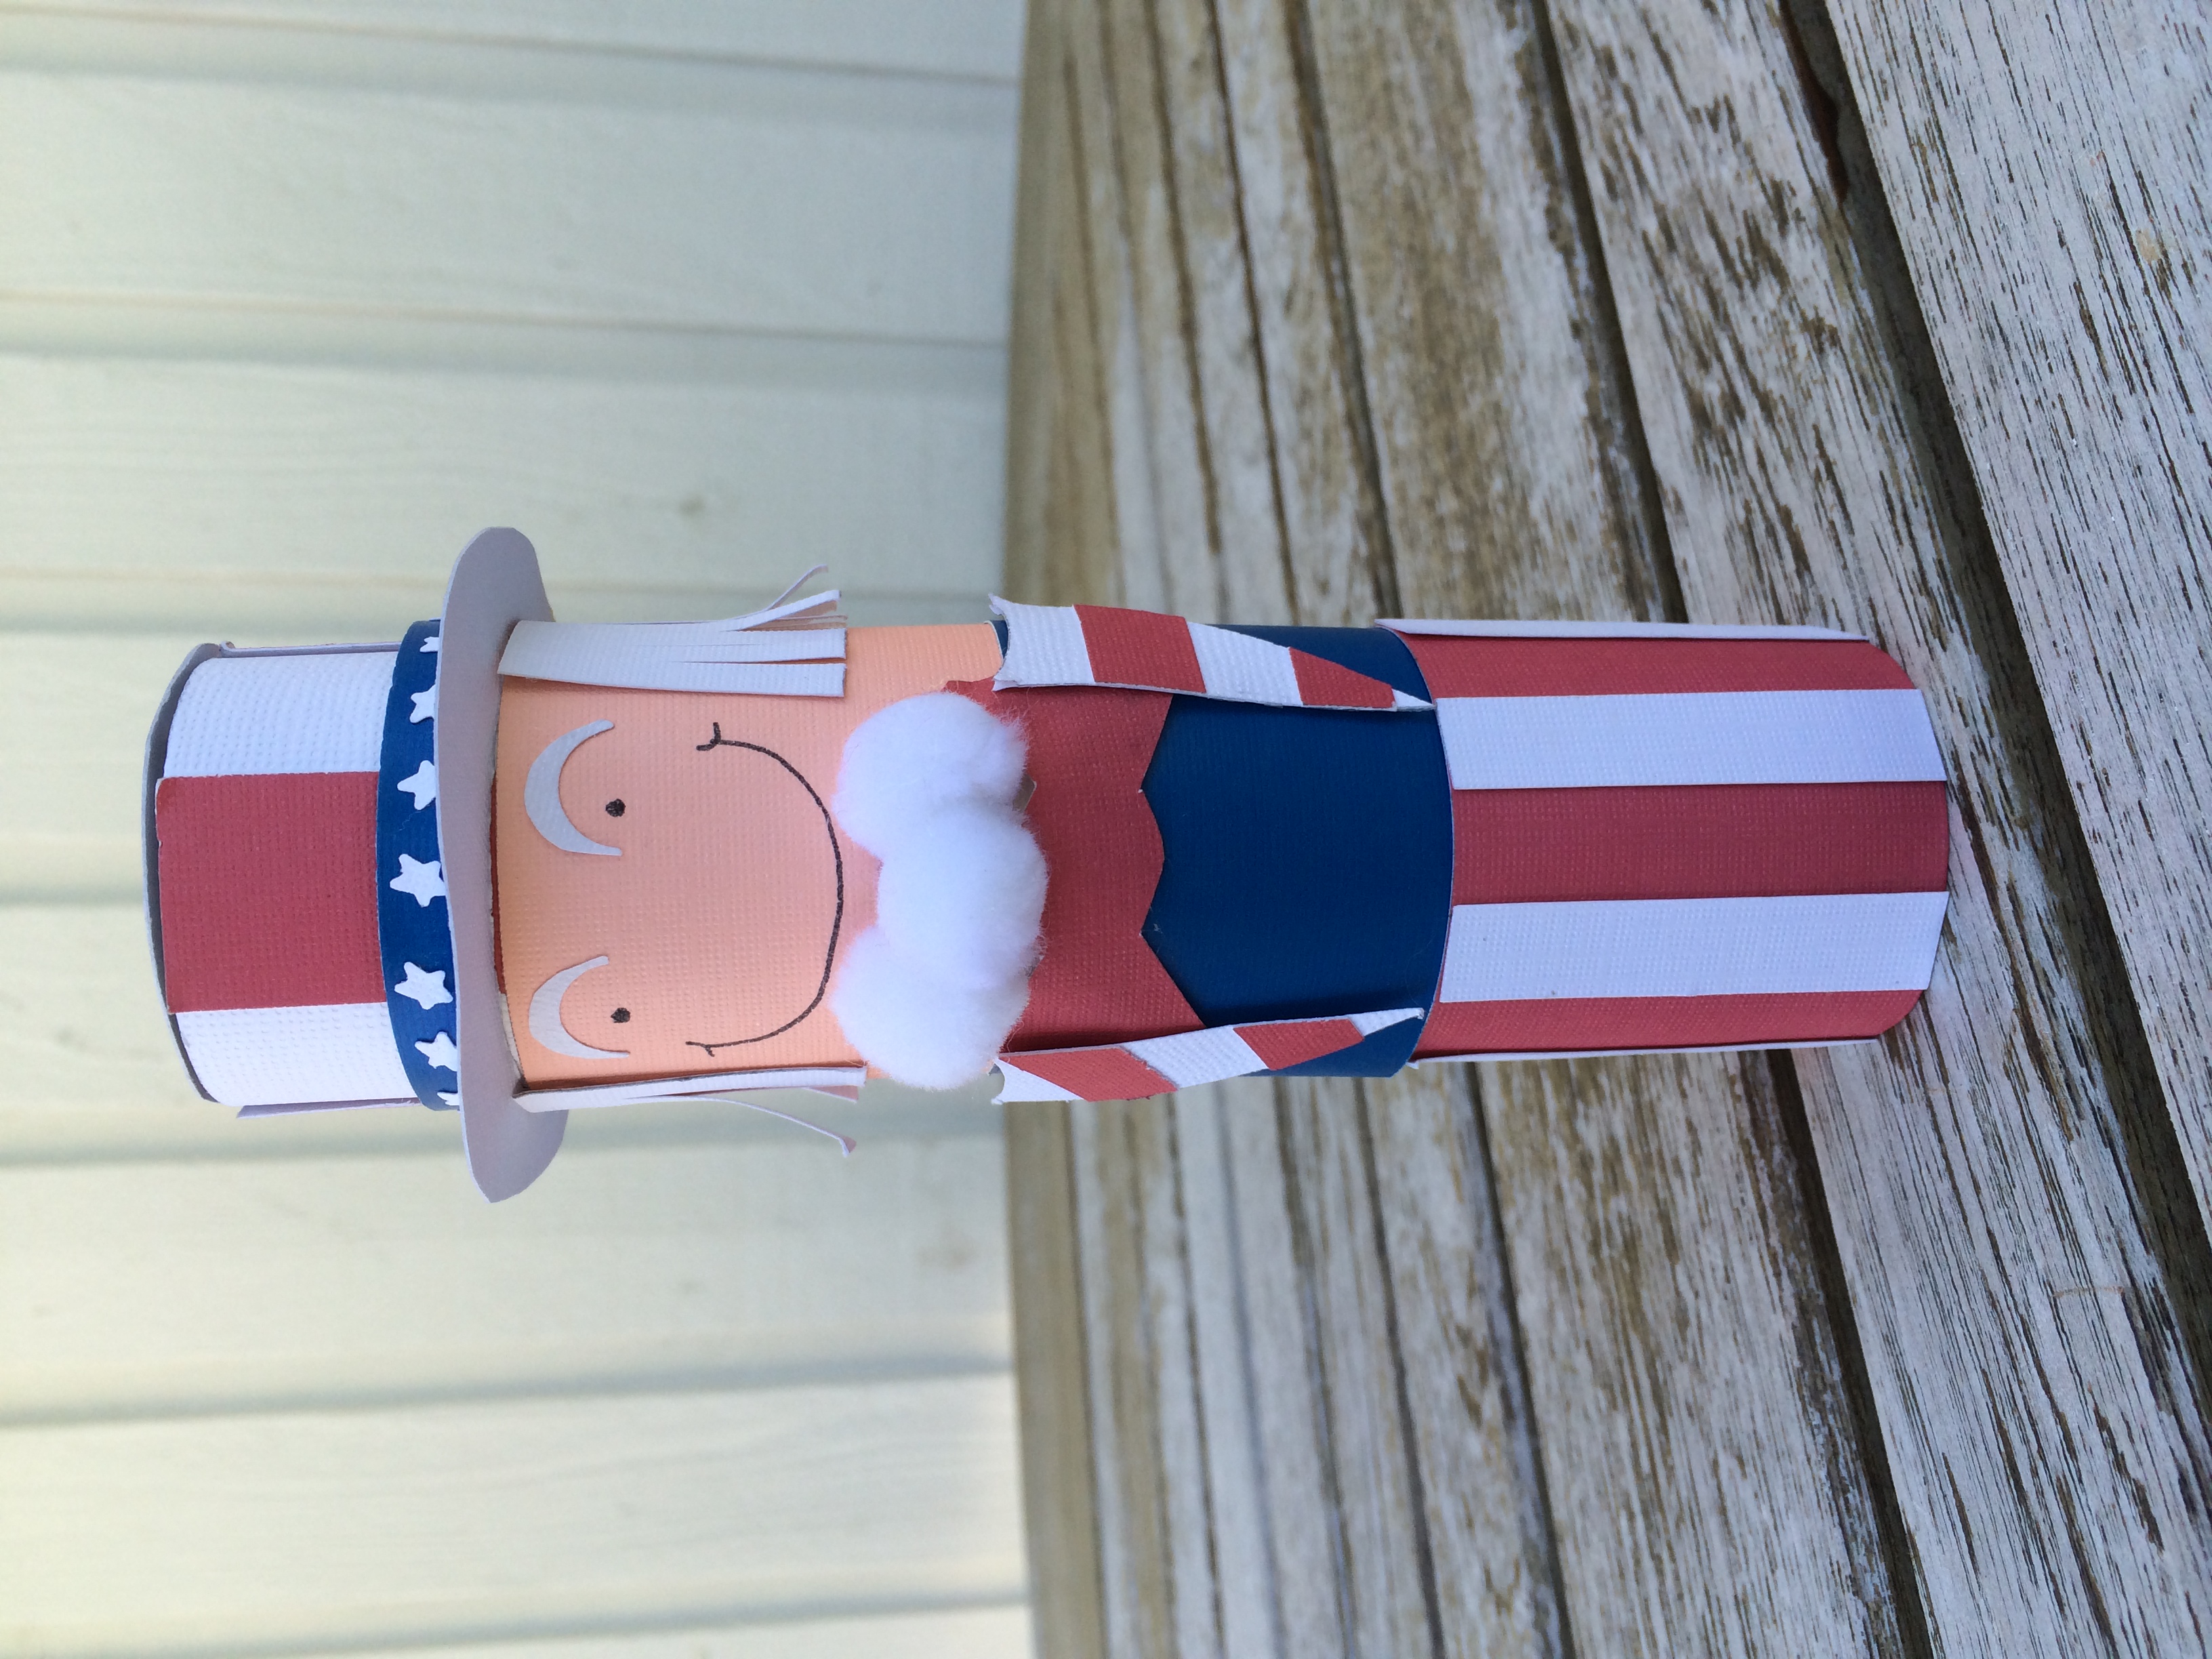
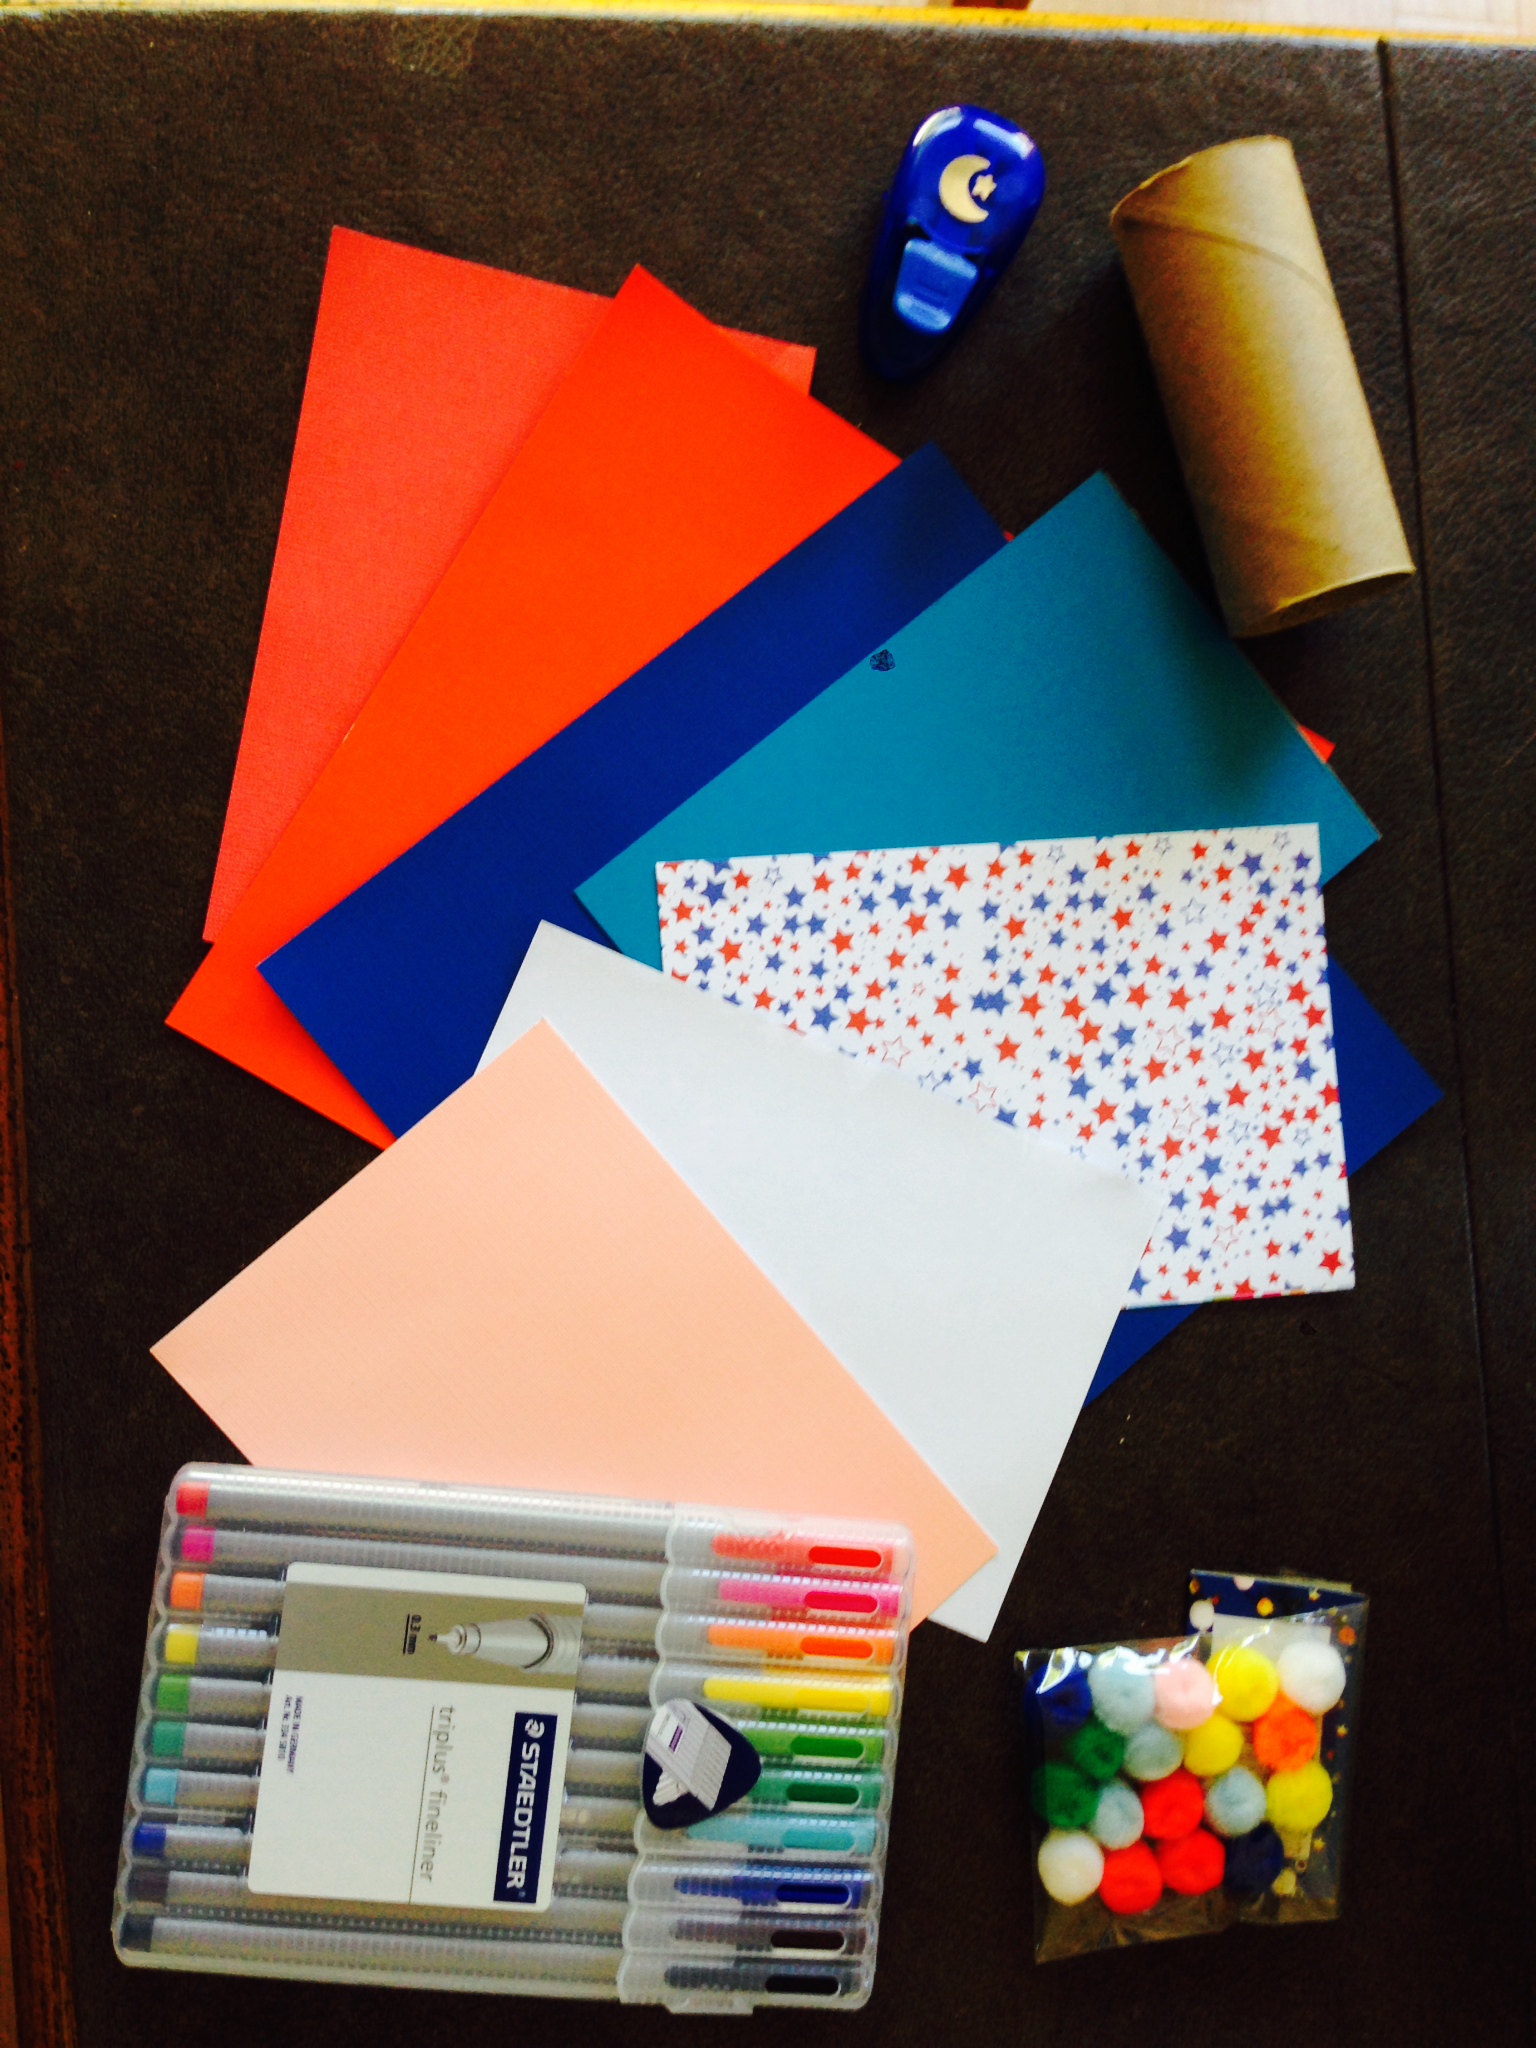
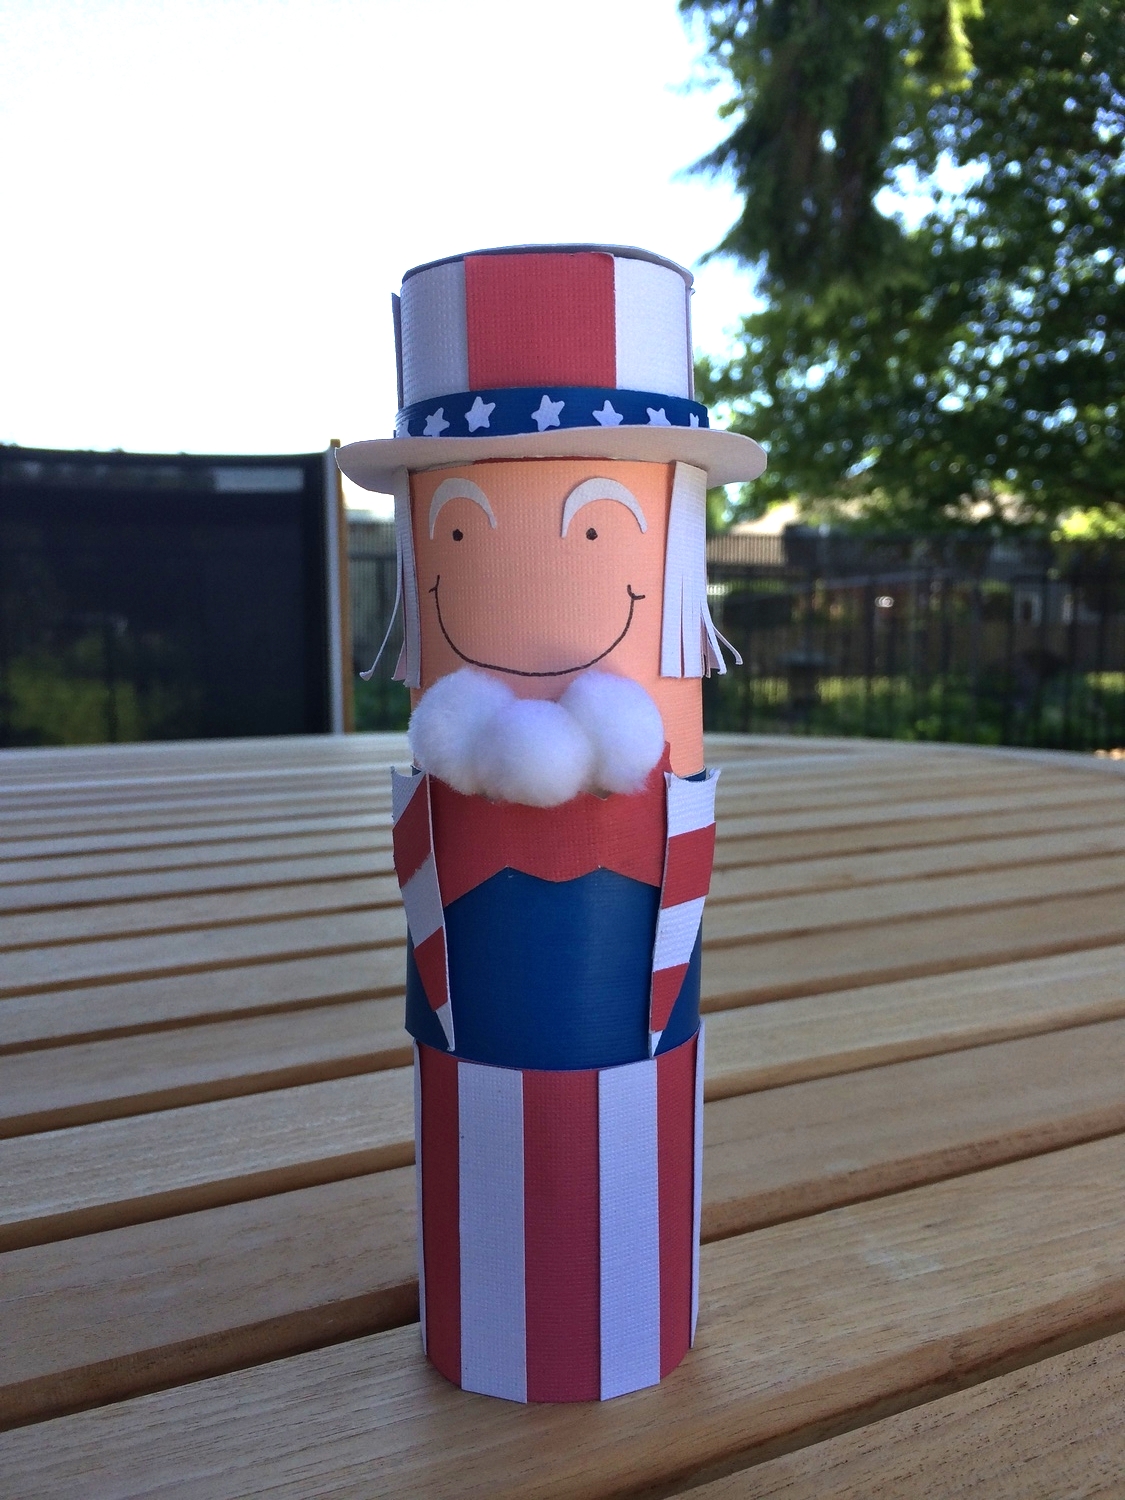
The turkey came with a tutorial, but the others did not, and I'm not sure of the original source. I used construction paper, markers, and colored pencils to create my own versions. Parts of my Uncle Sam template could be modified for pieces of the pilgrims' outfits.

I'm working on some Thanksgiving goodie boxes for my cousins who live out of state. Towards the end of the month I'll be posting my Thanksgiving wrapping paper, and tutorials for the turkey-themed crafts I'll be sending them.

Wishing you a Happy November!

Happy Halloween!

Here's a slice of what I've been up to in preparation for Halloween 2014....

Creepy Cards

The googly eyes (25 cents), Halloween greetings stamp ($1) and pumpkins ($1 Halloween invitation) are from Scrap.

pumpkin card.jpg

Frightful Finger Puppets

These fun finger puppets were constructed with large pom poms, pipe cleaners, googly eyes, felt, and a hot glue gun.

Ghastly Goodies

Every year, my workplace holds a Spooky Halloween Potluck. Thanks to Pinterest, this year I made frightful Frankenstein Rice Krispy Treats, Mummy Oreos inspired by these Mummy Cupcakes, Black Cat Oreos, and Oreo Eyeballs.

I piped on chocolate frosting instead of dipping in melted chocolate, and used miniature chocolate chips and chocolate sprinkles to give Frankenstein's hair some nice texture.

I piped on chocolate frosting instead of dipping in melted chocolate, and used miniature chocolate chips and chocolate sprinkles to give Frankenstein's hair some nice texture.


From my house to yours...wishing you a spooktacular Halloween!

Uncle Sam wants you...to have a Happy Fourth of July

I love Independence Day, not only for all that it represents, but also because it has always been my first official taste of summer. As a kid, there was no better feeling than running happily through the back yard, smelling the burgers sizzling on the grill, playing with my friends, and begging for the box of sparklers to finally be opened. In preparing for my own Fourth of July festivities, I was inspired to make this Uncle Sam decoration out of one of my favorite craft supplies---a simple toilet paper roll.

You can access the template for everything you need to make your own Uncle Sam here.


Supplies:

-Toilet paper tube or paper towel tube

-Paper (Red, Blue, White & Pink)

-Scissors or a paper cutter

-Hot glue gun or tape

-Markers

-3 small pom poms or cotton balls

-Small star punch or stencil


I started with Uncle Sam's hat. There are four components -- the hat top, hat brim, hat body, and star trim. The hat top and brim can easily be traced onto your paper of choice. For the hat body, you can trace the template shape onto red or white paper. Cut out and attach small strips of the opposite color making a striped pattern. I used an adhesive paper for my strips, and it made assembly really easy. For the star trim, I used a star punch on white adhesive paper to make my own star stickers, and applied them to the royal blue paper.

I first secured the hat body, using my glue gun, about 1/4 inch from the top of the tube to help with proportions. Then I pulled the hat brim over the paper tube. It should stay on the tube by itself without any glue or tape. Next, I attached the star trim just above the hat brim with my glue gun. Finally, I attached the top. All you need is patience and a lot of tape. Another set of hands helps, too.

Next, I sketched the eyes and smile on my pink adhesive paper. My punch for the stars included a crescent moon shape. I trimmed down two of the moon punches to make Uncle Sam's eyebrows. I secured the face with my hot glue gun, and then attached the pom poms directly to the paper tube.

After the face was complete, I cut out two squares of white paper, and added small slices to give texture. You can fold alternating pieces of the strips, or curl them with scissors like grosgrain ribbon to give him more personality. Secure the hair just below the hat brim.

hair.jpeg

Next I assembled his shirt. I started with a square of blue paper, and secured it with my glue gun just below the face. I traced the bow-tie in red paper, and attached it just below the beard. To make the lapels, I made two rectangles of red and white striped pieces, trimmed them into triangles, and added a curve at the top. There is lots of liberty with paper color and lapel shape in this step. I also attached the lapels with my glue gun.

Finally, I used a large piece of red paper, and smaller strips of white adhesive paper to make the pants. I secured them just below the blue shirt, and they extended about an inch below the edge of the tube.

Uncle Sam and I wish you the happiest Fourth of July!!!

final.jpeg


May Day! May Day!

When I was three years old, I have a vivid memory of picking a handful of Bluebells and pale pink wild flowers, and weaving a basket out of brown paper strips. Tightly holding my mom's hand on a drizzly spring day, I ran gleefully through my grandmother's yard, and stood proudly on her doorstep to deliver my May Day gift. I wasn't stealth enough to ring the doorbell and run, as I think the holiday was originally intended, but my grandma still loved it, and so did I.

I wanted to bring that same joy and surprise to the two youngest members of my family. They live out of state, so fresh flowers weren't an option. I decided to make, and mail these fun flower crayons.

To make six, all you need is a flower mold, and about 72 crayons (three of the 24 packs).

The unwrapping process took much longer than I anticipated. Pick out a good movie, or recruit family members to help you!

unwrapped crayons2.jpg

Break the crayons into the smallest possible chunks to melt more quickly. Cutting them into pieces with a knife works well when your hands get tired.

in tray.jpg

I placed my mold on an old cookie sheet, and put it in the oven at 225 degrees F for about 30 minutes.

oven.jpg

I let mine cool for 15 minutes, and they popped out of the tray easily.

I put the crayons in plastic goodie bags to ensure they'd travel well, and make them more fun to open.

plastic with ribbon.jpg

I found these adorable baskets at World Market leftover in the Easter basket sale section. The crayons fit perfectly, and there was plenty of room for a note.

I tucked the baskets into shoe boxes, and bedazzled the front of the packages with glittery flower stickers, and "Do not open until May 1." Hooray for May Day!