Four More Quilt Finishes for 2016

Hooray for Rain - Four More Quilt Finishes for  2016

Hello friends! I thought I'd wrap up 2016 with a big post on my quilt finishes from 2016 that I never got around to blogging about. First up, back in the Spring I participated in Kate Basti's rainbow mini quilt swap on Instagram. You can see all the quilts at #rainbowminiswapr2.

Hooray for Rain - Rainbow Mini Quilt Swap

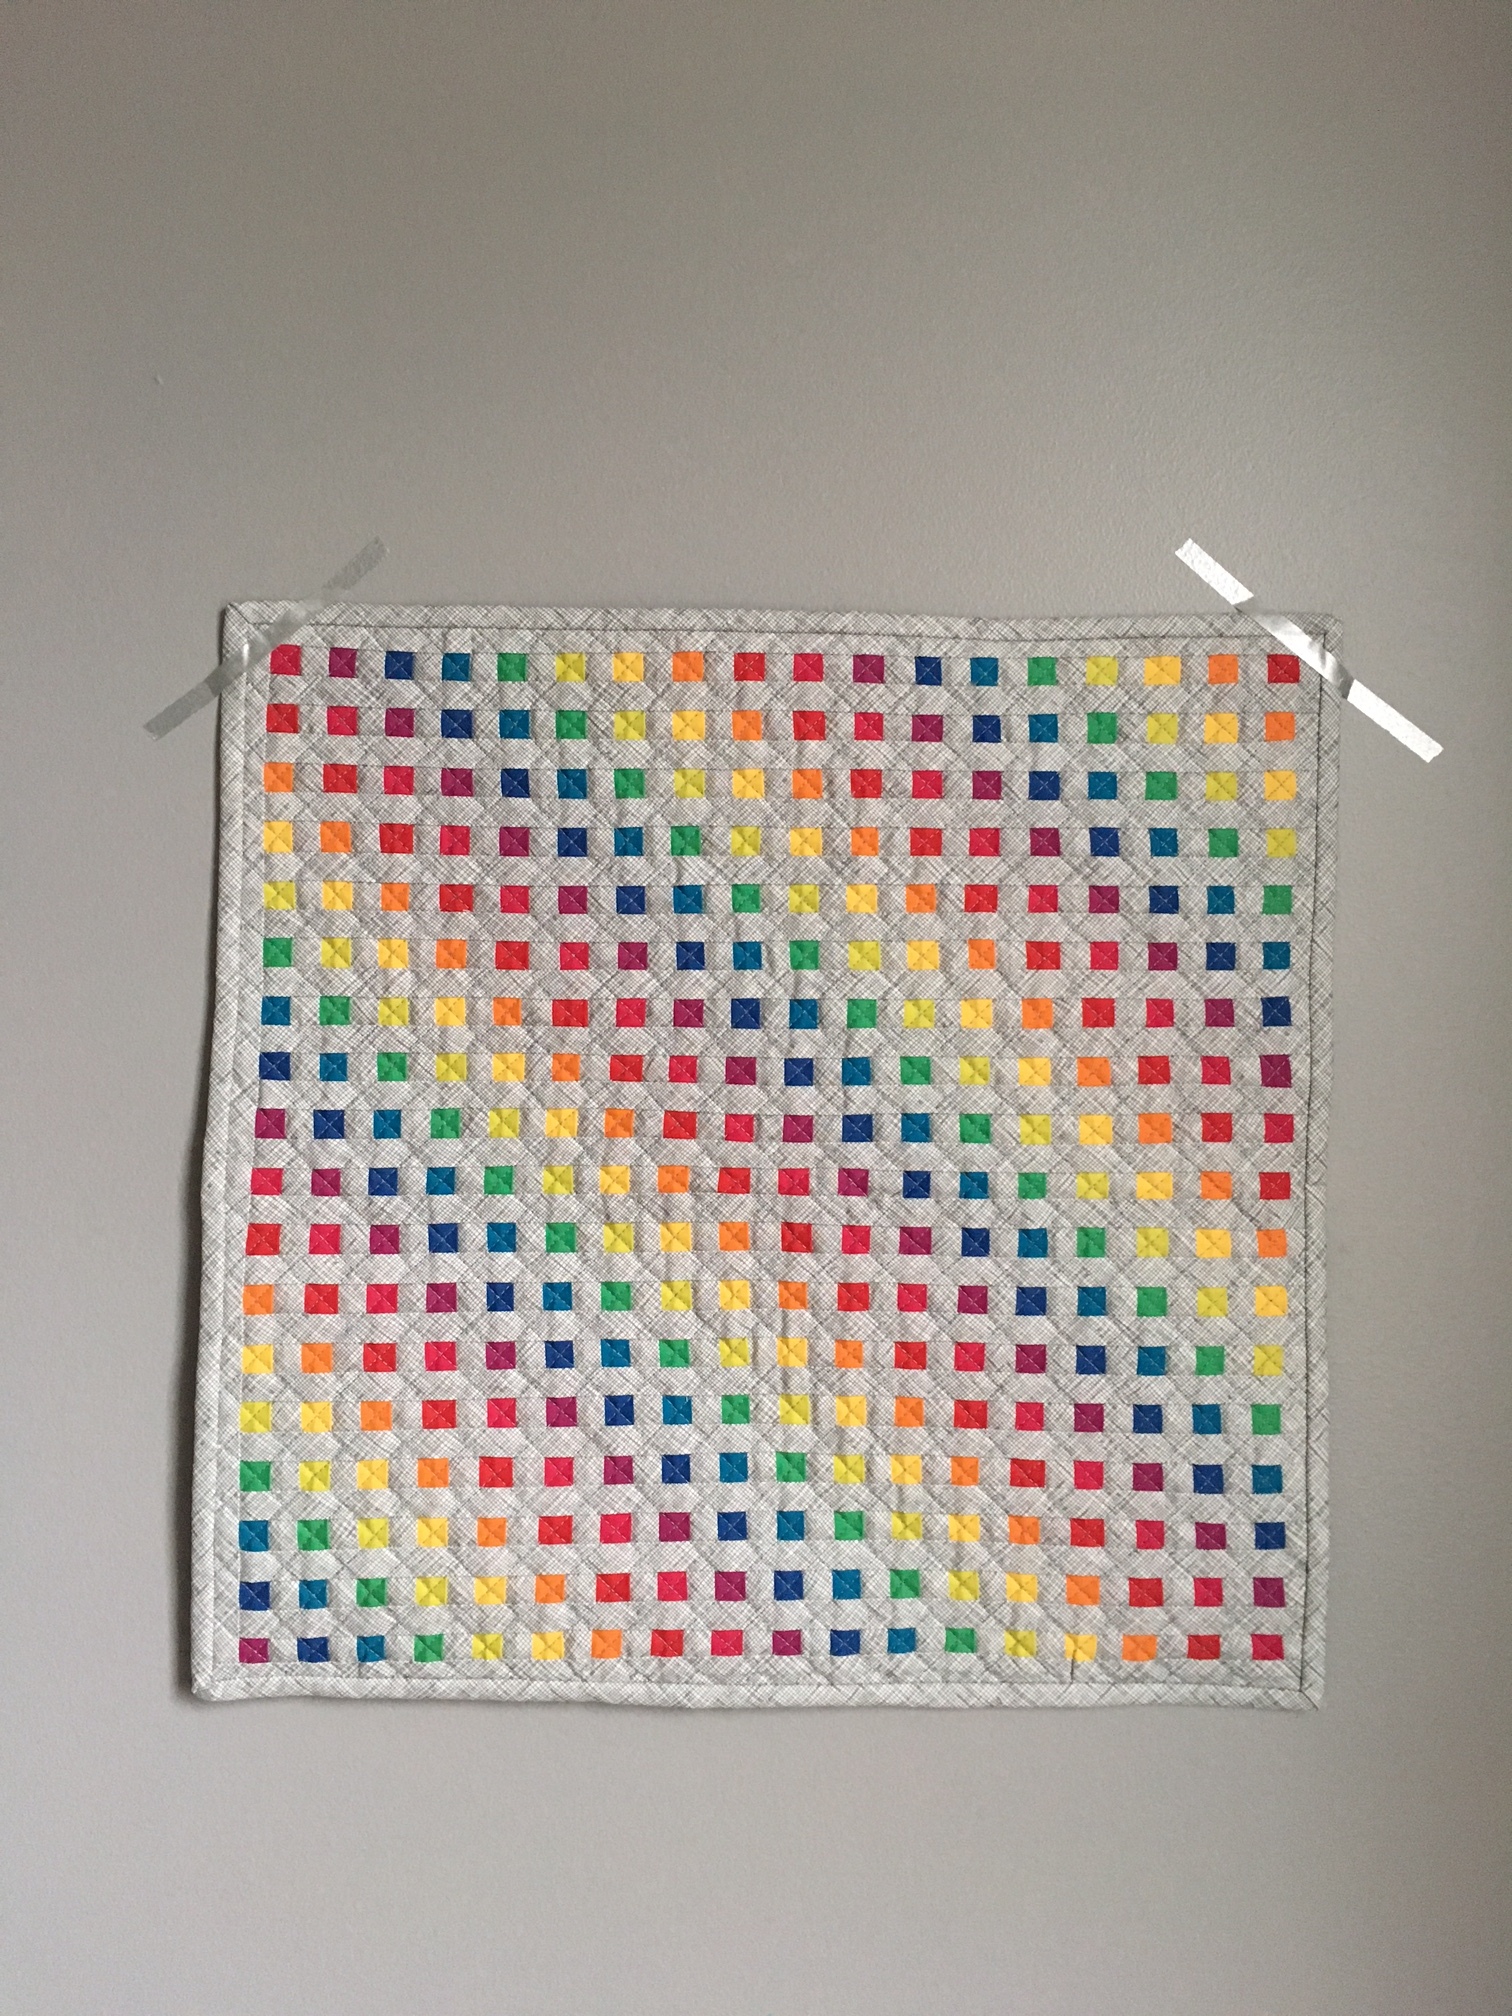
I started by taping four pieces of graph paper together and paper piecing stripes to the graph paper. 

Hooray for Rain - Rainbow Mini Quilt Swap

After I removed the paper I sewed the stripey fabric into a tube, and then cut strips and split two of them at the red square, two at the orange square, and so on for every color variation, and sewed them back together separated by gray crosshatch strips.

Hooray for Rain - Rainbow Mini Quilt Swap

I quilted in a crosshatch pattern to mimic Carolyn Friedlander's gray crosshatch fabric.

Hooray for Rain - Rainbow Mini Quilt Swap

And here's the lovely quilt I received in return from @just_anne_marie! 

Hooray for Rain - Rainbow Mini Quilt Swap

Next, in October I finished a quilt for my dear friends Grayce's new baby E. Grayce and I both love the Cathedral Windows quilt pattern and rainbow quilts so I tried to give it a try. I followed the Missouri Quilt Company's Cathedral Windows method, which was the simplest method I could find. This quilt required a shocking amount of fabric: 61 rainbow five-inch charm squares, 144 white five-inch charm squares, and 288 gray five-inch charm squares. It made for a surprisingly heavy quilt!

Hooray for Rain - E's Cathedral Windows Quilt

I spent a lot of time noodling around with the color layout. Here's one of the layouts I toyed with. I ended up using most but not all of my colored charm square options. 

Hooray for Rain - E's Cathedral Windows Quilt

Here was my final layout, right before I pinned all of the colored squares down and started sewing the cathedral windows.

Hooray for Rain - E's Cathedral Windows Quilt

Next up, I finished a quilt for dear friend Heidi's new baby L. Heidi and her guy are California-cool, minimalist no-fuss types. I was inspired by this album cover and this quilt for my design. I was going for an abstract sunset over the Pacific mixed with a sailboat sail. 

Hooray for Rain - L's Minimalist Stripe Quilt
Hooray for Rain

First I cut strips and sewed them together, and then layered the striped fabric with a piece of white Kona cotton of the same dimensions. I cut them both diagonally, and sewed each striped piece to a white piece, and all of a sudden I had two quilt tops! 

Hooray for Rain - L's Minimalist Stripe Quilt

I hand-quilted this one for baby L. I was incredibly happy with how it turned out. This quilt solidified my love for hand quilting - both the act and the look of the finished product. I think there's a good chance that this one will have a serious influence on quilts I design in the future. 

Hooray for Rain - L's Minimalist Stripe Quilt

Last but not least, I made a quilt for one of my oldest friends Katie's baby girl L. Baby L's nursery was going to be purple and green, which were my favorite colors as a little girl. Katie loves dahlias so I decided to make a giant dahlia quilt for baby L. 

IMG_0118.jpg
Hooray for Rain - Giant Dahlia Quilt

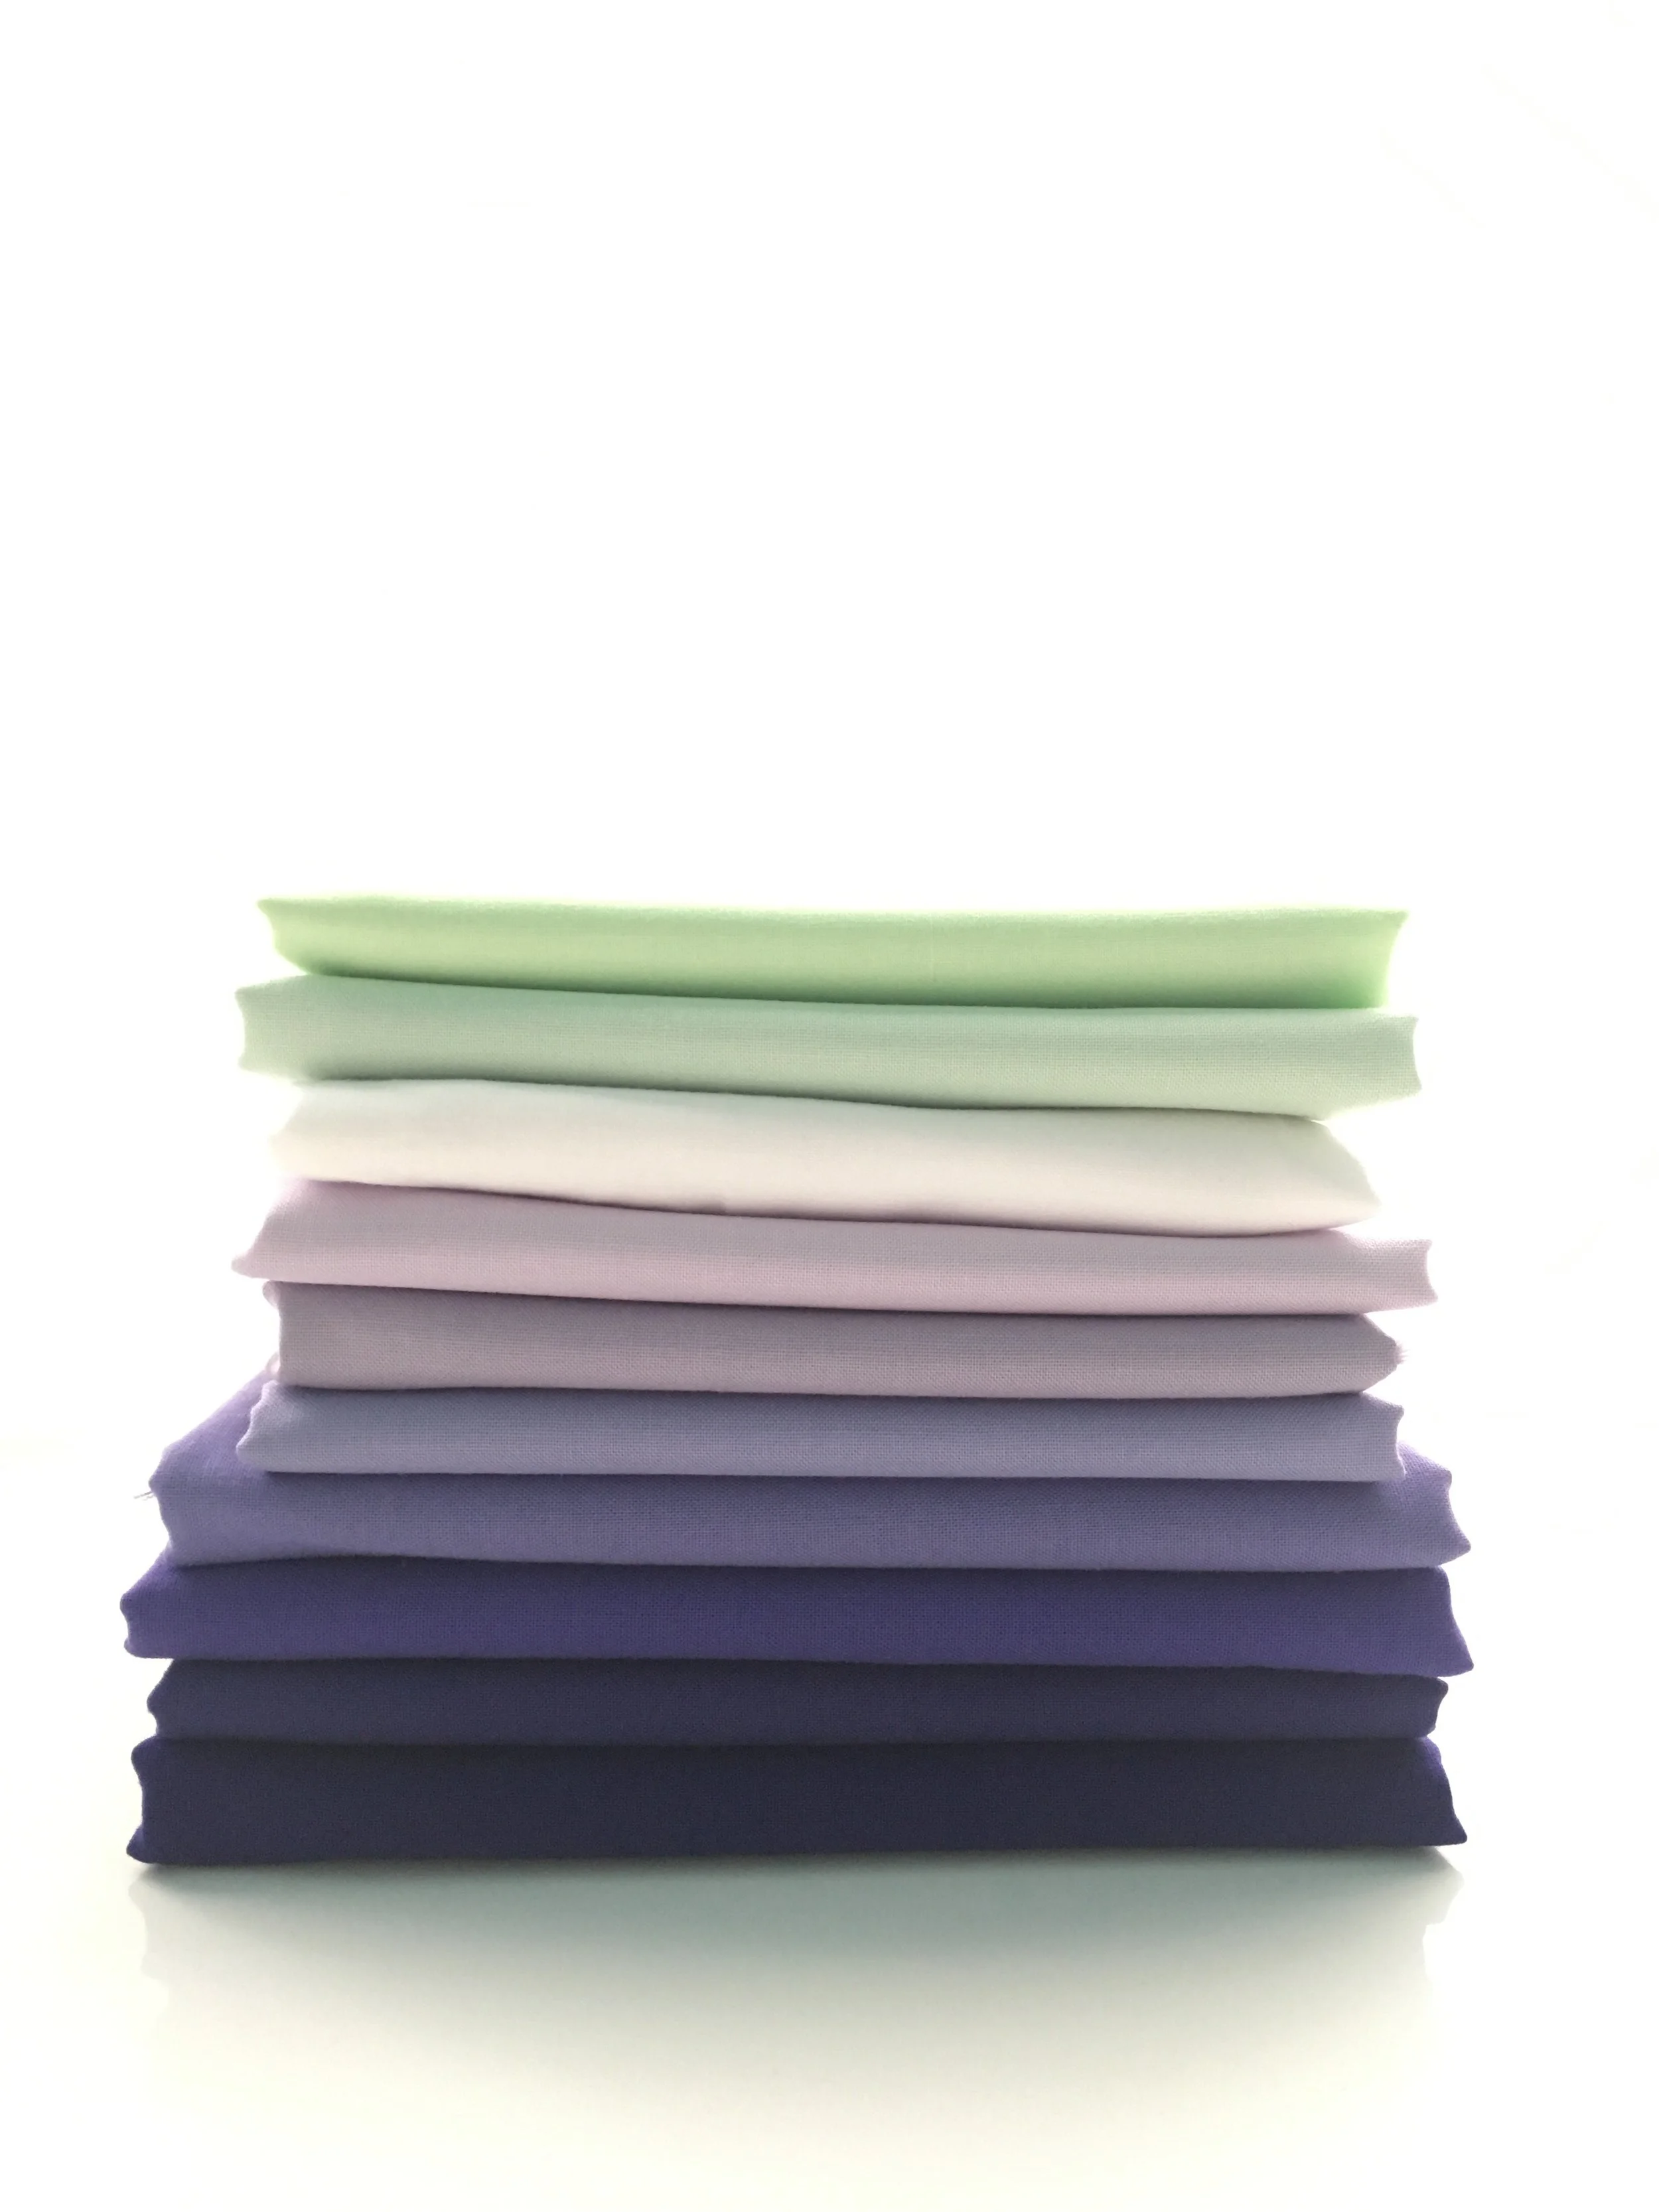
I used this tutorial, which was very helpful. Each of the color arcs is glued together before they are sewed together. 

Hooray for Rain - Giant Dahlia Quilt

I did my first free-motion quilting in the center, meant to look like petals at the center of a dahlia. 

IMG_0023.jpg

I wish you all peace and happiness in 2017! - j

Hooray For Exciting New Beginnings!

Greetings, friends! And apologies for a very long absence. Back in February, I started a law firm with my friend and former colleague, Amanda Anderson. Amanda and I started at the same larger firm when we were both fresh out of law school, and it didn't take long for us to figure out that we enjoyed collaborating and had similar perspectives on the practice of law. Amanda is a terrific lawyer and I couldn't ask for a better business partner. 

One of the reasons I decided to go to law school was because I dreamed of practicing in the area of adoption law. I am so proud to tell you that our firm, Anderson Ballard LLC, represents prospective adoptive parents as well as birth parents involved in the adoption process. We also serve as general counsel to local community associations. Oh, and we blog on topics related to those areas of law right here. It feels so good to be building our dream business, and I am thankful and happy every day that we decided to take this leap. 

Of course, starting a business takes more work than you can ever anticipate! 2016 has kept me very busy. I've managed to sneak in some sewing here and there, but struggled during these last few months to find time to share those projects on Hooray for Rain. While there's never a shortage of things to do, I'm happy to say that life is beginning to normalize and I anticipate that I will be able to start posting my recent quilting projects here again.  Hooray! I'll see you back here soon.

The Wedding Dress Quilt

The Wedding Dress Quilt - www.hoorayforrain.com

My friend Amy is pretty much the best. It's not enough that she is beautiful and one of the funniest people on earth - she also has impeccable style. Check out her wedding dress.

Photo by Bryan Hudson

Photo by Bryan Hudson

Plenty of women buy beautiful designer wedding dresses when they are planning their wedding. Amy is the only woman I know who fell in love with a L.A.M.B. dress in 2006 and had the vision and confidence to commit to it as her future wedding dress and stash it in her closet until she was ready to tie the knot this year.

Photo by Bryan Hudson

Photo by Bryan Hudson

That DRESS! Right? Non-traditional, modern, and completely unforgettable.

Photo by Bryan Hudson

Photo by Bryan Hudson

Amy's wedding to Brad (known affectionately in our circle of friends as B-Rad) was incredibly beautiful. I was so happy to be there.

And naturally, I made them a quilt.

The Wedding Dress Quilt - www.hoorayforrain.com

It didn't take me long to settle on Amy's amazing dress as my inspiration. I sketched and pieced the top fairly quickly, and even basted the layers...and then it sat for almost a year as I deliberated on how to quilt it.  Every time I opened the door to my sewing room, this beauty would greet me.

The Wedding Dress Quilt - www.hoorayforrain.com

I'd do a bit of sketching whenever inspiration hit. Here are just a few of my doodles from when I was figuring out how to quilt it. 

The Wedding Dress Quilt - www.hoorayforrain.com

I finally settled on the sketch below as my guide. I transferred my little 4x6-inch drawing onto a queen-sized quilt in a few steps.

The Wedding Dress Quilt - www.hoorayforrain.com

First, I practiced my planned quilting lines in certain areas to make sure I liked how it looked. I used an ingenious idea by Krista Withers, where you buy a piece of plexiglass and place it on your quilt, and practice your quilting patterns with dry erase pens. So helpful! Krista points out that you should mask off the edges of your plexiglass so that you don't draw right off the side of it and onto your quilt - that tip was a lifesaver.

After I'd practiced and refined my quilting plans, I used Frixion pens to draw my quilting lines on the quilt. The lines from Frixion pens disappear with heat, so I'd draw a section, quilt it, and then iron away any markings that still showed. When I didn't like some of the lines I'd drawn, I ironed them away and started over.

My only regret with this quilt was that I didn't finish in time to take better photos. This queen-sized quilt stretched me to the limits of my capabilities on my domestic machine, but ultimately I was pretty happy with the overall effect. The half circles in the top section repeat the big half circle in turquoise, brown and yellow. I wanted the middle section to be structured, and the bottom section to flow and swirl like the drape of Amy's dress.

Thanks mostly to the puppy addition to our family this summer, I didn't finish the quilt until the night before we flew to California for the wedding. The light was fading fast when the quilt came out of the dryer, so I dragged Patrick outside to quickly take some pictures for me, but I had no time to round up a friend to help me hold up the corners of the quilt! 

The Wedding Dress Quilt - www.hoorayforrain.com

I carefully rolled the quilt up and took it as my carry-on. I had grand visions of running around on the beach with the quilt for a photo shoot, but ultimately chickened out because I was scared of getting it dirty. I settled for taking more pictures of my crinkled and wrinkled quilt in our hotel room.  

The Wedding Dress Quilt - www.hoorayforrain.com

One last little detail - for my quilt label, I took the beautiful Gemology quilt block by SarahRose Quilts and reduced it to 50%, making a tiny, adorable three-inch gem block that felt very fitting for a wedding quilt. 

The Wedding Dress Quilt - www.hoorayforrain.com

I gave the quilt to Amy and Brad the day after the wedding, and luckily they both loved it. Amy told me that it was not likely to stay pristine and white because it was going to be used. Nothing could make me happier, because that's what quilts are for. 

The Wedding Dress Quilt - www.hoorayforrain.com

I have entered this quilt in the modern category of the Blogger's Quilt Festival at Amy's Creative Side. There are all kinds of beautiful quilts on display, check them out for some fresh inspiration!

Ombre Hexie Pillow

Hexie Ombre Pillow - www.hoorayforrain.com

Hello hello! I'm back today with an envelope pillow that I started a year and a half ago and finally finished this weekend. 

Hexie Ombre Pillow - www.hoorayforrain.com

Just after Lauren and I started this blog, I went on a long weekend road trip. When Patrick and I go on road trips, he does about 80% of the driving, which is just the right ratio for both of us. I thought ahead and put together a little hexie kit before we left - 3-inch squares of fabric, thread, a needle, and scissors. At the end of our trip I documented my hexie progress with the photo above, and it was the very first photo I posted to our Instagram account

Hexie Ombre Pillow - www.hoorayforrain.com

Every time we'd go out of town I'd bring my hexie kit and make a little progress. It grew and grew until finally it was big enough to make a pillow. 

I had a 16-inch pillow form and followed a tutorial that suggested making your pillow cover two inches larger than than pillow form. I think that next time I make an envelope pillow, I'll make it a little smaller for a snug fit.  

Hexie Ombre Pillow - www.hoorayforrain.com

I removed my hexie papers, trimmed and squared up the hexies, and added fusible interfacing to make it a little sturdier. I had to take a picture of the back before adding the interfacing, because it looked so much like a flower. 

Hexie Ombre Pillow - www.hoorayforrain.com

I backed the pillow cover with Anna Graham's Ripple canvas in navy and bound it quilt-style.  

Hexie Ombre Pillow - www.hoorayforrain.com

This pillow will live in our basement on our navy blue couch, but I snapped these pictures in our bay window to take advantage of the natural light.

It feels really good to finally finish this pillow cover. Now I need a new road trip hand sewing project!

Hexie Ombre Pillow - www.hoorayforrain.com

Courthouse Steps Baby Quilt

www.hoorayforrain.com - Courthouse Steps Baby Quilt

I'm so happy to have a quilt to show you! It's been awhile. This was a fun one to get out of my brain and stitched together.

I picked the giant courthouse steps block for a dear friend of mine from law school, who had a baby boy in May. 

www.hoorayforrain.com - Courthouse Steps Baby Quilt

After making a messy little sketch, I spent a few minutes pulling solids from my stash and started cutting and piecing strips. The whole quilt top came together in just a few hours.  

www.hoorayforrain.com - Courthouse Steps Baby Quilt

I backed it in an incredibly soft print that I'd been holding on to  for a few years. 

www.hoorayforrain.com - Courthouse Steps Baby Quilt

I love the relatively quick gratification that comes from making a baby quilt! It feels good to be sending this one off to its forever home this week. 

www.hoorayforrain.com - Courthouse Steps Baby Quilt