Valentine Swap

Hello friends! Happy February!

I spent part of my weekend whipping up a batch of these amazing chocolate chip cookies, and making valentines for the Aunt Peaches annual Valentine Swap. Last year, I received incredible valentines from across the country and world!

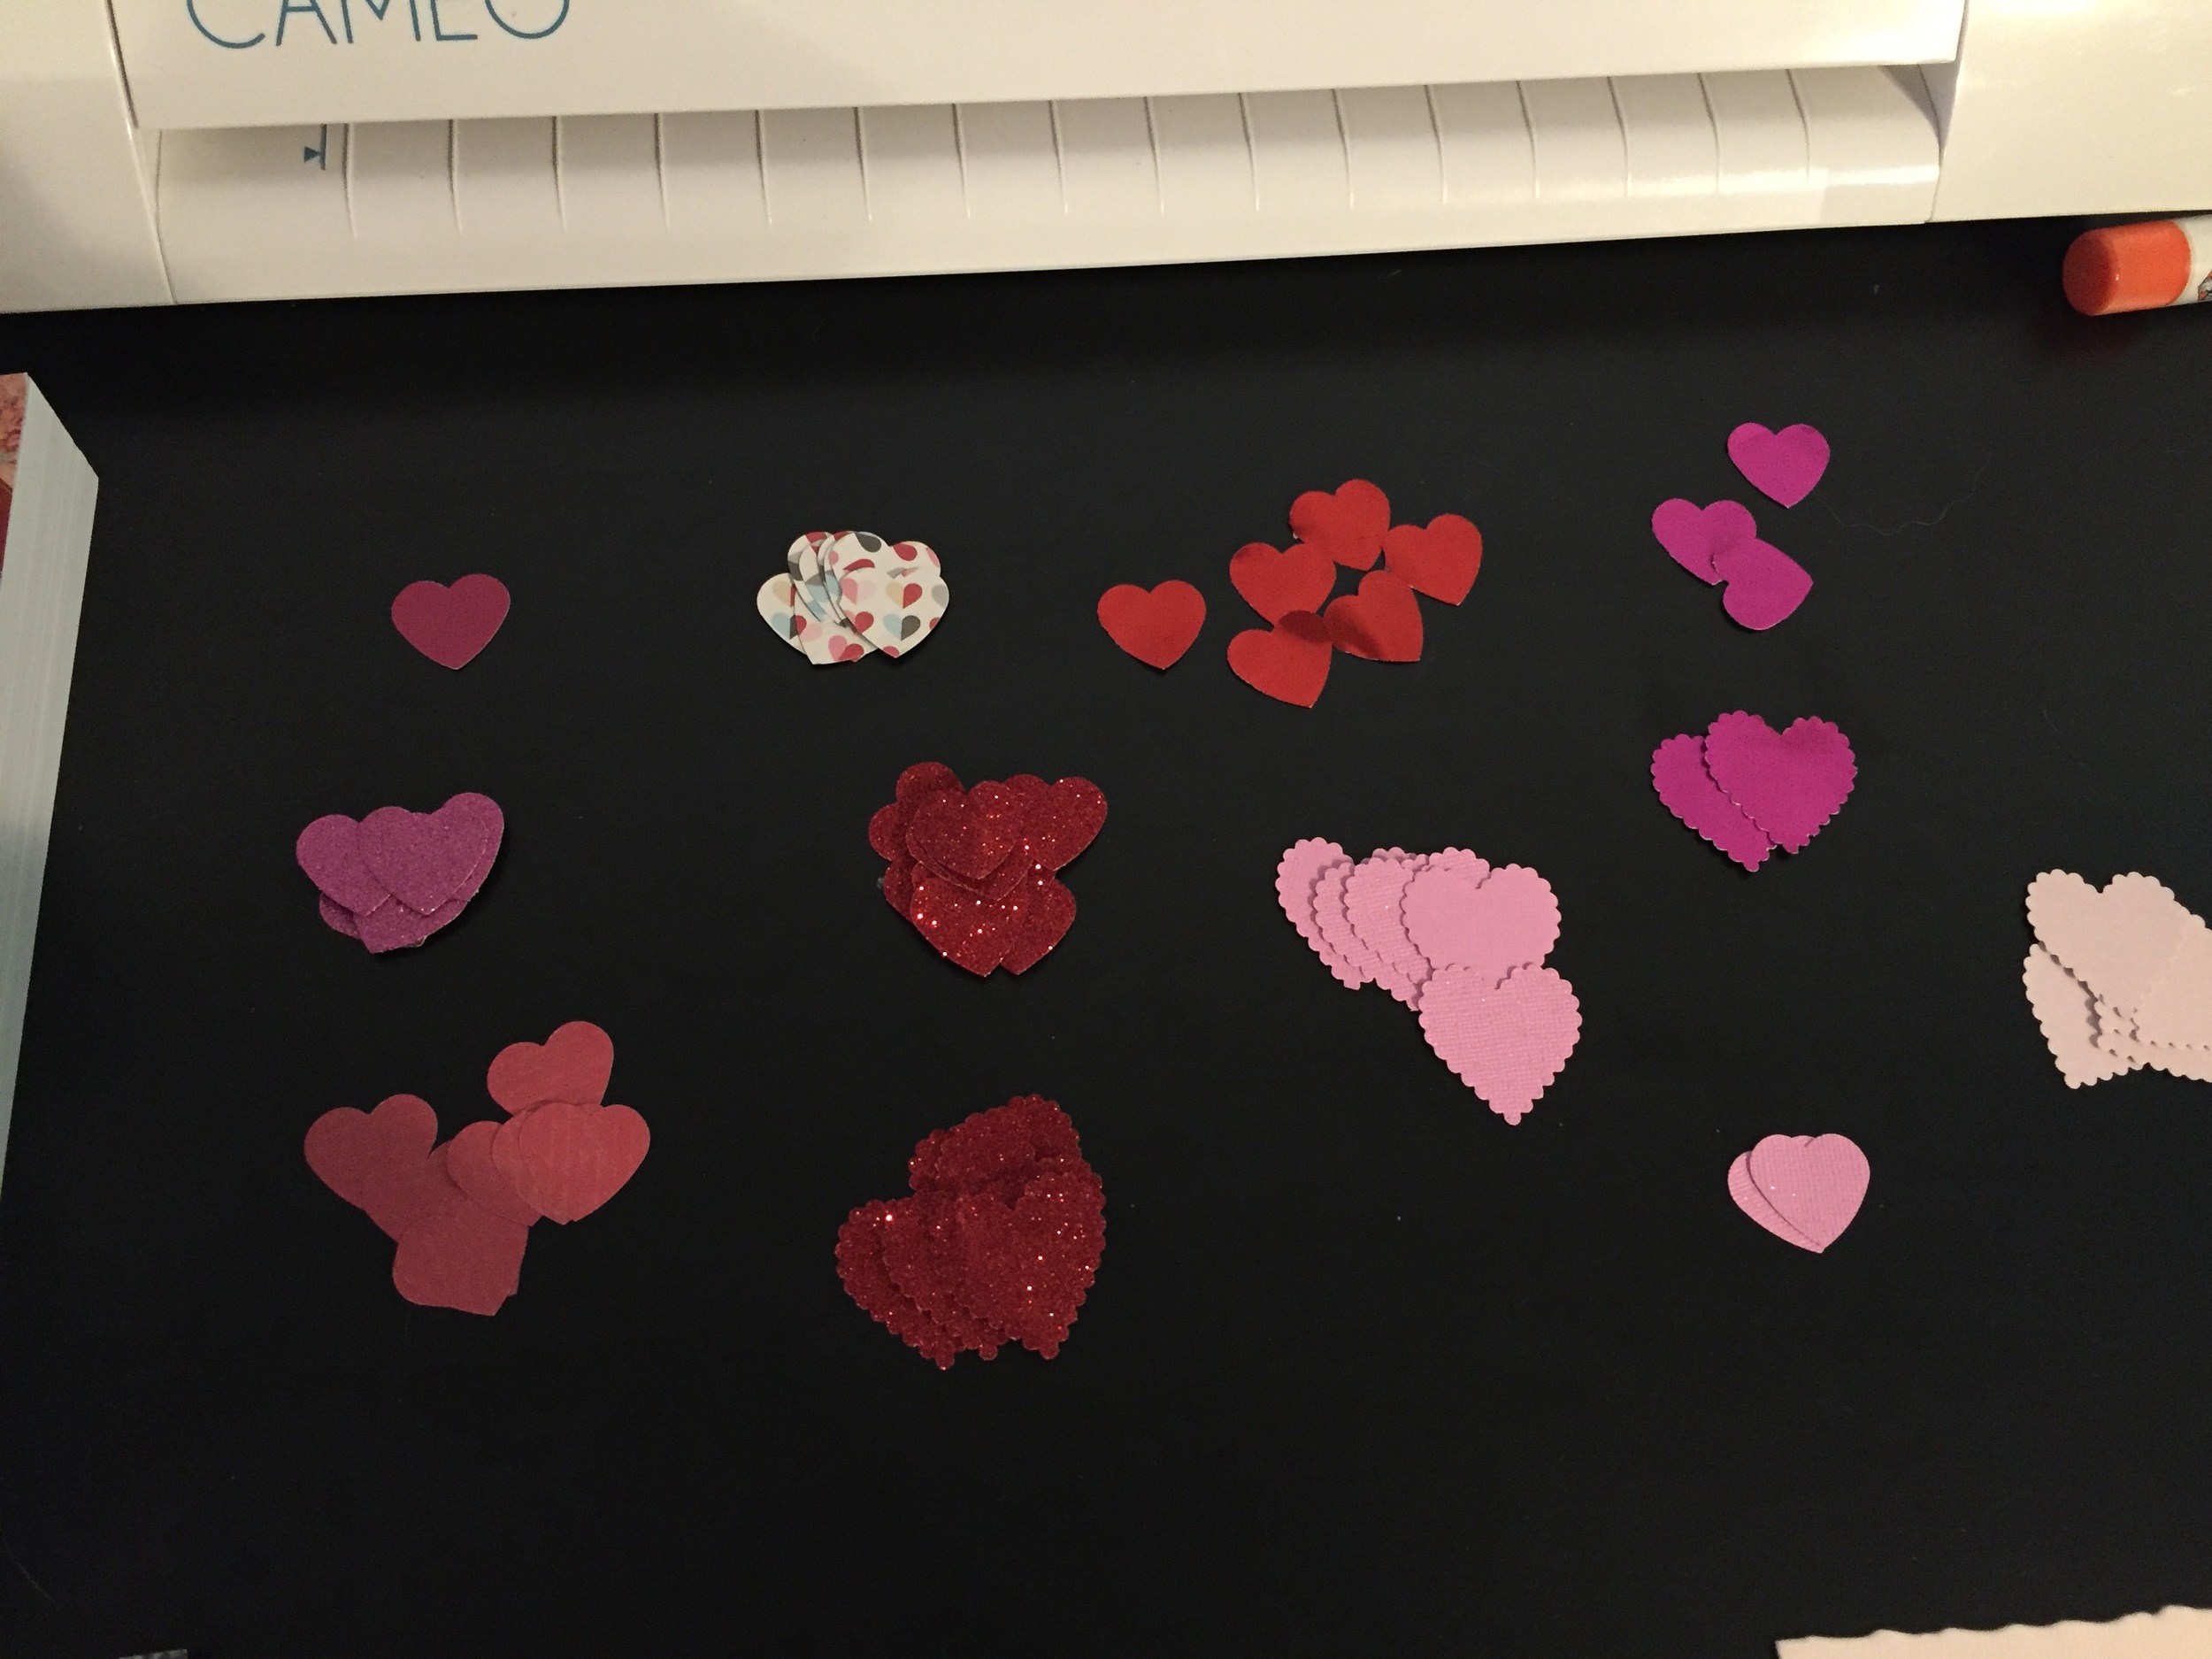
I was so impressed by all the work of the participants last year that I had a hard time getting inspired for this year's swap. What better way to get excited about making valentines, then to pull out every pink, red, glittery, sparkly, heart-shaped item in your craft closet?

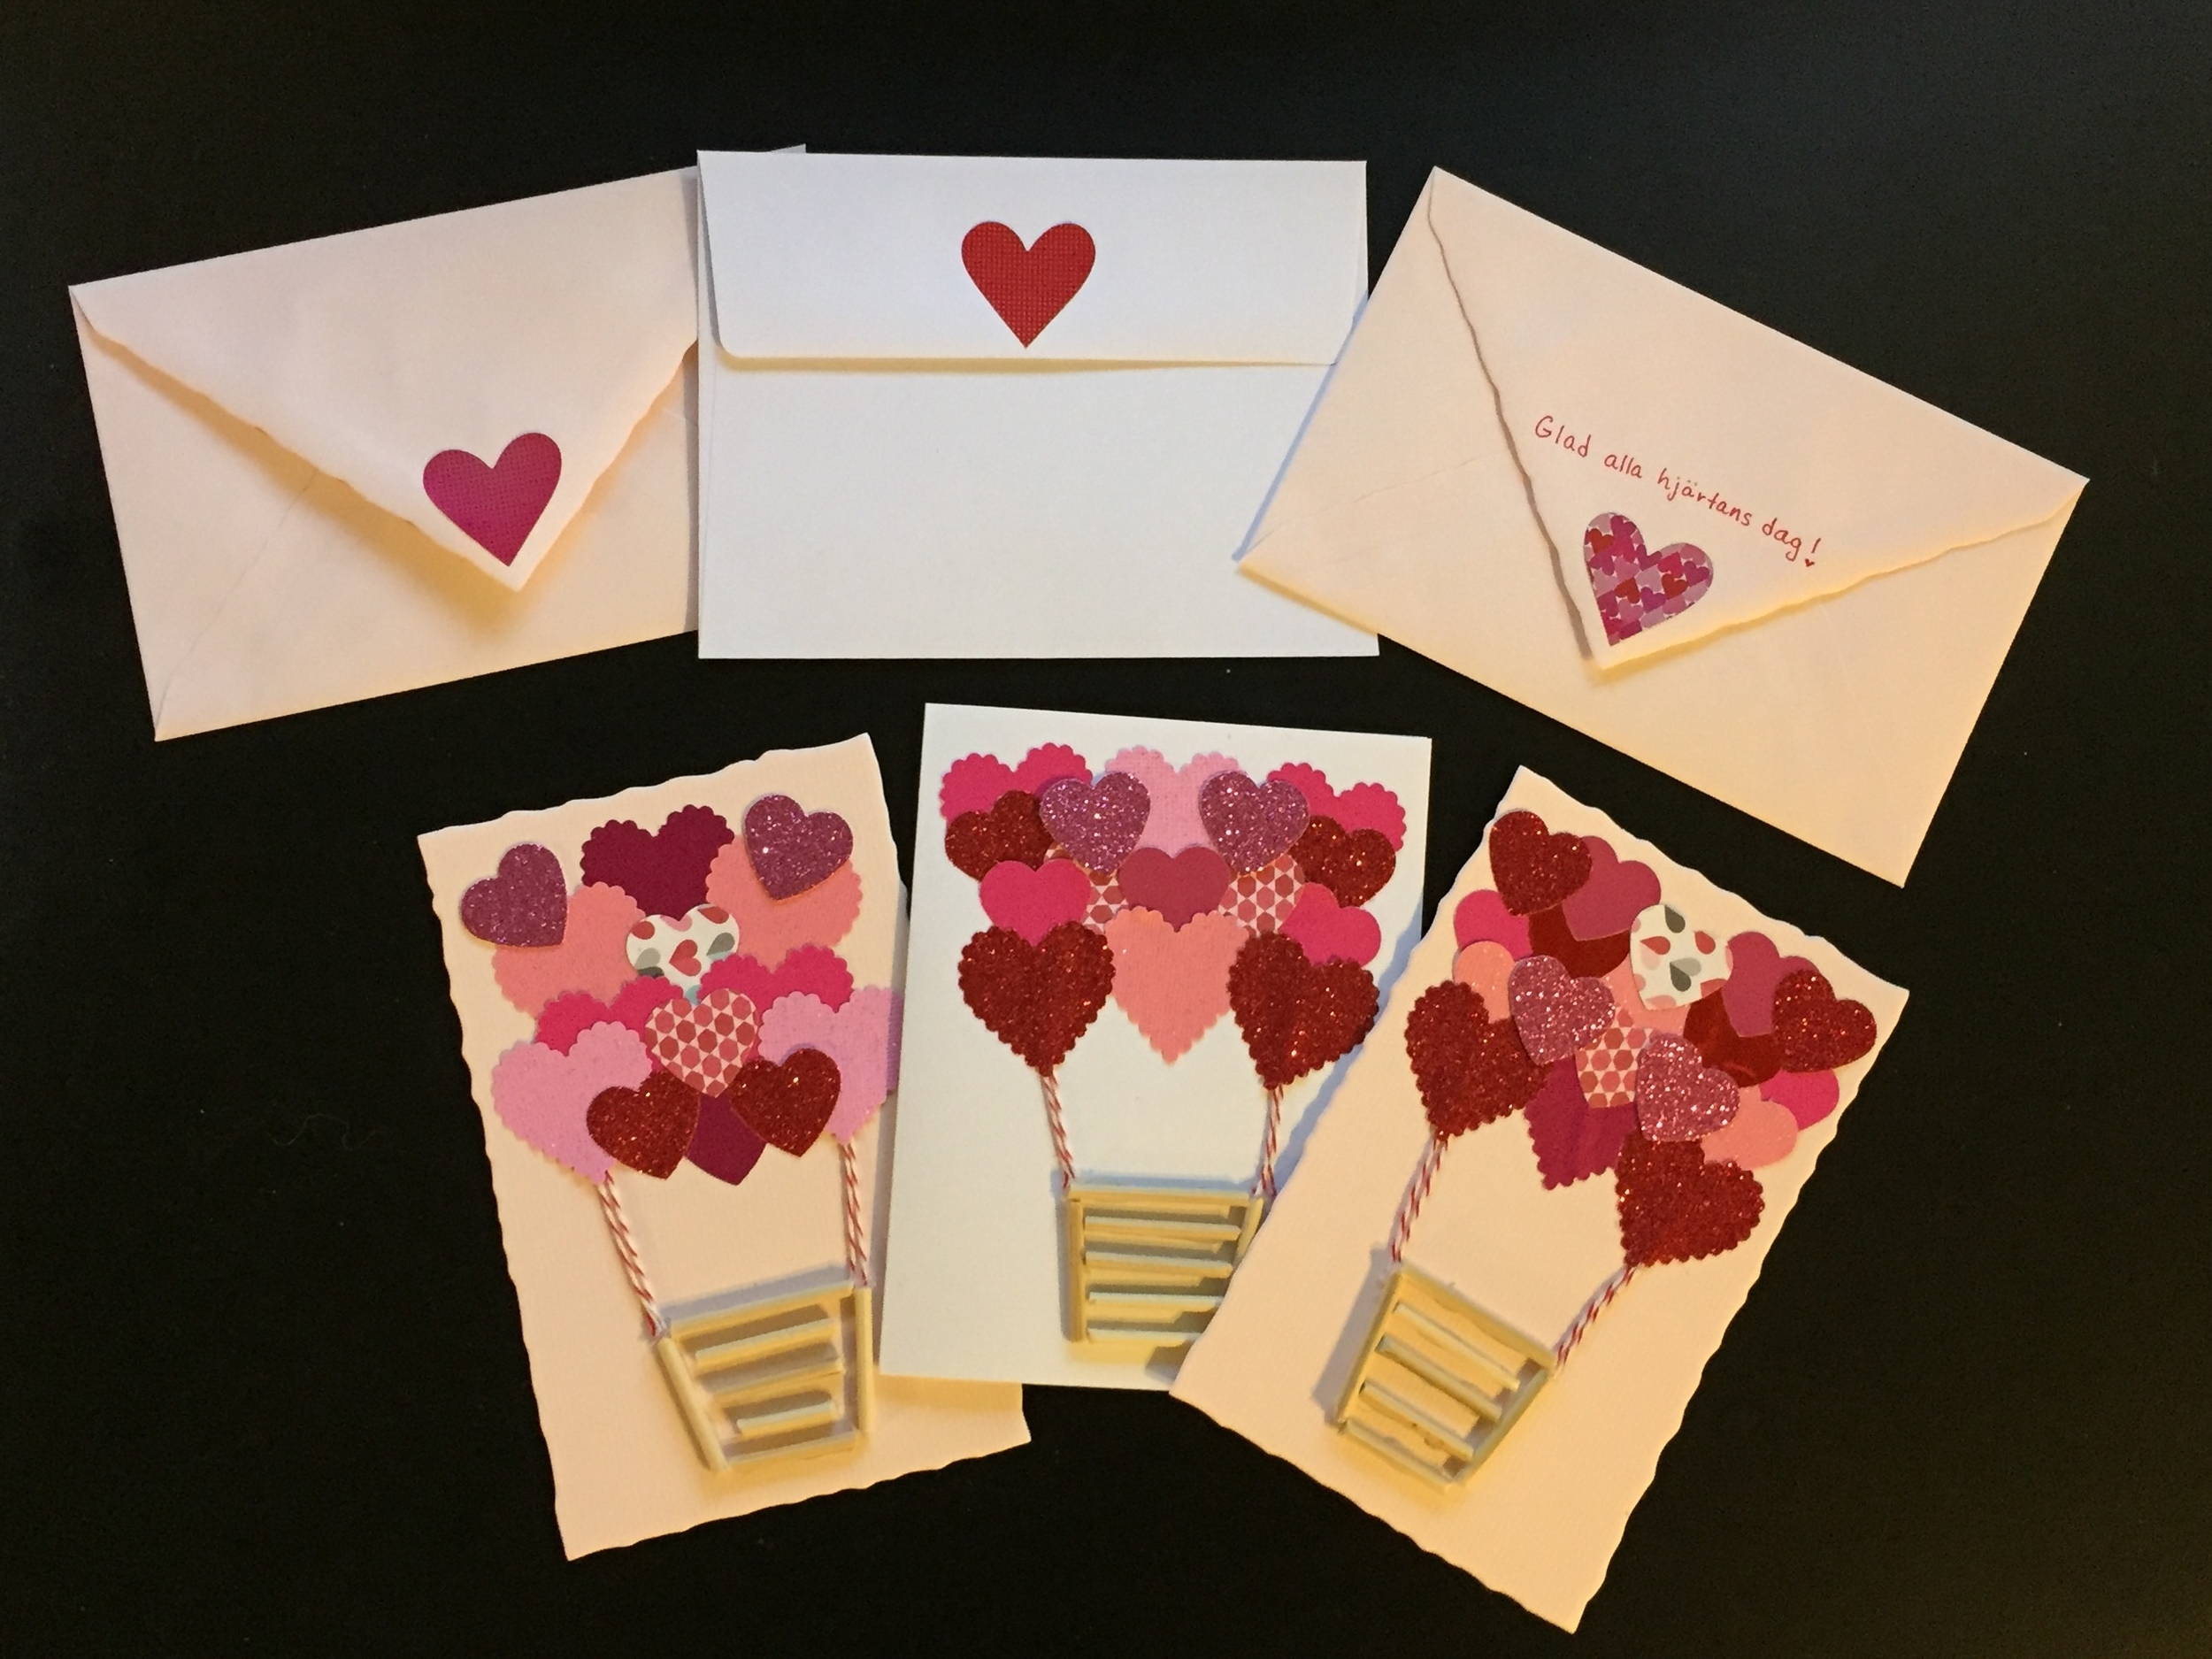
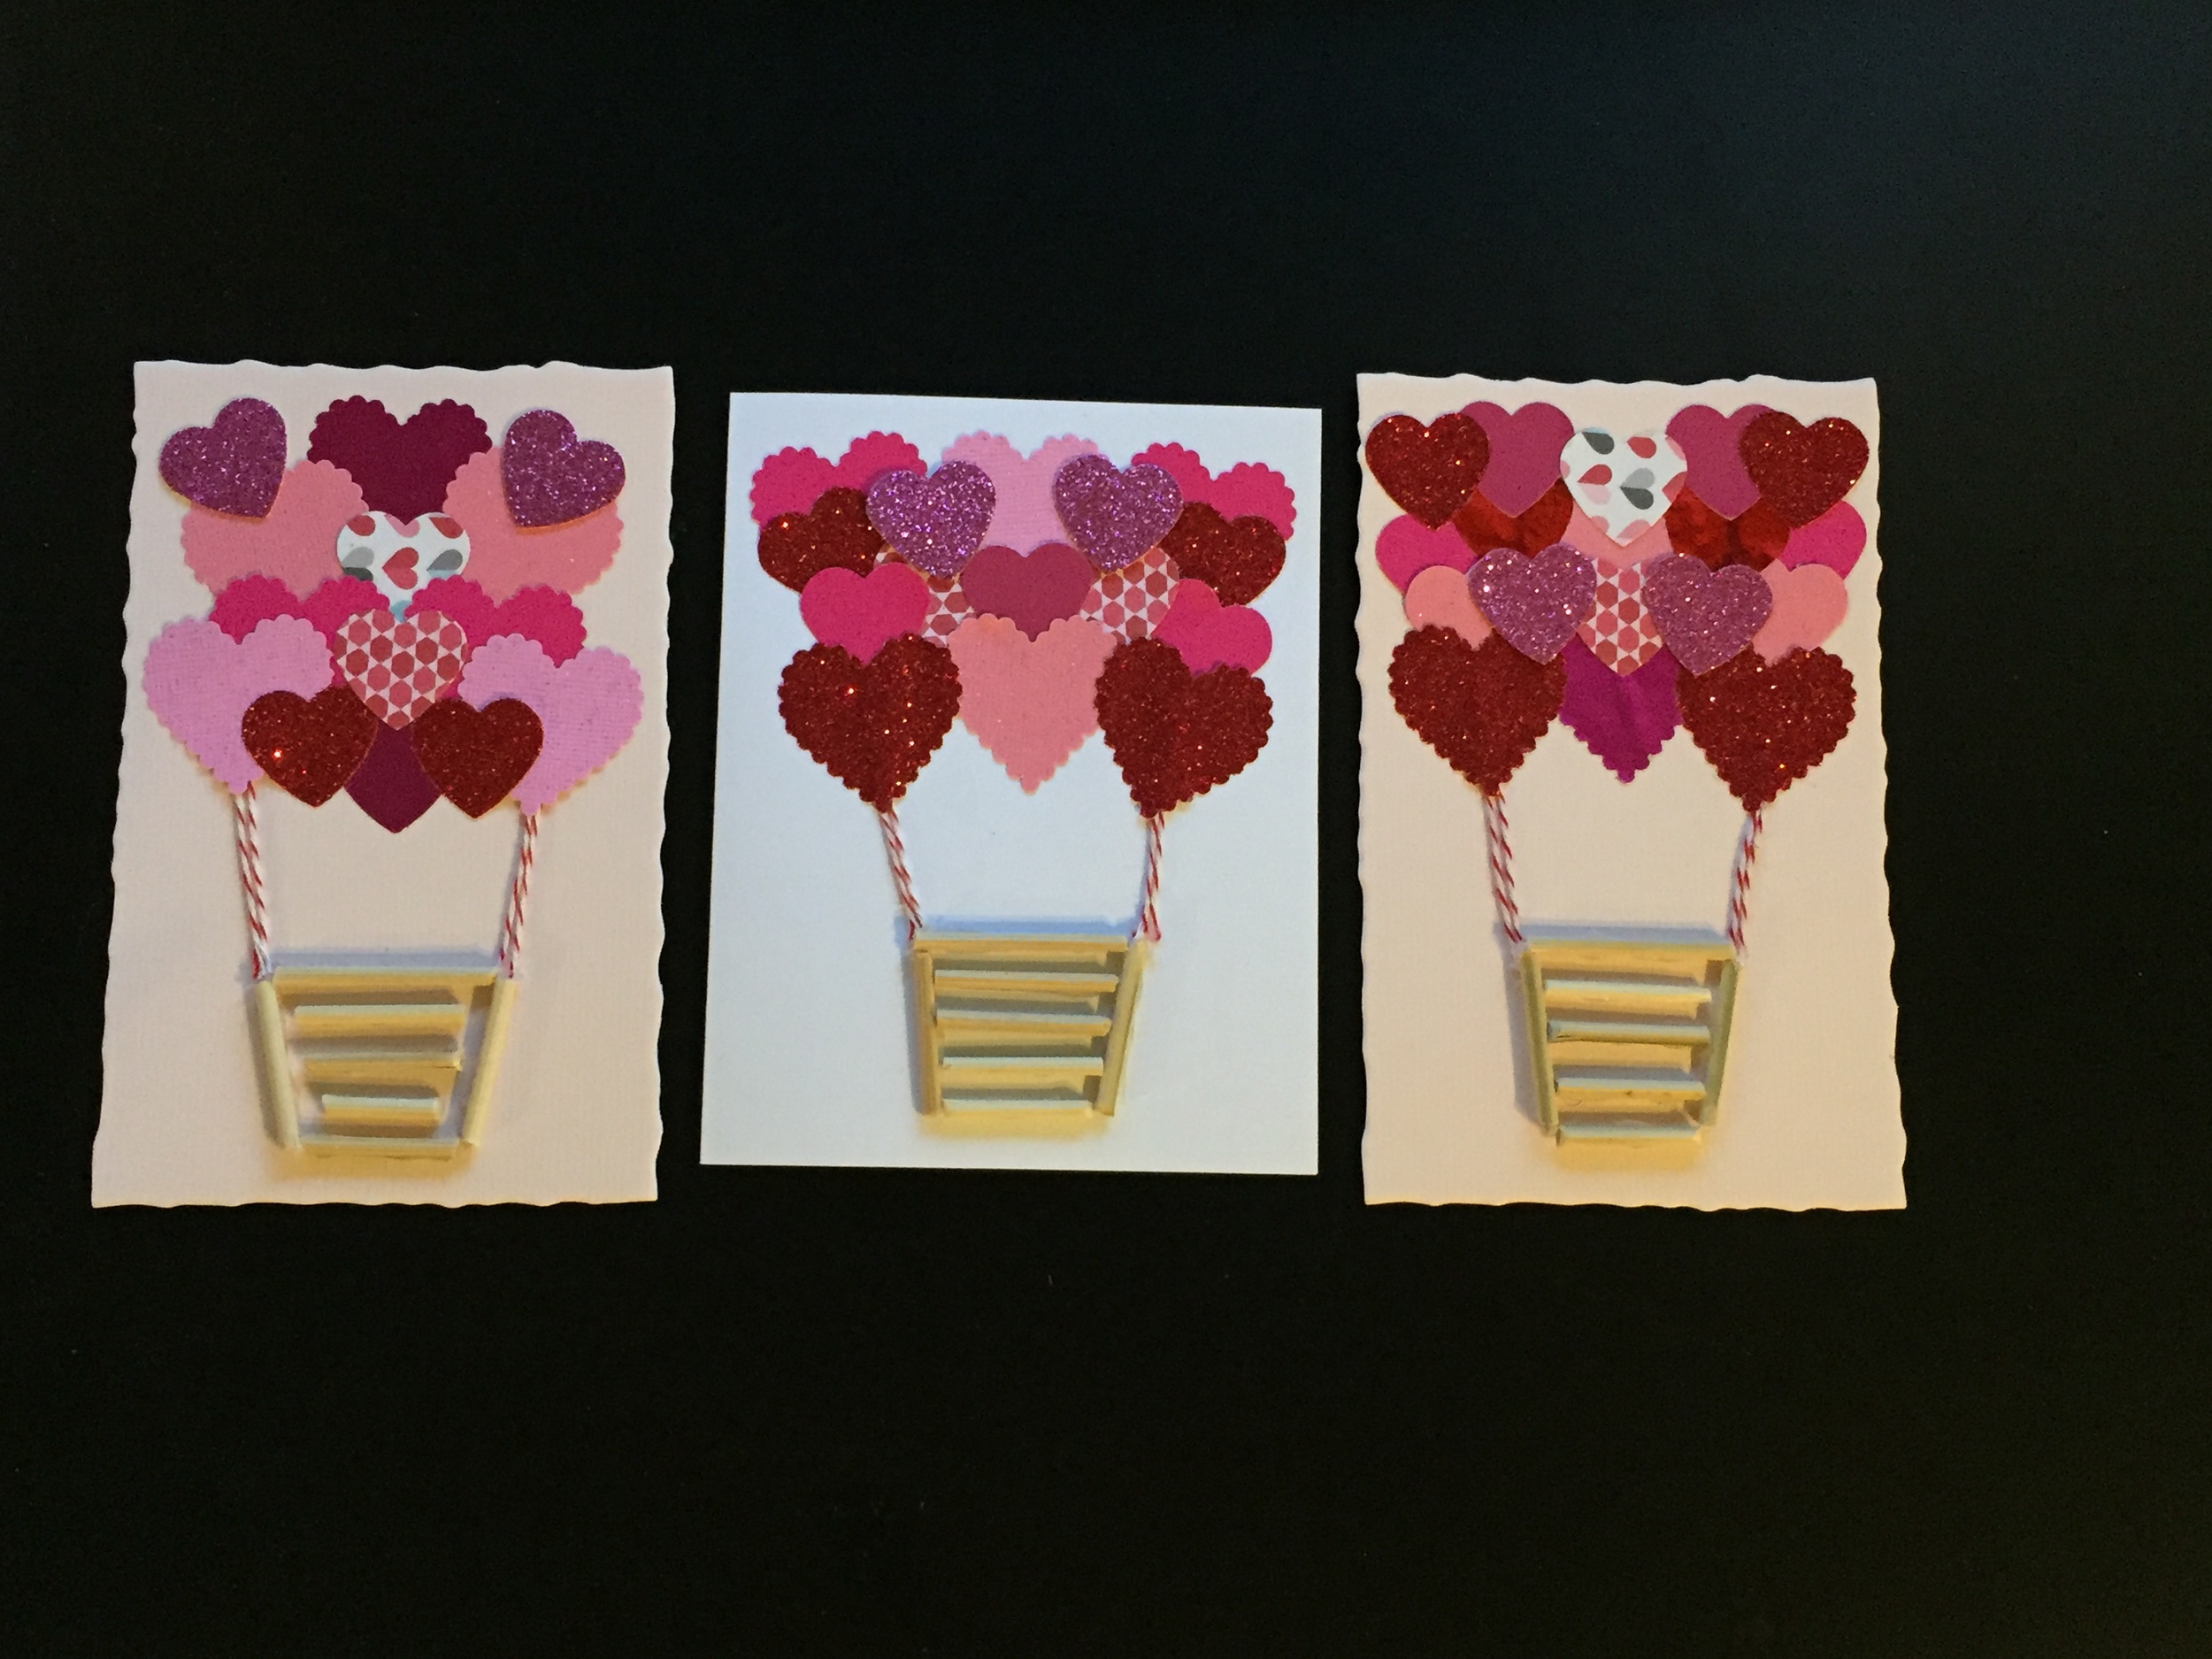
I decided on making a hot air balloon carrying a multitude of hearts in different shapes and patterns. I cut up bamboo skewers for the basket and got into a major fight with my glue gun. It won, but I'll get it next time.

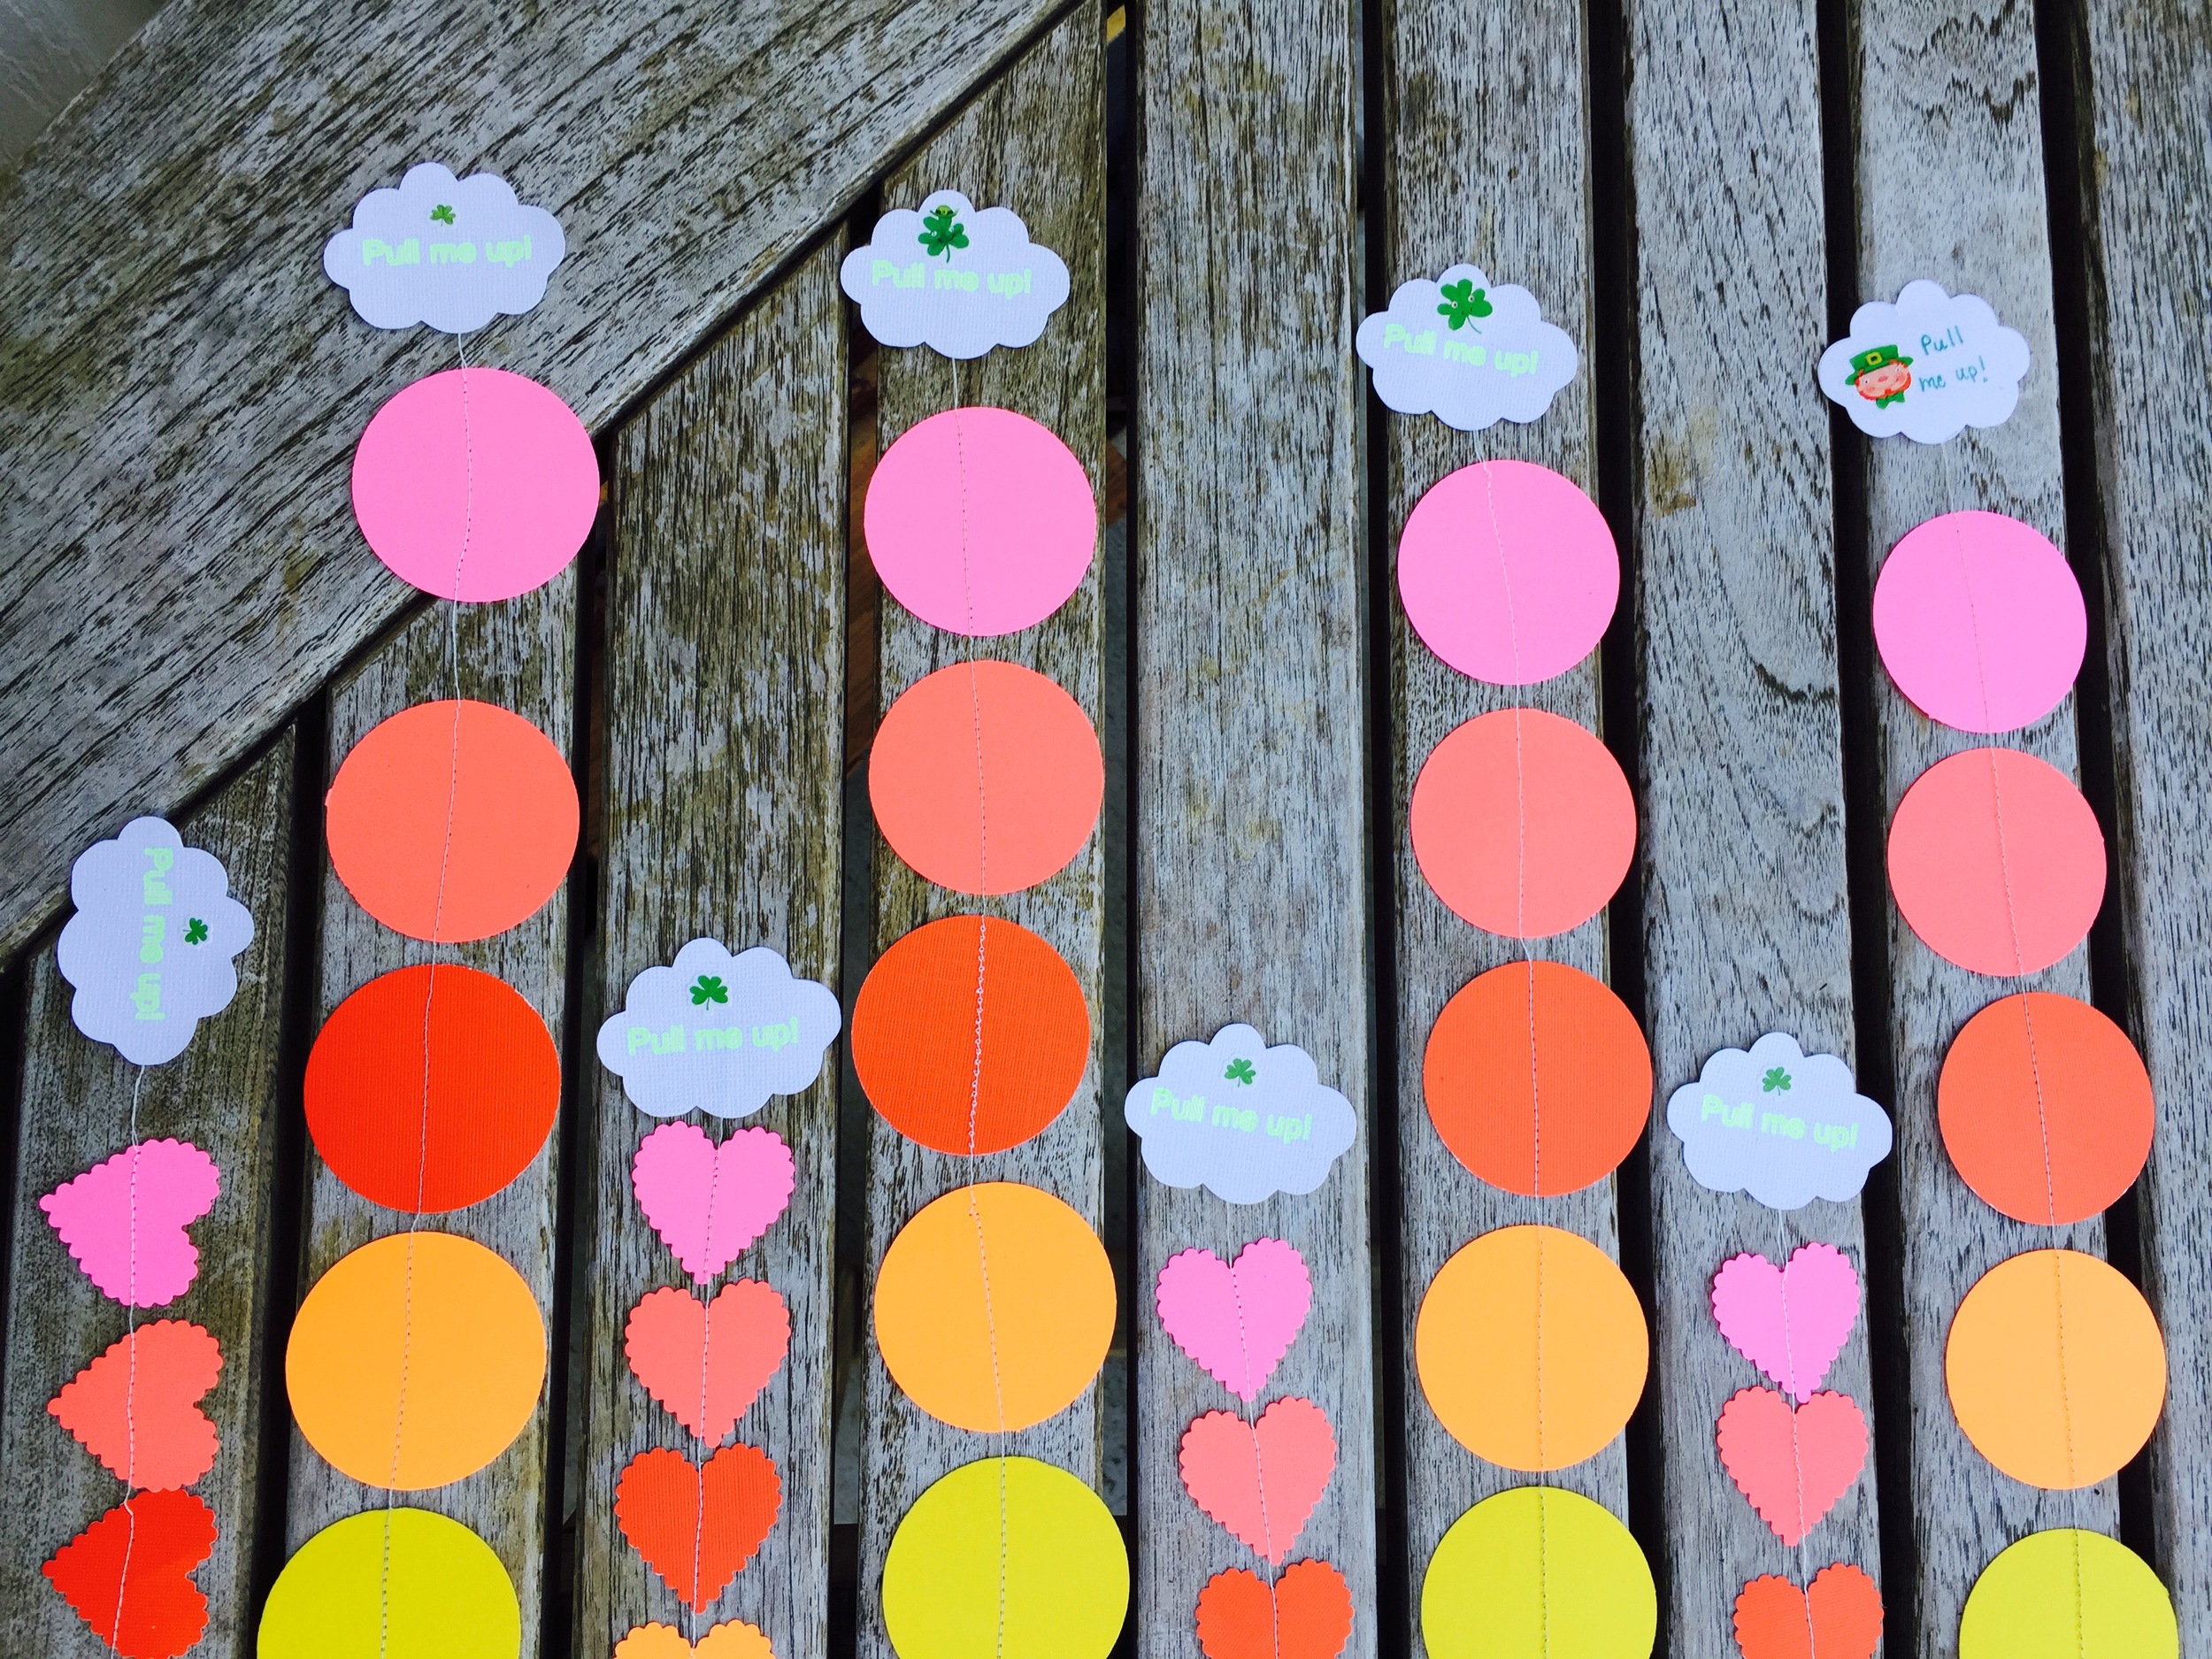
I went for a rainy theme for my note insert since there's nothing better to represent Seattle!

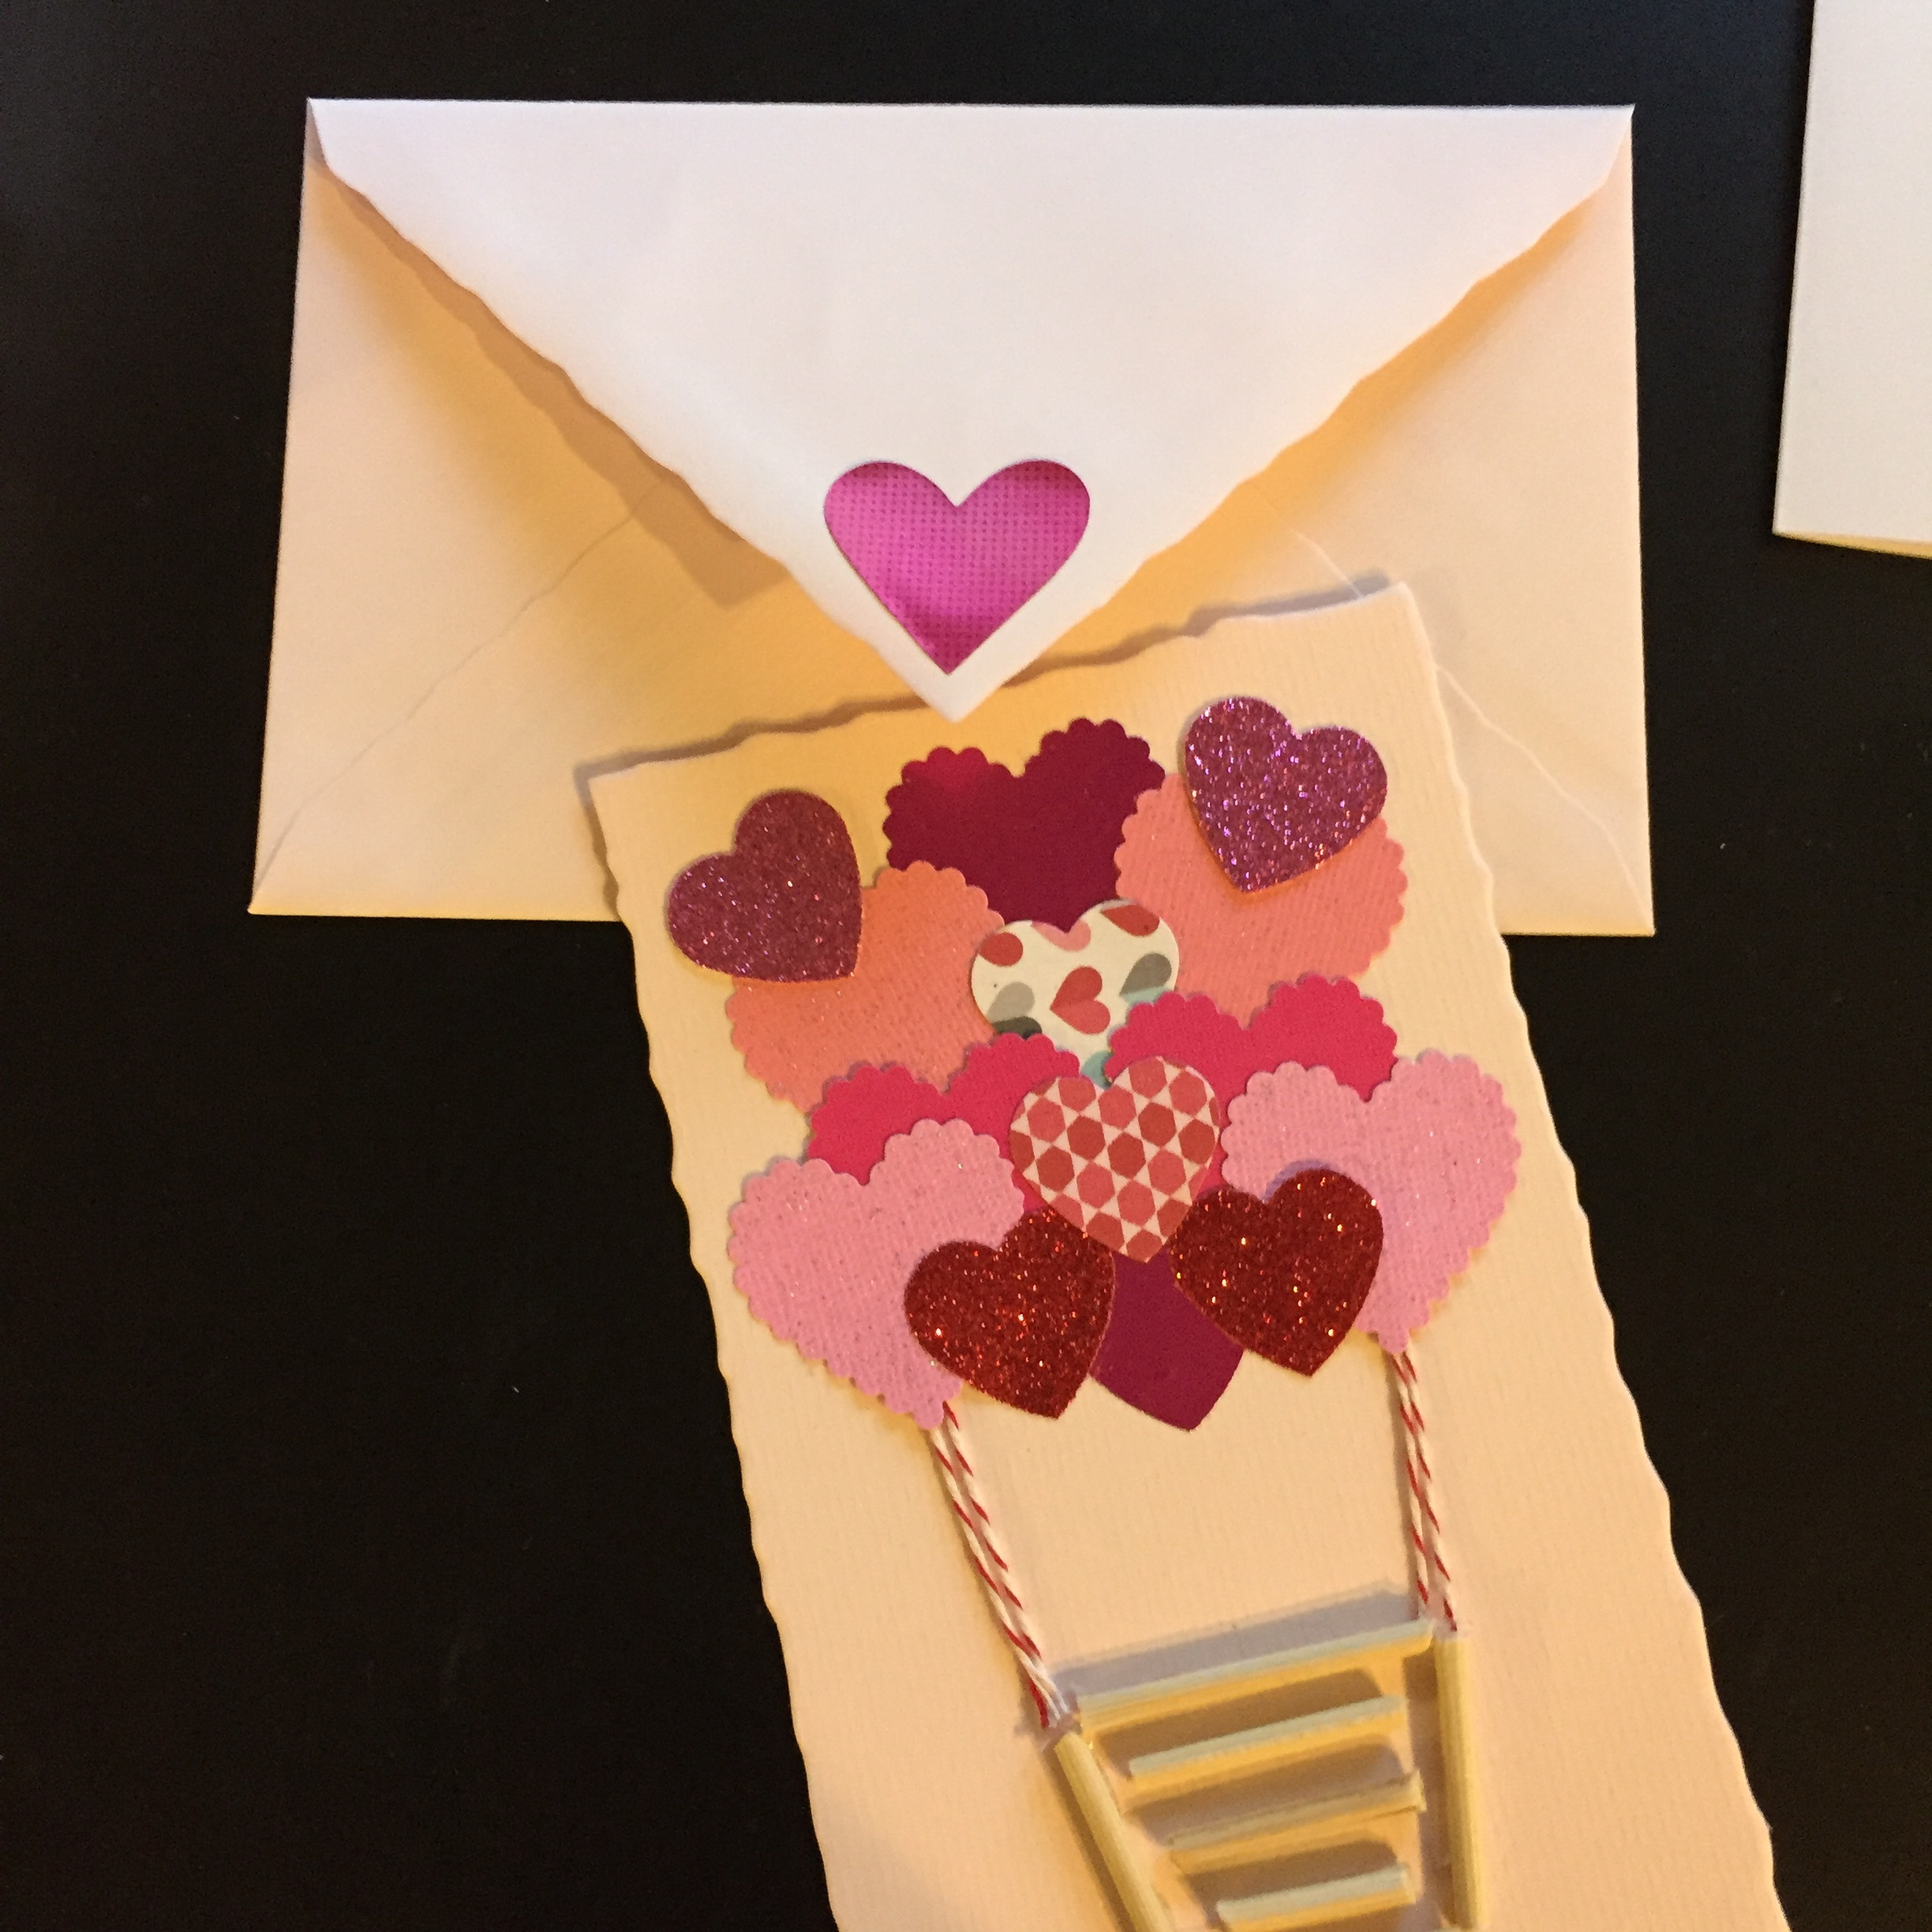
My valentines are heading off to California, Florida, and Sweden. The message on the middle envelope says "Happy Valentine's Day" in Swedish. At least I hope it does...

Wishing you a very Happy Valentine's Day!!!

Birdseed Ornaments and Popcorn & Cranberry Garland

Hello friends! Happy 2016!

This year, our family chose to have an old-fashioned Christmas, and rented a cabin for the holiday season. Since we didn't have a traditional Christmas tree inside the cabin, we made plans to string popcorn and cranberries, and make birdseed ornaments so we could decorate a tree in the forest for the local wildlife.

Cranberry and Popcorn Garland

Jen and I have talked about wanting to make popcorn and cranberry garland for years, but the holiday season flies by and we never end up having time. To string the garland, we were planning to use fishing line. After doing some research on the ornaments and learning how dangerous fishing line is for birds, I purchased some natural twine from Amazon. For the cranberries, we used upholstery needles and the twine. Since the popcorn was more fragile, we used Jen's embroidery needles and baker's twine. The popcorn was popped several days ahead of time to make it less crumbly.

IMG_7695.jpg
IMG_7709.jpg

Birdseed Ornaments

To make the birdseed ornaments, I followed this recipe. In all honesty, I had about two identifiable ornaments. The rest became crumbled blobs. I'm hoping the birds didn't care. I'm not sure if my solution wasn't sticky enough to hold the birdseed, or if I took them out of the cookie cutters too soon. Hopefully next time they'll stick better!

Not only was this a perfect holiday project, but fun to continue to make throughout January and February when it seems like supplemental food by local wildlife is appreciated!

Here's the finished product!

Our family loved this project, and I'm sure it'll become a new holiday tradition.

Easter Surprise Eggs

Surprise Egg - www.hoorayforrain.com

Hello friends! I'm back today to show you how I decided to send off my bunnies...in surprise eggs! Surprise balls are old-fashioned children's gifts, where little trinkets are wrapped up in layers of crepe paper. I decided to modify the surprise ball idea to make surprise eggs. 

Easter Surprise Egg - www.hoorayforrain.com

First, I found large (six-inch) plastic eggs and fun goodies to fill them with. 

Easter Surprise Egg - www.hoorayforrain.com

Once the egg was filled, I attached crepe paper to the bottom of the egg with washi tape, and began winding the crepe paper around the egg. 

Easter Surprise Egg - www.hoorayforrain.com

It doesn't look super great at the beginning, but you just keep winding. 

Easter Surprise Egg - www.hoorayforrain.com

As you go, you slip little trinkets in the layers of crepe paper, so that they will fall out and surprise the recipient when it is unwrapped! 

Easter Surprise Egg - www.hoorayforrain.com

Once I finished wrapping the egg in crepe paper, I taped the end of the paper down with more washi tape, and then decorated the egg with a sticker. 

Easter Surprise Egg - www.hoorayforrain.com

Check out our Instagram feed for a video of the unwrapping of one of the surprise eggs! Happy Easter everybody! 

Hippity Hoppity Easter's On Its Way

Hello friends! After looking out at the non-stop pouring rain the last few days, I was inspired by the gorgeous pastel hues that I associate with Easter eggs to brighten up my dreary weekend. Since it's too early to dye eggs, I decided to make some egg banner decorations. Random family fact...we only ate egg salad once per year as a result of the post egg hunt hard boiled egg surplus. It wasn't until my adult life that I realized the amazing egg salad sandwich truly is available year round. I regularly order it for lunch at work since I was so deprived as a child.

I started with my Cameo Silhouette, and using the trick from my St. Patrick's Day post to trace remove portions of images, ended up with the perfect Easter egg in a variety of sizes.

I always enjoy playing with different color patterns. It reminds me of Elementary School art class.

I used my trusty hot glue gun to affix the eggs to scraps of ribbon.

I'm so excited to be heading down to New Orleans and San Diego this week. Trip highlights to come in future posts! I'll be reading up on Martha Stewart's 2015 Easter tips on the plane. Have fun with your Easter preparations!

St. Patrick's Day Snail Mail

St. Patrick's Day is quickly approaching and I've spend the last few weeks creating a snail mail surprise for the special kiddos in my life. The process involved a number of learning experiences, and I'm happy with how they turned out!

At Craft Day I was inspired by rainbow colors, and started playing with my circle and heart punches in all the beautiful hues. 

I tried hole punching and stringing the pieces together, but wasn't happy with the overall effect. Jen encouraged me to try sewing them together for my own paper garland, and guided me through the process. It was much easier than I expected, and I absolutely learned from my mistakes so I know how to make them straighter next time. Hopefully the recipients won't look too closely.

spd7.jpg

Next I started playing with my Silhouette Cameo to make clouds for the top of the rainbow. I was able to teach myself how to use the trace feature to edit and cut out portions of google clip art images.

I wanted to make it obvious which shape to start with to showcase the full burst of colors when the rainbow was pulled out of the box.

I stopped by our local Party City and was able to find the gold coins, black pots, green goodies, and treat boxes thanks to the help of our cousin Brianne.

Here's the full effect in stages.

I also chose to enclose a leprechaun note for each kiddo.

This project was so much fun, and I loved looking at all the rainbow colors. I can't wait to mail them off this week. Next Tuesday, I hope you find a gigantic pot of gold at the end of your rainbow. Have fun celebrating!