Easter Surprise Eggs

Surprise Egg - www.hoorayforrain.com

Hello friends! I'm back today to show you how I decided to send off my bunnies...in surprise eggs! Surprise balls are old-fashioned children's gifts, where little trinkets are wrapped up in layers of crepe paper. I decided to modify the surprise ball idea to make surprise eggs. 

Easter Surprise Egg - www.hoorayforrain.com

First, I found large (six-inch) plastic eggs and fun goodies to fill them with. 

Easter Surprise Egg - www.hoorayforrain.com

Once the egg was filled, I attached crepe paper to the bottom of the egg with washi tape, and began winding the crepe paper around the egg. 

Easter Surprise Egg - www.hoorayforrain.com

It doesn't look super great at the beginning, but you just keep winding. 

Easter Surprise Egg - www.hoorayforrain.com

As you go, you slip little trinkets in the layers of crepe paper, so that they will fall out and surprise the recipient when it is unwrapped! 

Easter Surprise Egg - www.hoorayforrain.com

Once I finished wrapping the egg in crepe paper, I taped the end of the paper down with more washi tape, and then decorated the egg with a sticker. 

Easter Surprise Egg - www.hoorayforrain.com

Check out our Instagram feed for a video of the unwrapping of one of the surprise eggs! Happy Easter everybody! 

Easter Bunny Tutorial

Easter Bunny Tutorial - www.hoorayforrain.com

Little bunnies are multiplying in my craft room! In preparation for Easter I have been making bunnies for some of the kiddos in my life. This attachment has all of the template pieces needed to make a bunny of your own. This pattern is a tweaked version of my rabbit softie pattern, which makes a shorter, chubbier bunny. 

Easter Bunny Tutorial - www.hoorayforrain.com

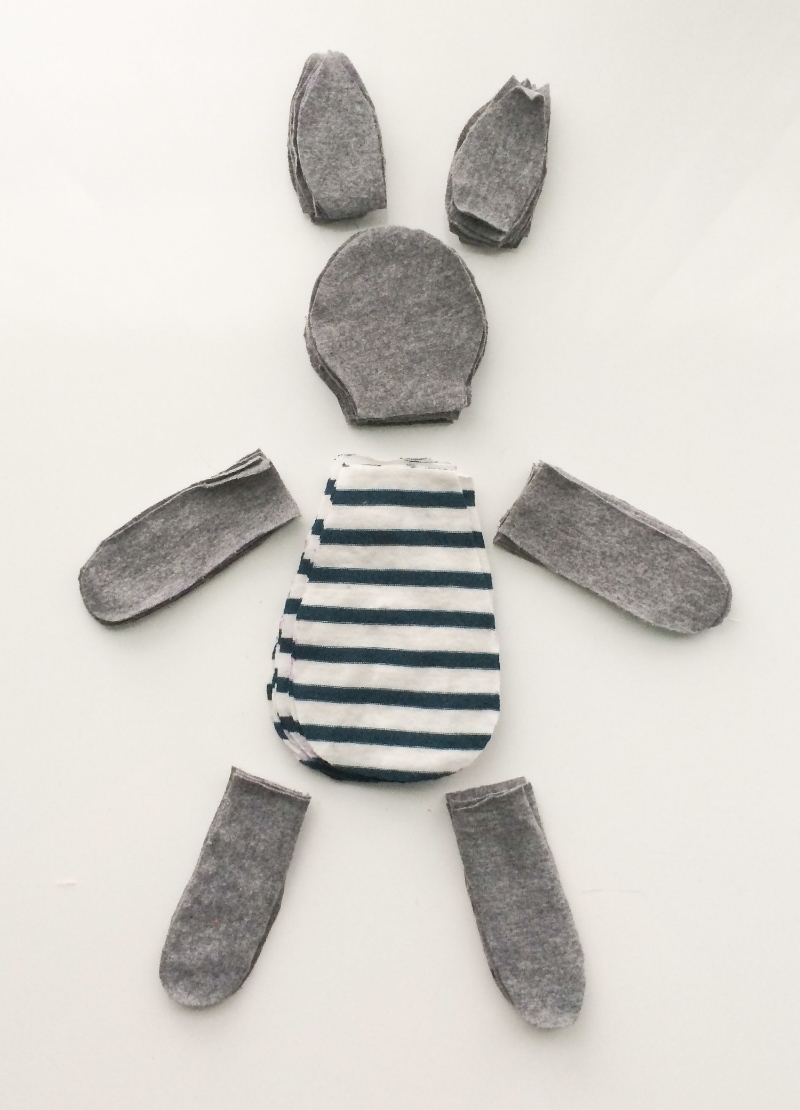
First things first, I cut all my pattern pieces out. I traced the templates onto my fabric with a disappearing ink pen. I also tried tracing with chalk and my Frixion pen, but due to the stretchiness of the jersey, the disappearing ink pen worked best. I traced and cut out the following pieces:

  • two head pieces 
  • four ear pieces
  • two body pieces
  • four arm pieces
  • four leg pieces

The first pieces I sewed together are the ears. I sewed two pieces together with a scant quarter-inch seam, turned them right side in, and then topstitched an eighth of an inch or less from the edges. 

Easter Bunny Tutorial - www.hoorayforrain.com

Then, in preparation for embroidering the rabbit's face, I sewed the ears on to one of the head pieces, aligning the base of the ears with the top of the front of the face, and taking just a few stitches to hold them in place. Then I drew on the face with the disappearing ink pen, and embroidered the face.

Easter Bunny Tutorial - www.hoorayforrain.com

Next, I sewed the arms and legs together, leaving the base of each appendage open. I use the same pattern piece for the arms and the legs. Here's one of the arm/leg pieces in all the stages from cut pattern pieces to stuffed arm/leg. 

Easter Bunny Tutorial - www.hoorayforrain.com

Then I attached the body pieces to the head pieces.

Easter Bunny Tutorial - www.hoorayforrain.com

Then it was time to tack the arms and legs in place. I made sure to position the arms and legs facing in on top of the body when lining up the arm/leg raw edges with the raw edge of the body. Otherwise, when I turned your rabbit right side out, the arms and legs would have been facing the wrong way.

Easter Bunny Tutorial - www.hoorayforrain.com

Then I sewed the head pieces together, right sides facing each other, and ears tucked in. I started and stopped stitching at the head/body junctions. 

Easter Bunny Tutorial - www.hoorayforrain.com

Next I tucked the arms in. I sewed from the head/body junction down just past the armpit of one arm. Then I switched over to the other side of the body, and stitched from the head/body junction down the side. When I got near the bottom of the body, I stuffed the legs inside the body, then stitched around the bottom of the body past both legs. I left an opening between the leg and the armpit to turn the bunny right side out.

Side note...when my dear sister Lauren proofread this post, she compared me to a serial killer for talking about turning poor little bunnies inside out.

Lauren text.png

Seriously guys, I swear I'm not a serial killer of anything. I don't even like to kill real live spiders. I'm just a...serial bunny maker? I've got about 6 of these little guys going right now.

Easter Bunny Tutorial - www.hoorayforrain.com

Serial killer comparisons aside, the next thing I did was turn and stuff the bunny. The last step is to sew up the opening. I like to use a ladder stitch. 

Easter Bunny Tutorial - www.hoorayforrain.com

Hooray, you have one pint-sized Easter Bunny! 

Easter Bunny Tutorial - www.hoorayforrain.com

St. Patrick's Day Snail Mail

St. Patrick's Day is quickly approaching and I've spend the last few weeks creating a snail mail surprise for the special kiddos in my life. The process involved a number of learning experiences, and I'm happy with how they turned out!

At Craft Day I was inspired by rainbow colors, and started playing with my circle and heart punches in all the beautiful hues. 

I tried hole punching and stringing the pieces together, but wasn't happy with the overall effect. Jen encouraged me to try sewing them together for my own paper garland, and guided me through the process. It was much easier than I expected, and I absolutely learned from my mistakes so I know how to make them straighter next time. Hopefully the recipients won't look too closely.

spd7.jpg

Next I started playing with my Silhouette Cameo to make clouds for the top of the rainbow. I was able to teach myself how to use the trace feature to edit and cut out portions of google clip art images.

I wanted to make it obvious which shape to start with to showcase the full burst of colors when the rainbow was pulled out of the box.

I stopped by our local Party City and was able to find the gold coins, black pots, green goodies, and treat boxes thanks to the help of our cousin Brianne.

Here's the full effect in stages.

I also chose to enclose a leprechaun note for each kiddo.

This project was so much fun, and I loved looking at all the rainbow colors. I can't wait to mail them off this week. Next Tuesday, I hope you find a gigantic pot of gold at the end of your rainbow. Have fun celebrating!

DIY Holiday Wreath

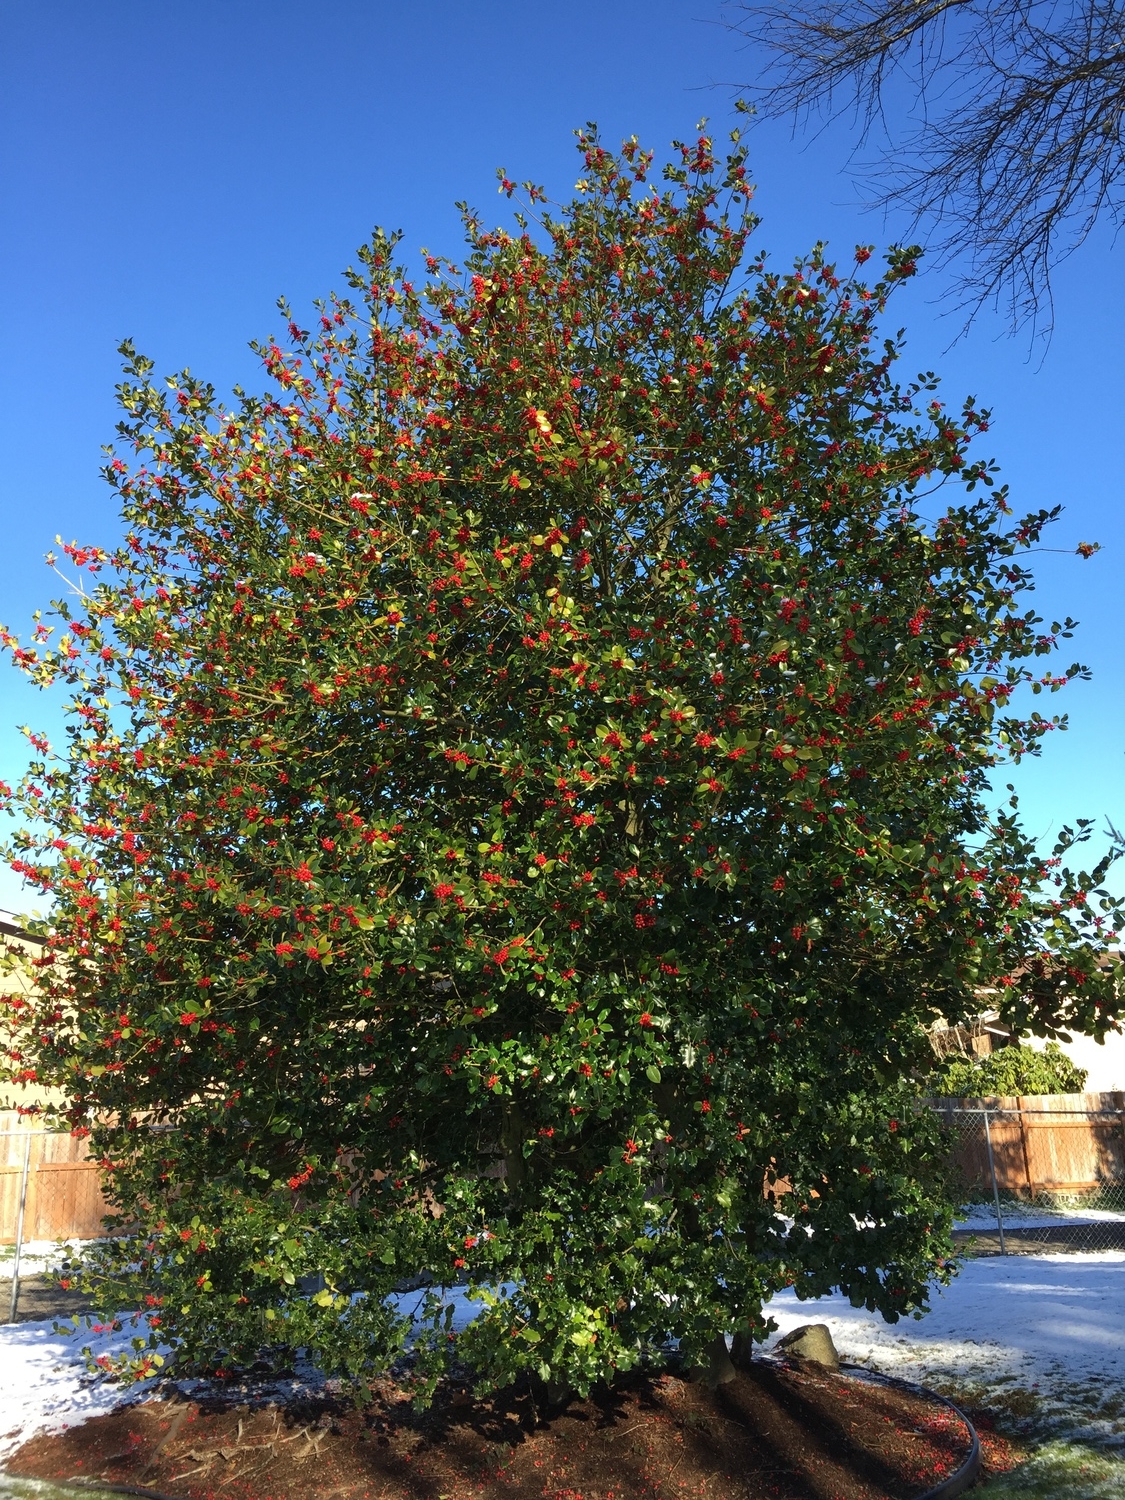
For as long as I can remember, Thanksgiving weekend festivities have included construction of a holiday wreath for our parents' front door. My Dad would trim back the Evergreen trees before big wind storms, and didn't want to throw away the perfectly useful limbs. A holiday wreath was the perfect solution. My parents also have a gorgeous and fruitful holly bush that contrasts perfectly with the green limbs.

holly bush.jpg

We've done it in the pouring rain, sunshine, by flashlight in the dark, and every which way in between. This year, we had a surprise snow storm that made our annual project extra festive. We usually have holiday music with the volume up high to cheer us through the frightful weather. If you've never made your own, the process is relatively simple and the end result consistent and classy.

What you'll need...

-Wire Wreath Frame (24 inch for a standard door)
-12-14 Evergreen limbs*
-14-18 limbs of Holly*
-Floral wire
-Battery operated lights, if desired
-Another set of hands (if available)

*If you don't have tree limbs or holly readily available in your yard, many local nurserys carry holly. Christmas Tree Lots often trim the lower tree limbs when they are purchased and may have a stash for a discounted price or for free!

Step 1:

Lay your wire ring flat on a workbench.

Start tucking the limbs underneath the wire cross bars. Ensure the limbs are going the same direction.

Unless you have really lush branches, add a second layer of limbs. This layer does not have to be perfect as it's acting as the base and will be covered by the holly.

Have one person gather the limbs while the other winds a continuous piece of floral wire in a spiral motion.

Voila! -- the base layer is finished...

finished greenery.jpg

If you have a few wisps that didn't make it into the wire, don't hesitate to give your wreath a little haircut.

hair cut.jpg

Step 2:

Start tucking pieces of holly in the wire. Make sure to trim the leaves on both ends so you have nice long stems that are easy to poke under the wire and hold the holly in place.

I like to fasten the holly pieces to the wreath so the berries are really close together and give that gorgeous pop of color around the entire wreath.

Wrap another continuous piece of floral wire in a spiral around the layer of holly. Try to place the wire at the start and end of the sections of berries to avoid knocking too many off. 

Step 3:

We found some battery operated lights majorly marked down during the Thanksgiving sale weekend. If you choose to include lights, make sure to put the battery switch at the bottom of your wreath so it's easy to turn on and off. Getting the lights evenly distributed around the wreath is one of the hardest parts and can take several tries. Our very crafty father folds the light string in half and marks the halfway point with a piece of tape before he starts wrapping. This way, as you wrap the strand around the wreath, you have an idea of how much of the strand you should have already used once you reach the half way point.

Finished Products:

We made wreaths of all different sizes this weekend. Here are more of our final creations...

Jen's wreath:

Plain miniature wreath with holly:

Miniature wreath with lights:

Annual family wreath:

We warmed up our frozen fingers and with a cup of hot chocolate, and leftover whipped cream from our pumpkin pie. Yum!

Happy holiday decorating!

Sparkly Congratulations Banner

My wonderful friend, Hillary, got engaged a few weeks ago, and I couldn't find a "Congratulations on your Engagement" card I felt proud sending. The ones I looked through were either too impersonal or too ooey-gooey and schmaltzy.  Instead, I took a trip to the craft store for some sparkly, glittery paper to make her a banner!

Supplies:

-Fifteen squares of turquoise paper (2 x 2 inches)

-Fifteen squares of sparkly blue paper (2.5 x 2.5 inches)

-Fifteen scalloped hearts (scalloped heart punch)

-Glittered alphabet stickers

-Gold, glittered baker's twine

-1/8 inch hole punch

-Glue stick

I finished the banner with the initials of the bride and groom to be -- H and M.

I love that the banner is not only a fun acknowledgement of her happy news, but can be re-used for Bridal Showers, Engagement Parties, Bachelorette  Parties, or Rehearsal Dinners!