DIY Holiday Wreath

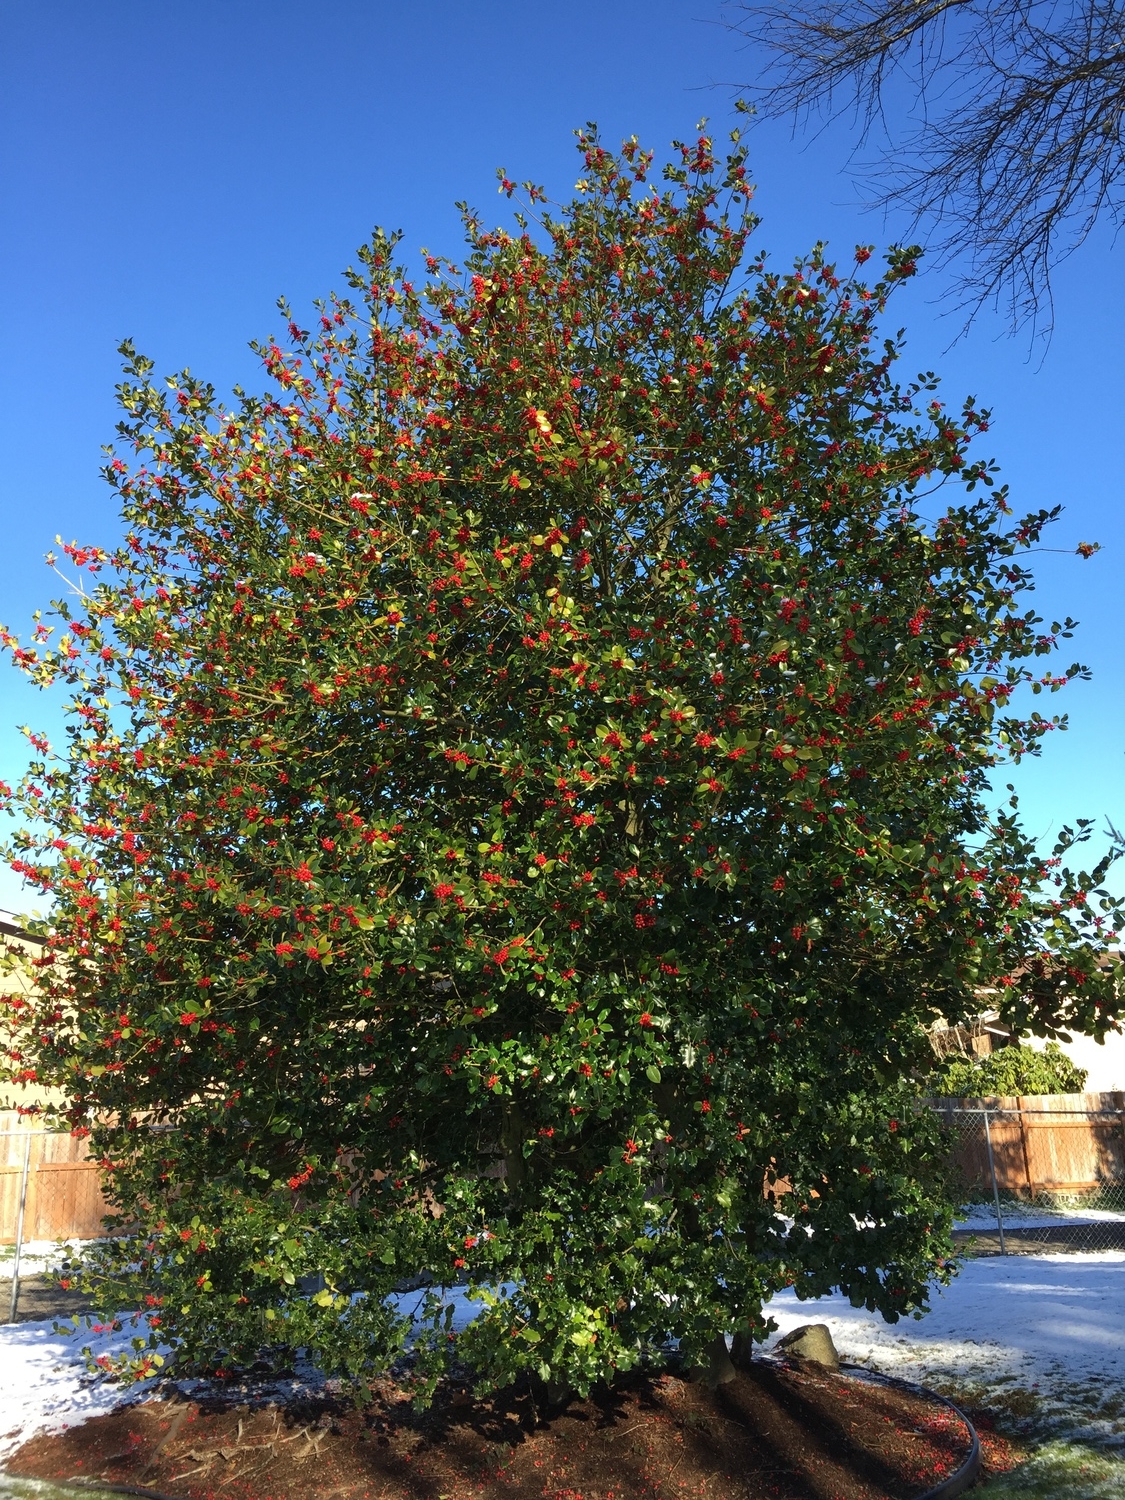
For as long as I can remember, Thanksgiving weekend festivities have included construction of a holiday wreath for our parents' front door. My Dad would trim back the Evergreen trees before big wind storms, and didn't want to throw away the perfectly useful limbs. A holiday wreath was the perfect solution. My parents also have a gorgeous and fruitful holly bush that contrasts perfectly with the green limbs.
We've done it in the pouring rain, sunshine, by flashlight in the dark, and every which way in between. This year, we had a surprise snow storm that made our annual project extra festive. We usually have holiday music with the volume up high to cheer us through the frightful weather. If you've never made your own, the process is relatively simple and the end result consistent and classy.
What you'll need...
-Wire Wreath Frame (24 inch for a standard door)
-12-14 Evergreen limbs*
-14-18 limbs of Holly*
-Floral wire
-Battery operated lights, if desired
-Another set of hands (if available)
*If you don't have tree limbs or holly readily available in your yard, many local nurserys carry holly. Christmas Tree Lots often trim the lower tree limbs when they are purchased and may have a stash for a discounted price or for free!
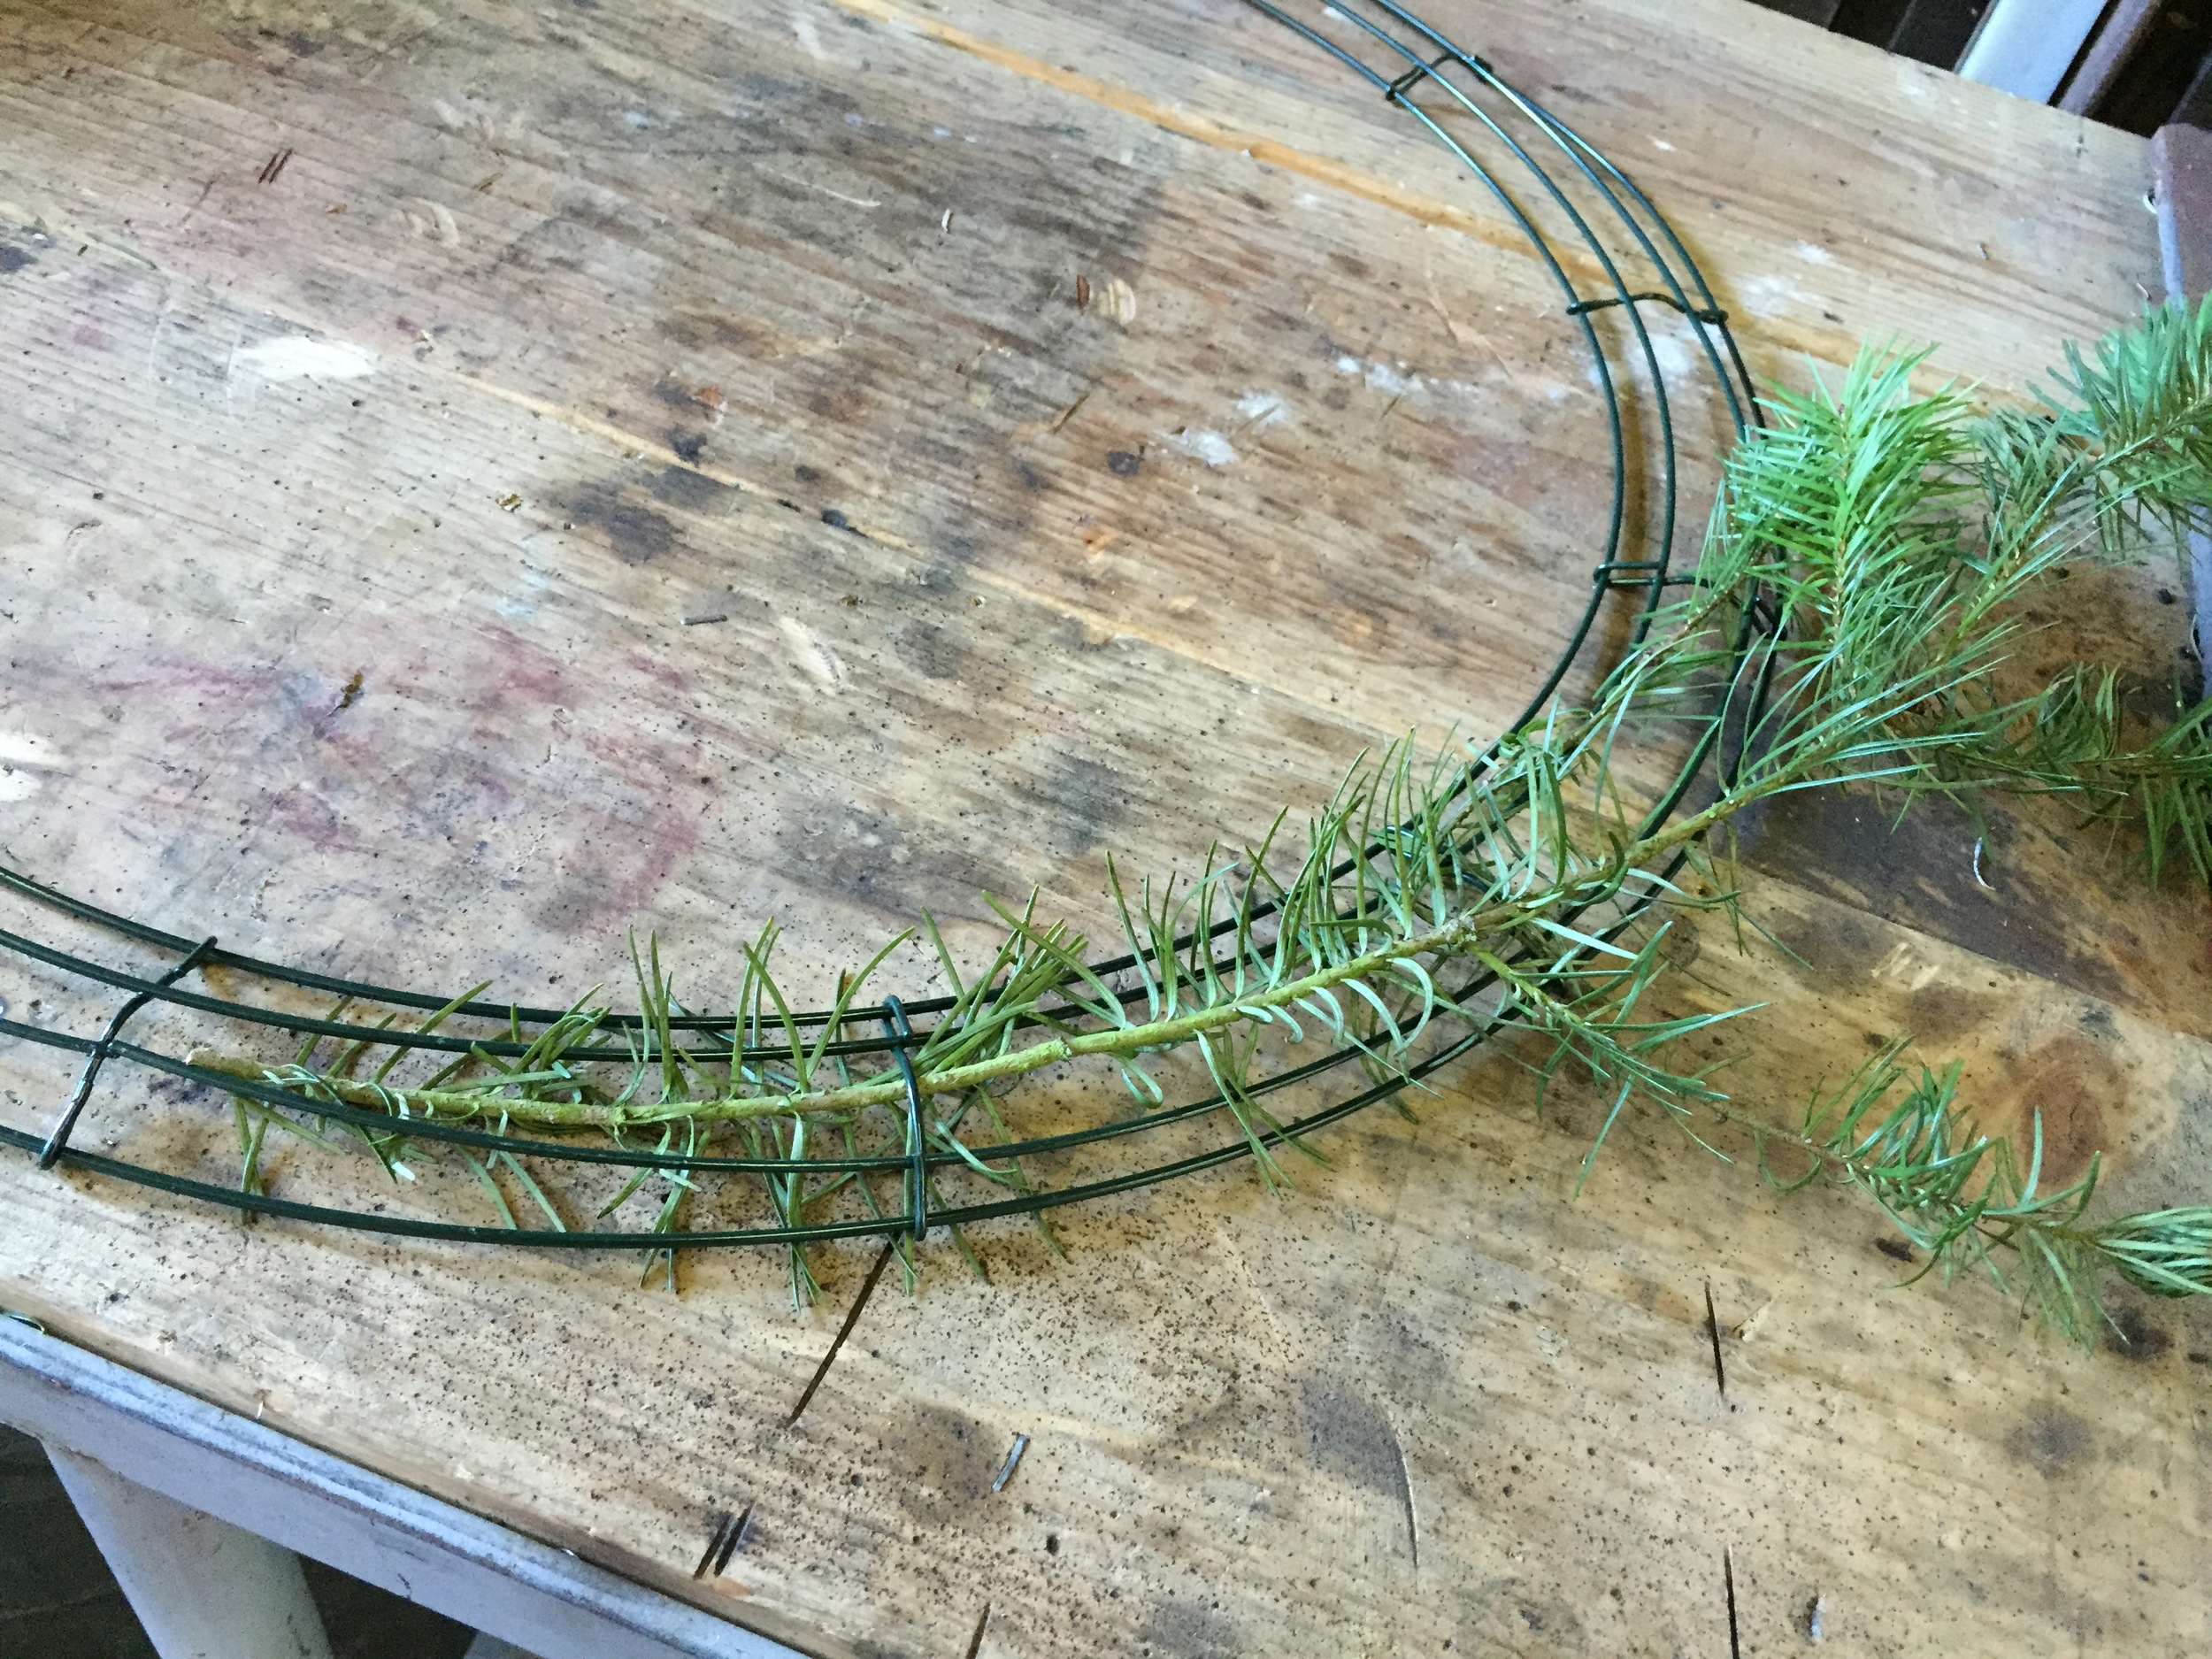
Step 1:
Lay your wire ring flat on a workbench.

Start tucking the limbs underneath the wire cross bars. Ensure the limbs are going the same direction.
Unless you have really lush branches, add a second layer of limbs. This layer does not have to be perfect as it's acting as the base and will be covered by the holly.

Have one person gather the limbs while the other winds a continuous piece of floral wire in a spiral motion.

Voila! -- the base layer is finished...

If you have a few wisps that didn't make it into the wire, don't hesitate to give your wreath a little haircut.

Step 2:
Start tucking pieces of holly in the wire. Make sure to trim the leaves on both ends so you have nice long stems that are easy to poke under the wire and hold the holly in place.

I like to fasten the holly pieces to the wreath so the berries are really close together and give that gorgeous pop of color around the entire wreath.


Wrap another continuous piece of floral wire in a spiral around the layer of holly. Try to place the wire at the start and end of the sections of berries to avoid knocking too many off.
Step 3:

We found some battery operated lights majorly marked down during the Thanksgiving sale weekend. If you choose to include lights, make sure to put the battery switch at the bottom of your wreath so it's easy to turn on and off. Getting the lights evenly distributed around the wreath is one of the hardest parts and can take several tries. Our very crafty father folds the light string in half and marks the halfway point with a piece of tape before he starts wrapping. This way, as you wrap the strand around the wreath, you have an idea of how much of the strand you should have already used once you reach the half way point.

Finished Products:
We made wreaths of all different sizes this weekend. Here are more of our final creations...
Jen's wreath:

Plain miniature wreath with holly:

Miniature wreath with lights:

Annual family wreath:

We warmed up our frozen fingers and with a cup of hot chocolate, and leftover whipped cream from our pumpkin pie. Yum!

Happy holiday decorating!